Adding Users
You can add a single user or multiple users at once.
Adding Single User
To add a user, follow these steps:
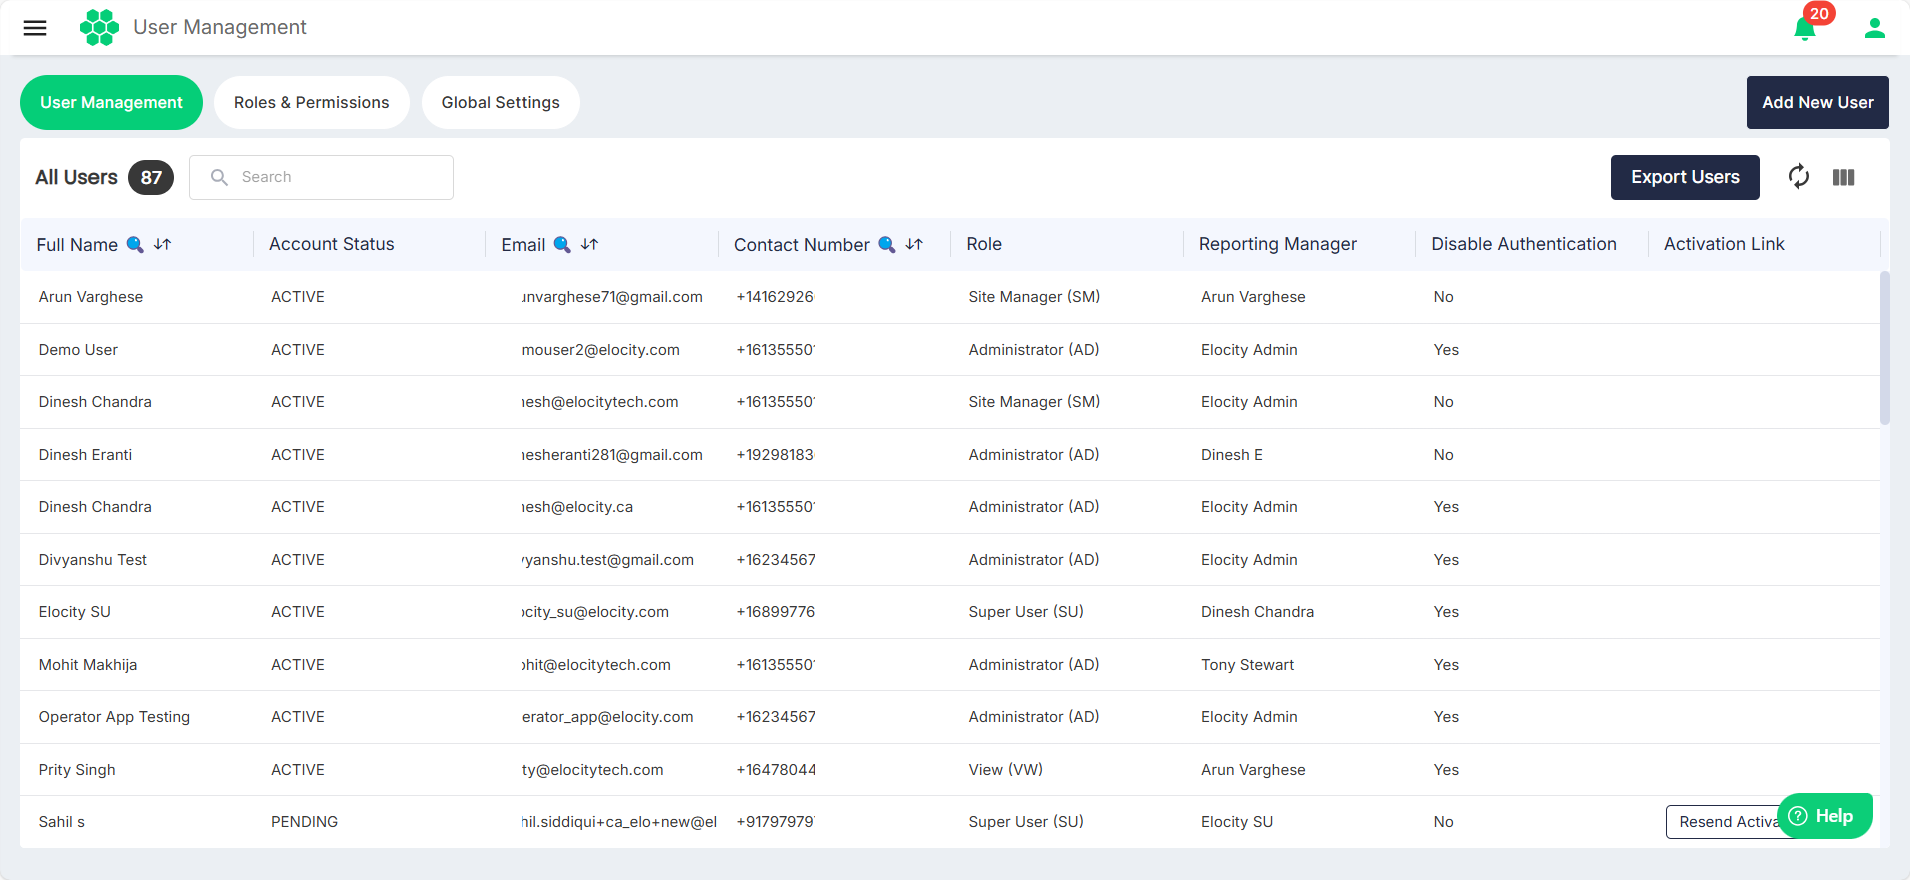
- Navigate to Administration > User Management. The following screen appears, which lists all the existing users:
- Click the Add New User button. The Add New User screen appears:
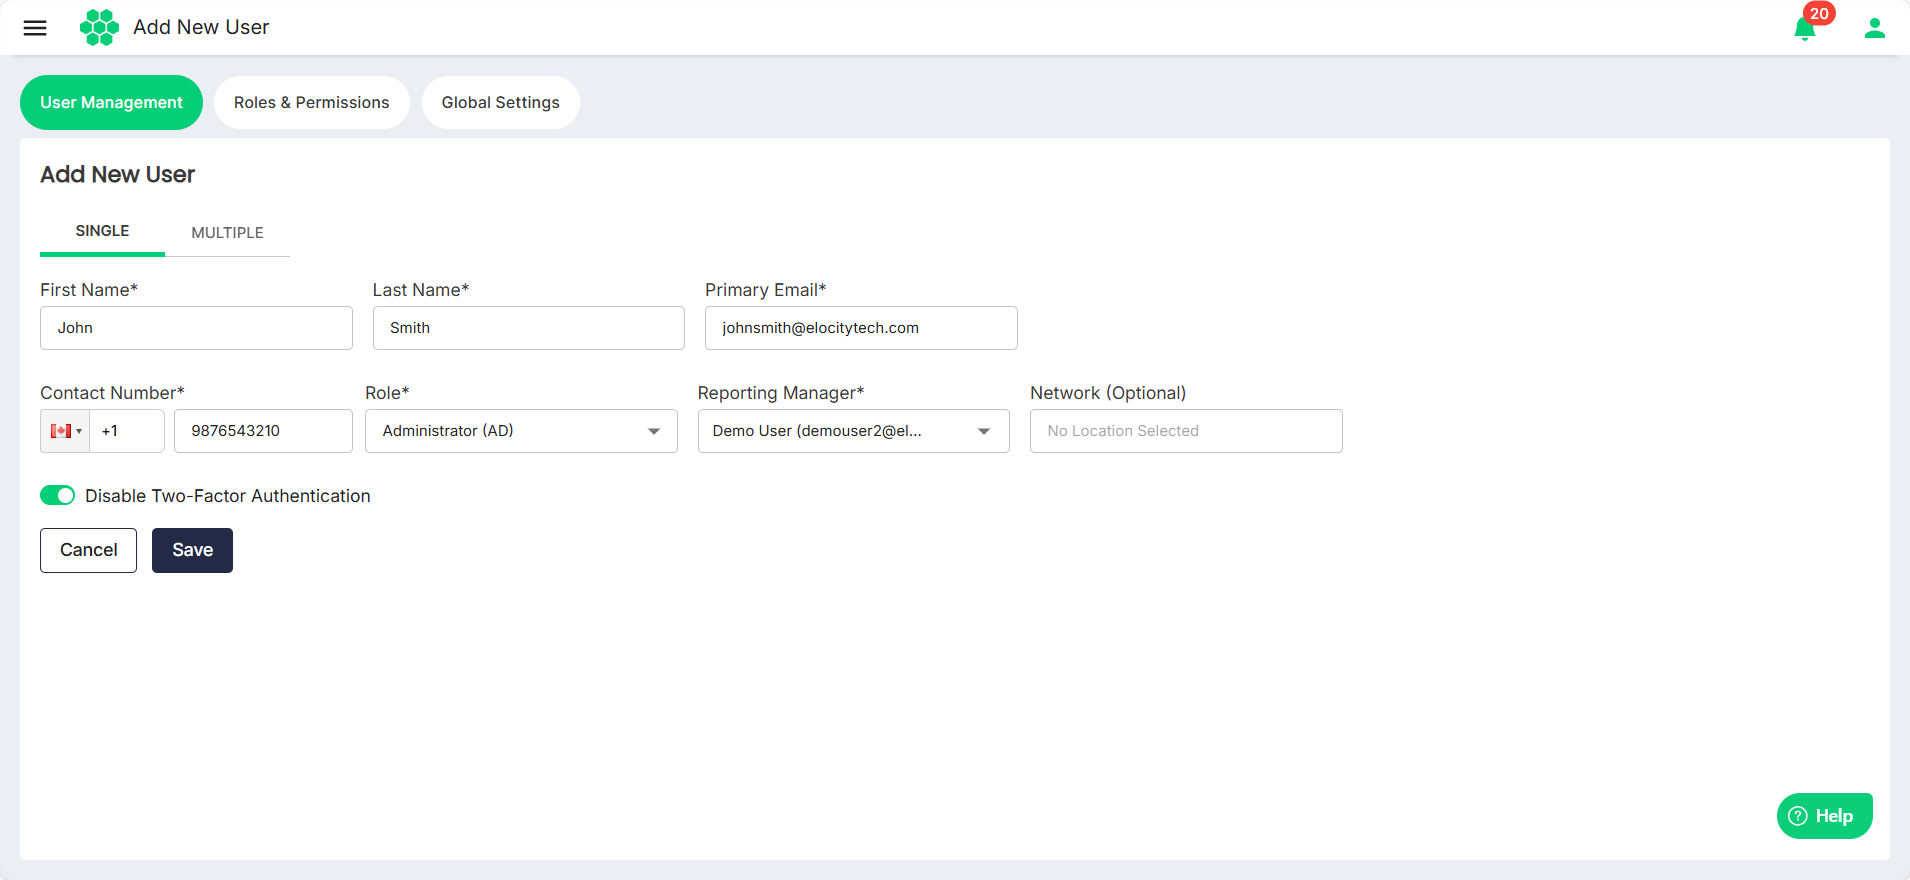
- Under the SINGLE tab, enter the following details:
- First Name
- Last Name
- Primary Email (To be used for communication and login purposes
- Contact Number
- Role (Determines the level of access and functionalities available to the user in the web portal.
- Reporting Manager (Must already have access to the web portal._
- Network (The locations the new user will have access to. Access to specific chargers will be granted based on the user’s role and network access.)
- Click the the Disable Two-Factor Authentication to enable or disable two-factor authentication. If enabled, the user will need to provide an OTP (One-Time Password) received via email at the time of login
- Click Save.
note
All the required fields marked with an asterisk (*) are mandatory.
Adding Multiple Users
To add multiple users at once, follow these steps:
- Navigate to Administration > User Management. The following screen appears, which lists all the existing users:
- Click the Add New User button. The Add New User screen appears:
- Click the MULTIPLE tab, the following screen appears:
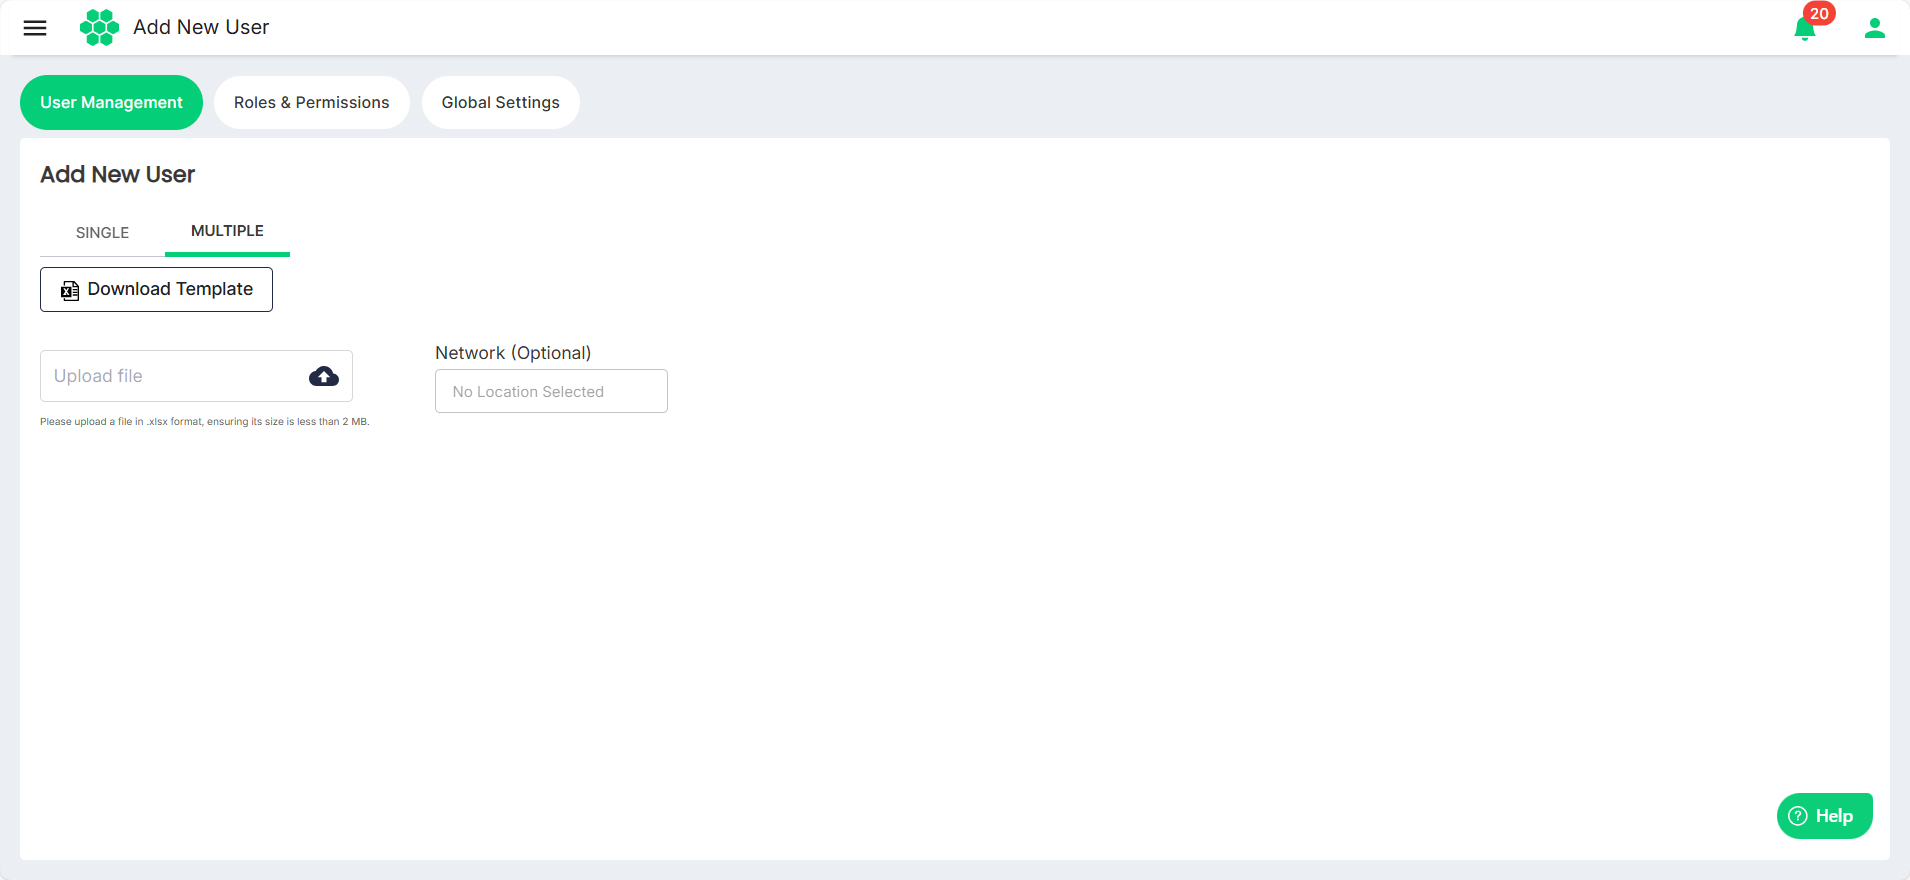
- Click the Download Template button. The User Add Template.xlsx gets downloaded to your computer.
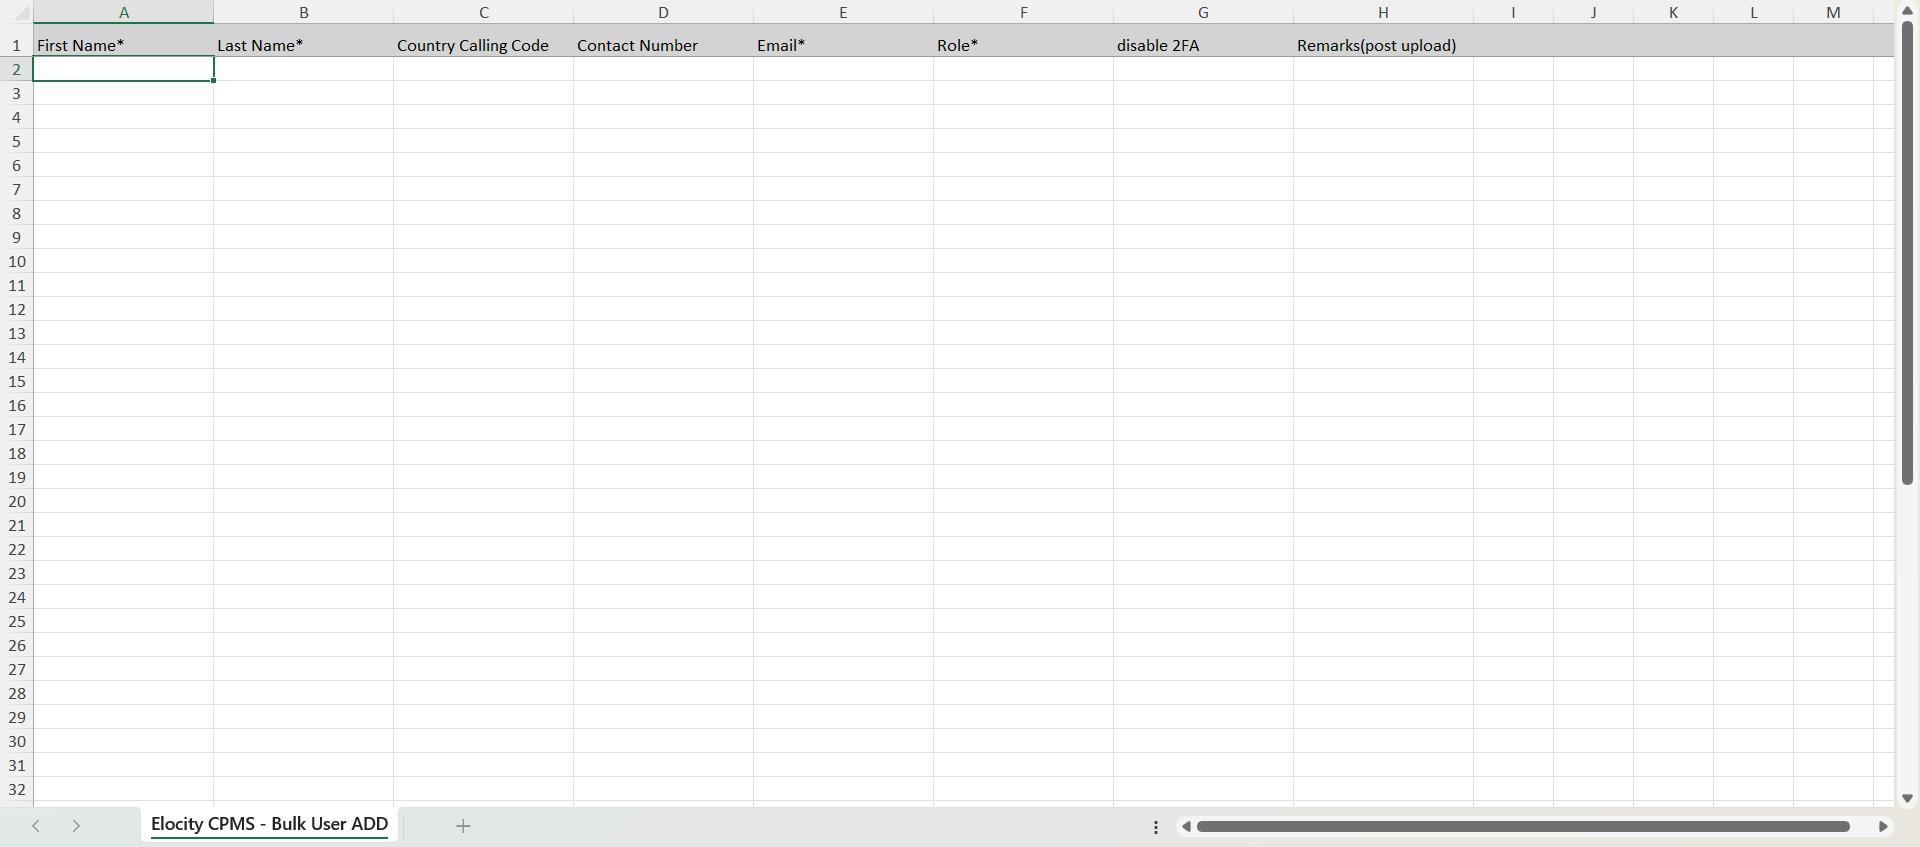
- Complete the template with the necessary information for each user.
- Once filled, click the Upload file button to upload the updated file to the portal.
- From the Network field, assign network access to all users in one go.
- Click the Upload button.
Exporting Users
To export the details of all the user in a .CSV format, follow these steps:
- Navigate to Administration > User Management. The following screen appears, which lists all the existing users:
- Click the Export Users button.