Managing Locations
Every station integrated into the network must be associated with a specific location. Accurate address details, along with latitude and longitude information, are crucial for customer navigation through mobile applications.
Navigate to Assets > Location Management. The following screen appears, which displays a comprehensive list of locations along with the associated details in a tabular format: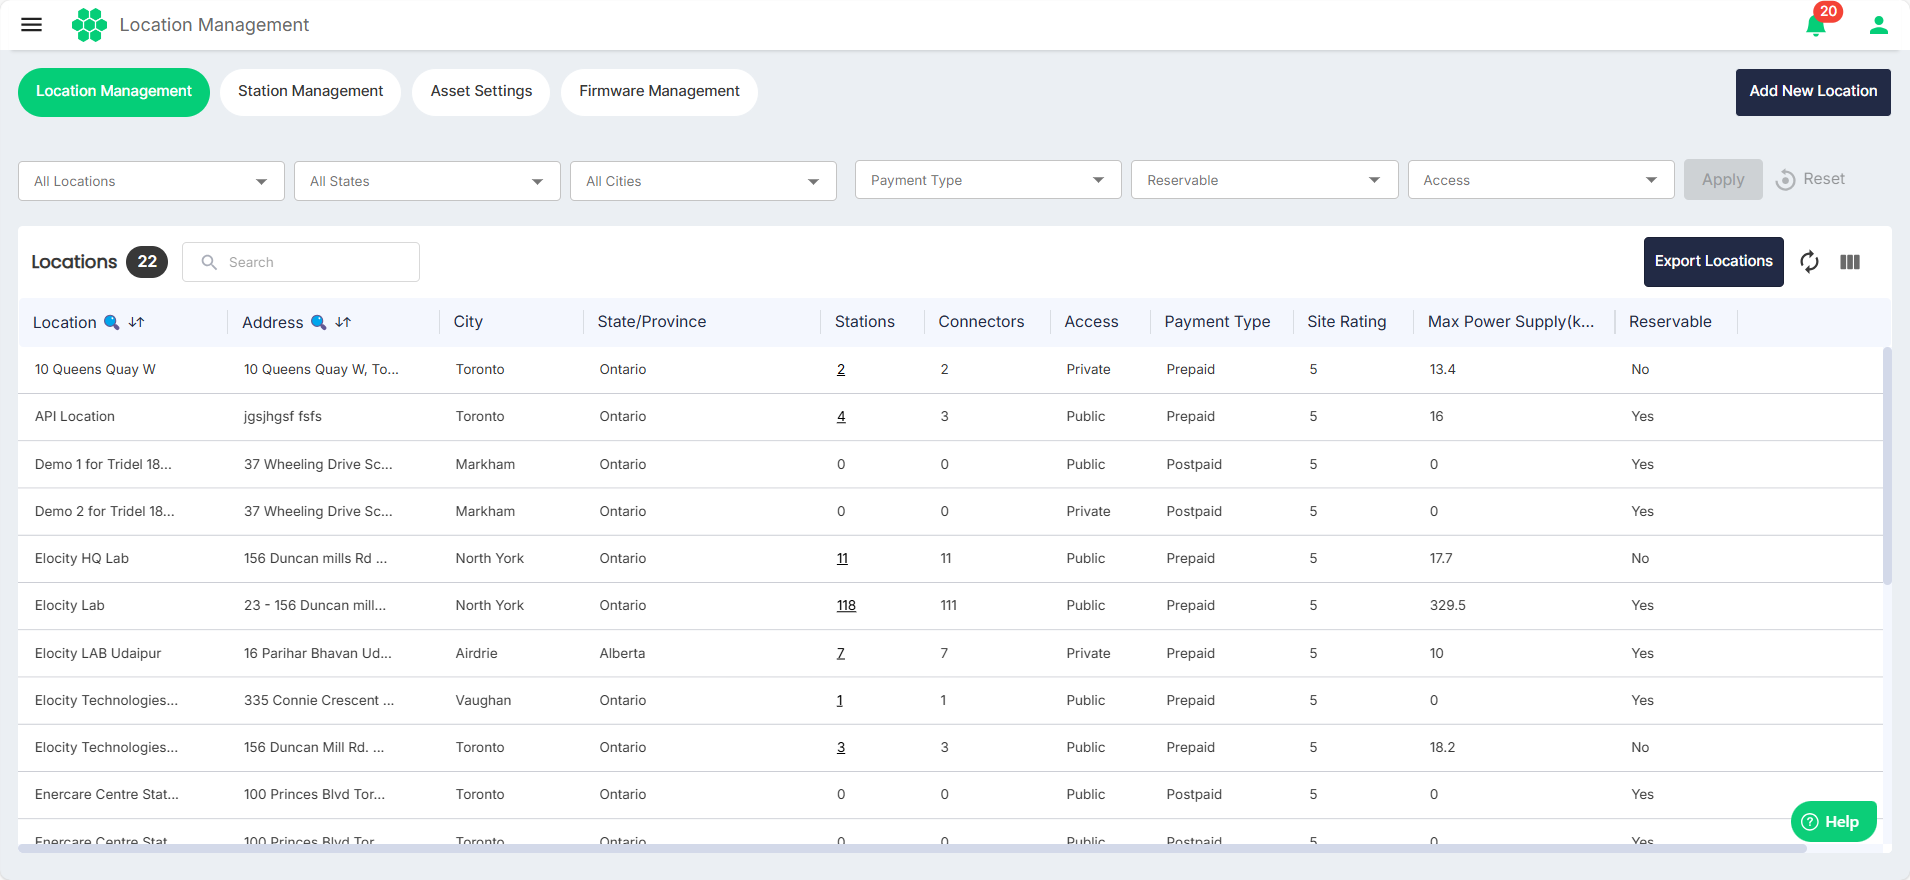
Filtering Locations
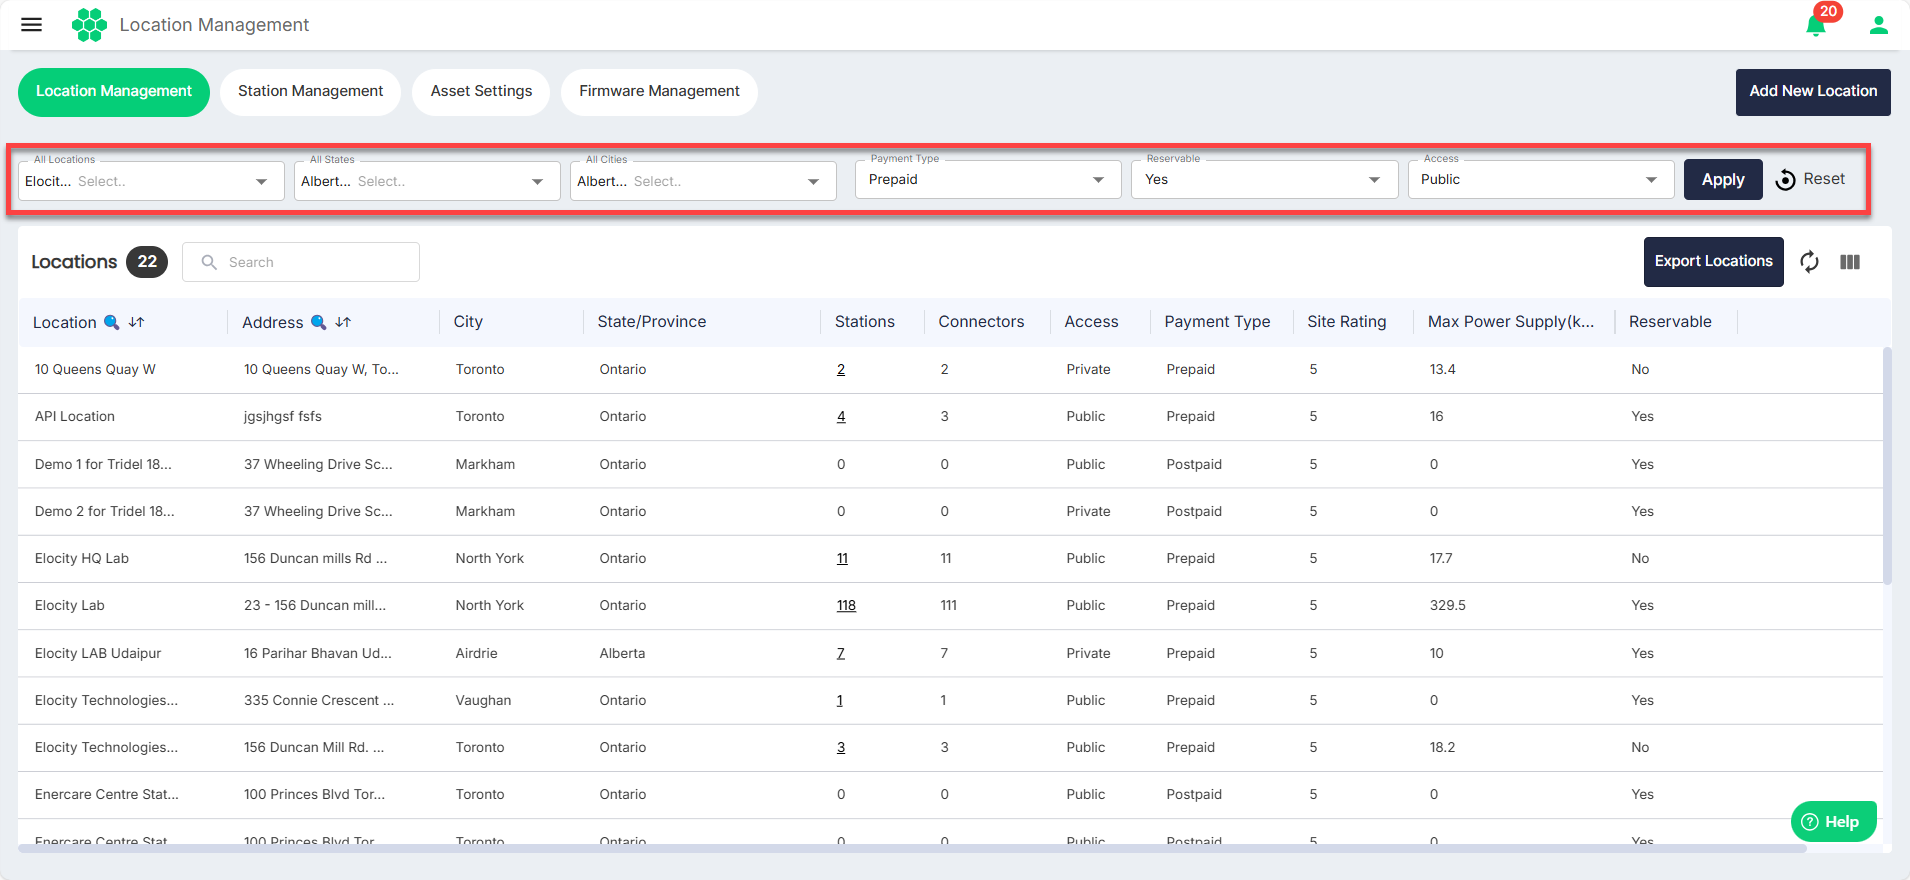
You can filter and limit the number of locations you want to view using the following filters:
- Locations - Select one or more locations from the drop-down list.
- States - Select one or more states from the drop-down list.
- Cities - Select one or more cities from the drop-down list.
- Payment Type - Select Prepaid or Postpaid from the drop-down list.
- Reservable - Select Yes or No from the drop-down list.
- Access - Select Public or Private from the drop-down list.
Exporting Location Details
You can export the location details in a .CSV format for offline viewing and analysis. To do so, click on the Export Locations button.
Viewing and Managing Location Details
Click anywhere inside a location record row. The following screen appears where you can view and manage the details for the selected location:
Managing Info
Click on the Info tab. The screen displays the basic details associated with the location: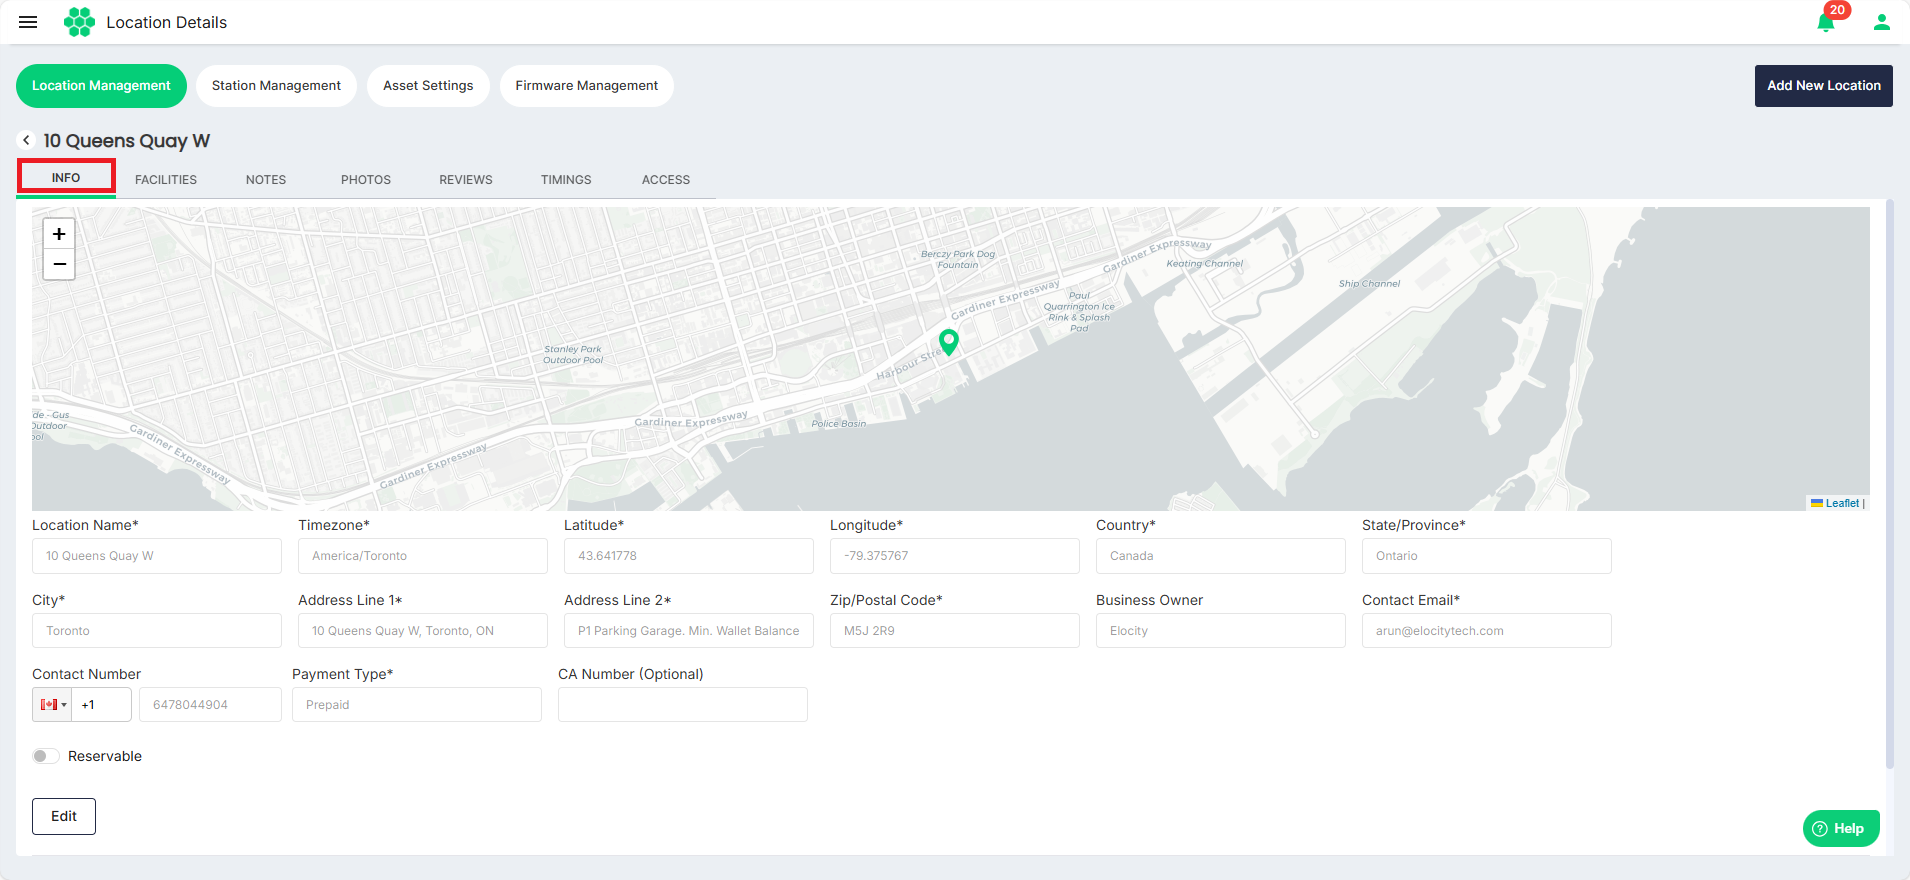
To edit the location details, click on the Edit button, make the desired changes, and click the Save button.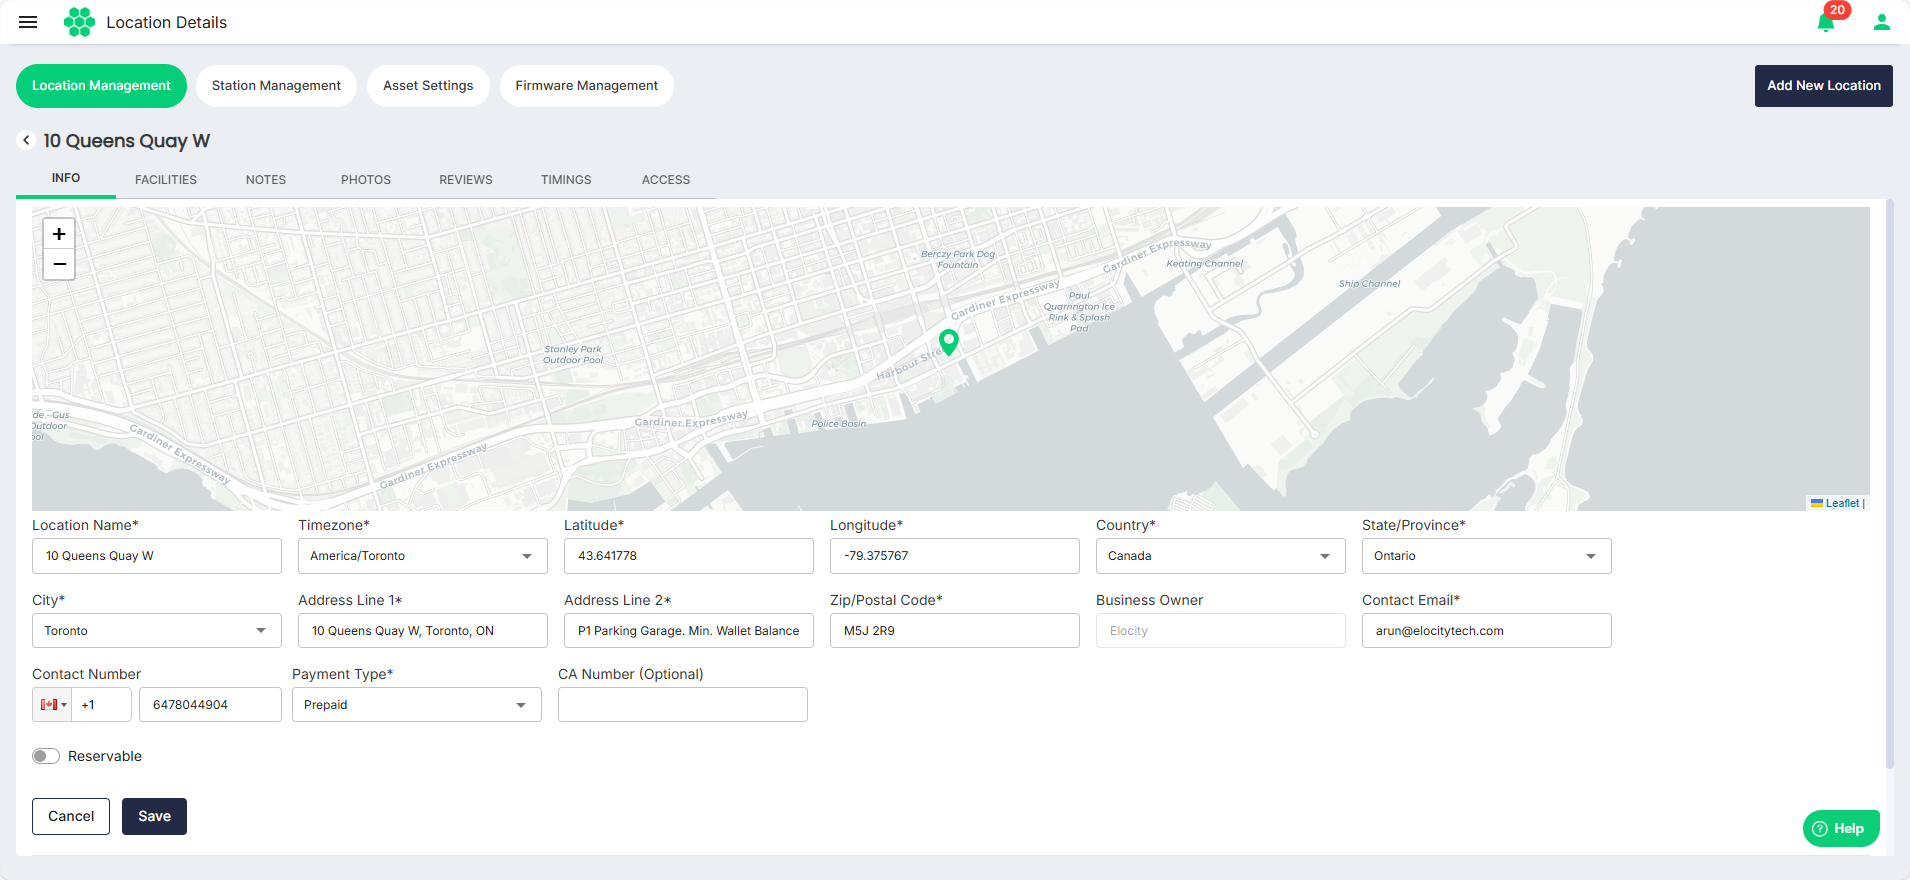
Managing Facilities
Click on the Facilities tab. The screen displays the facilities associated with the location: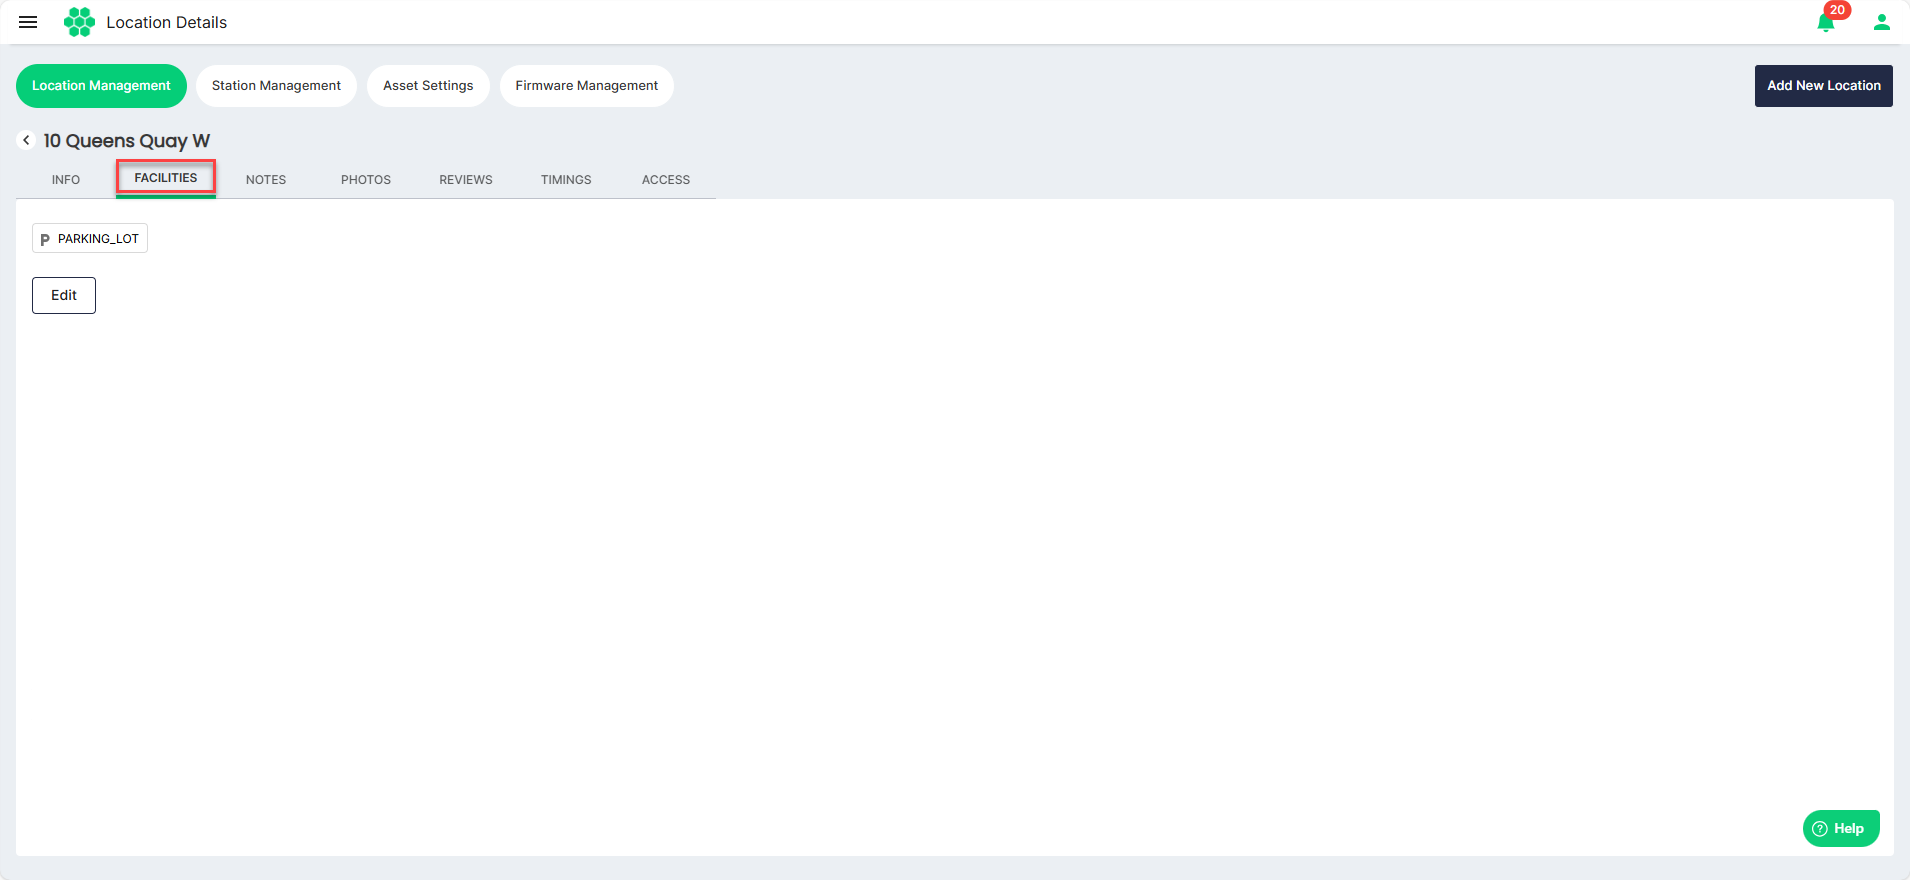
To edit the facilities, click on the Edit button, select all the facilities associated with the location from the Select Facilities drop-down list, and click the Save button.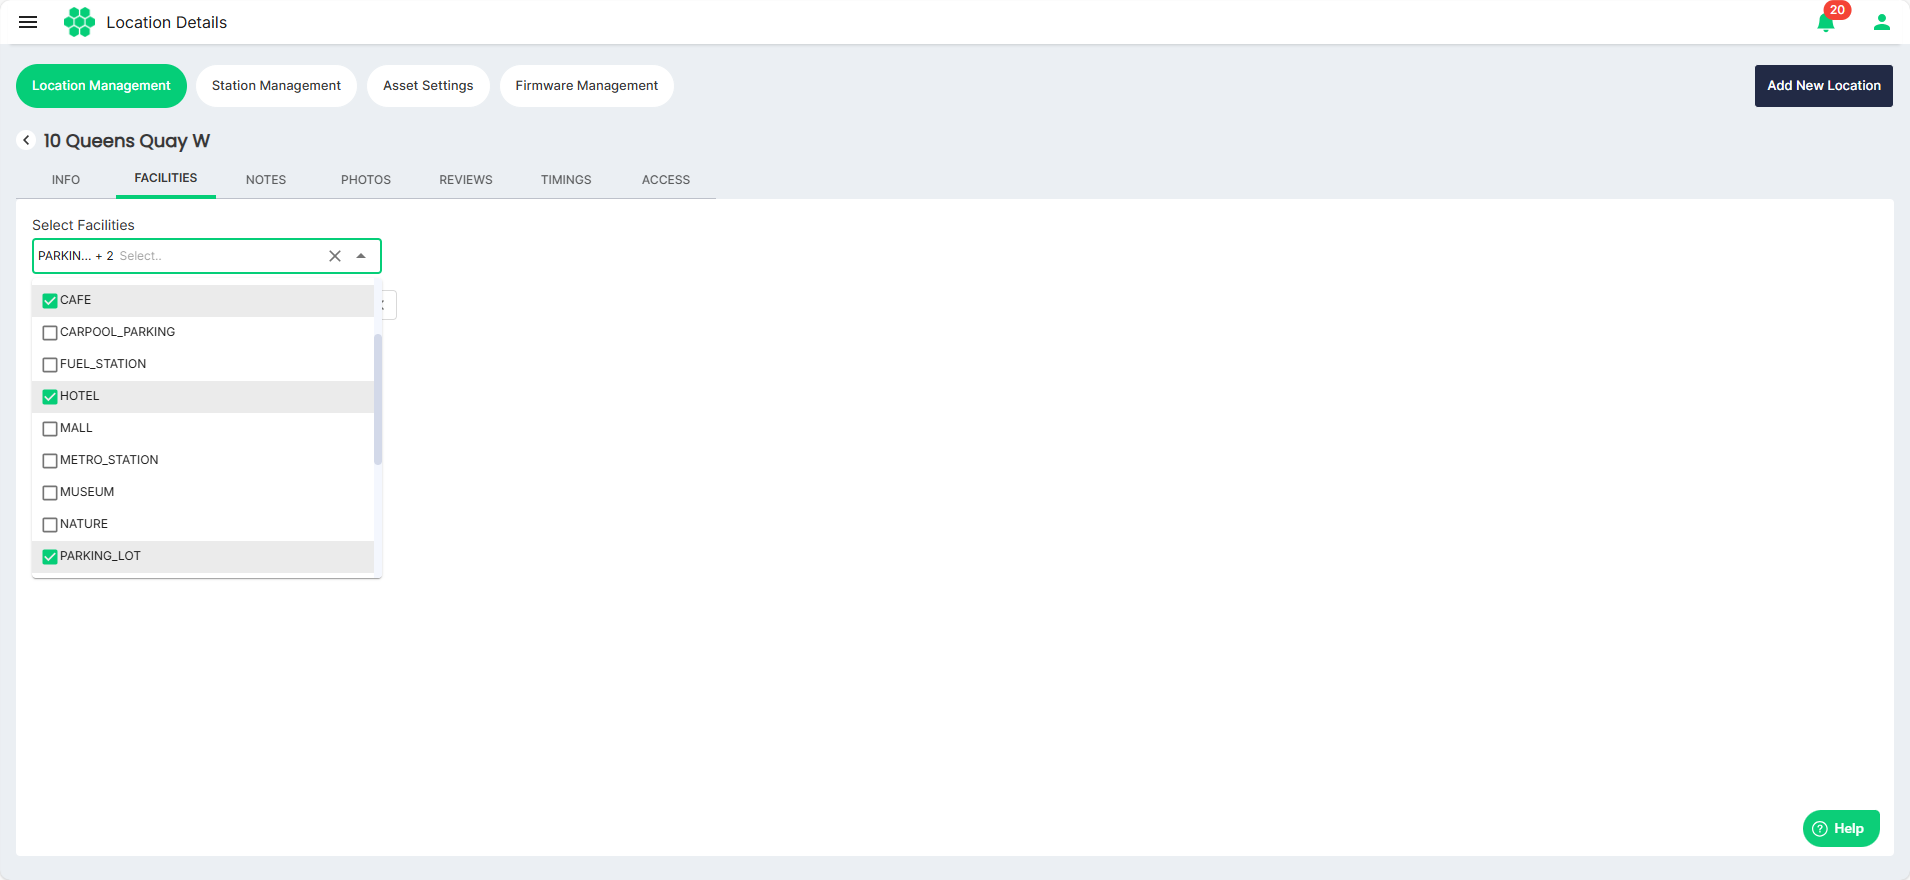
Managing Notes
Click on the Notes tab. The screen displays the notes associated with the location: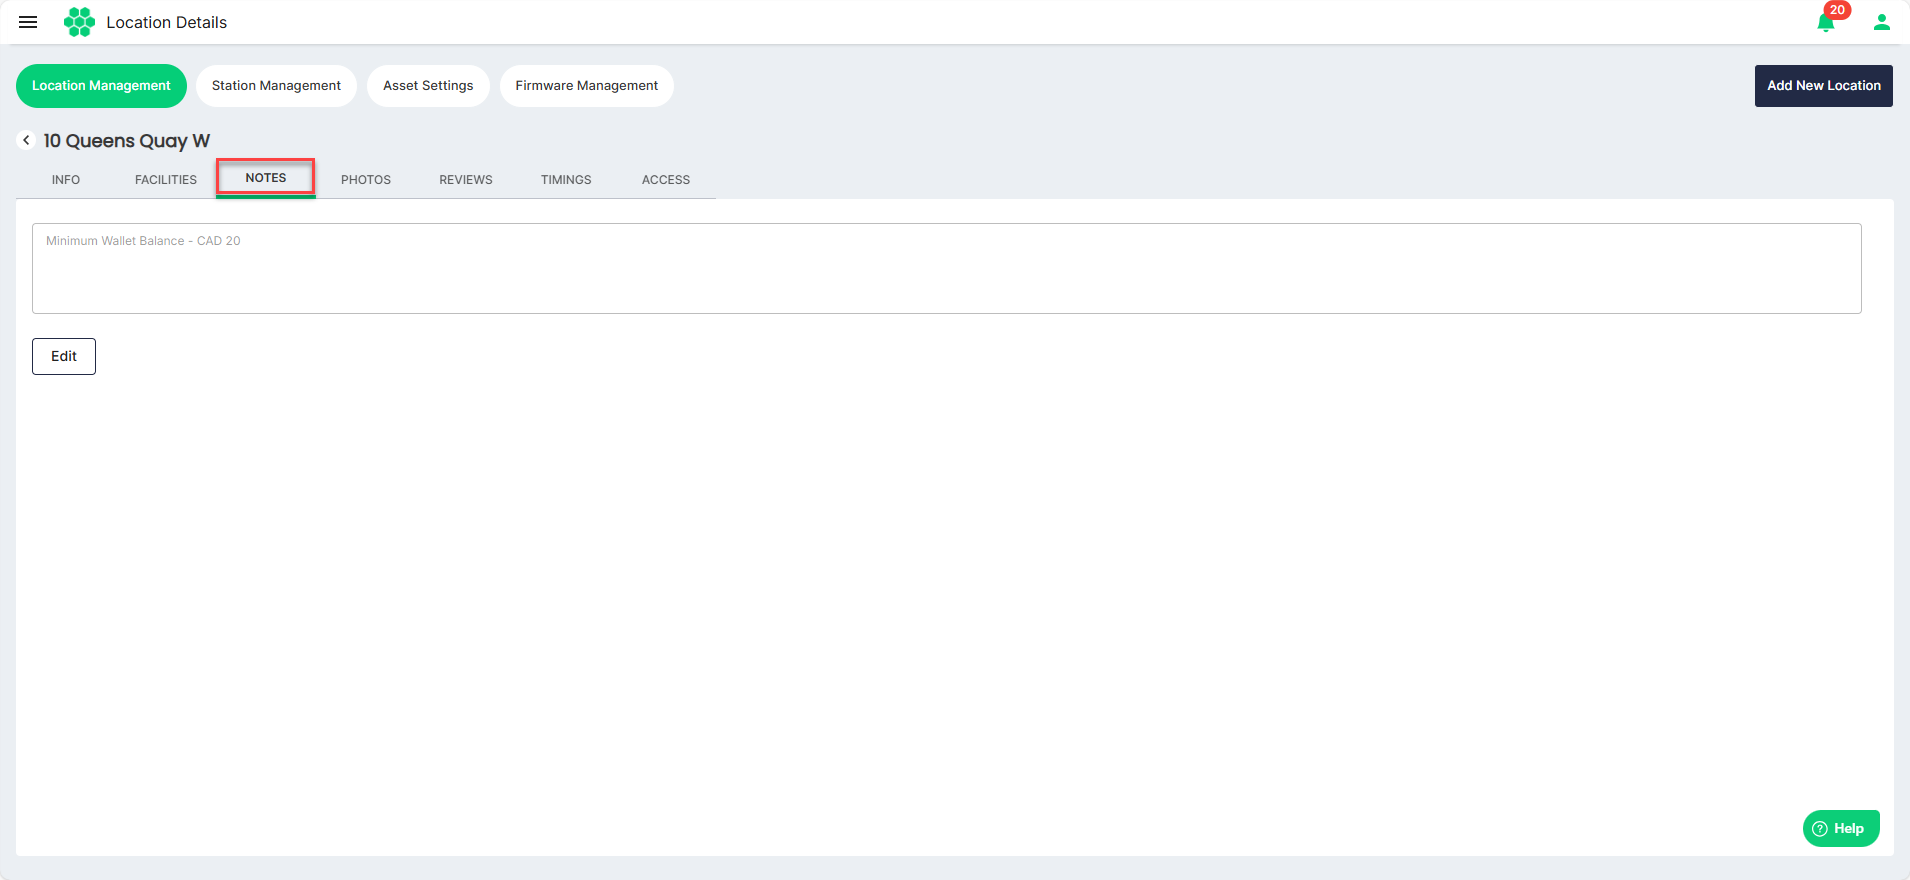
To edit the notes, click on the Edit button, make the desired changes to the notes, and click the Save button.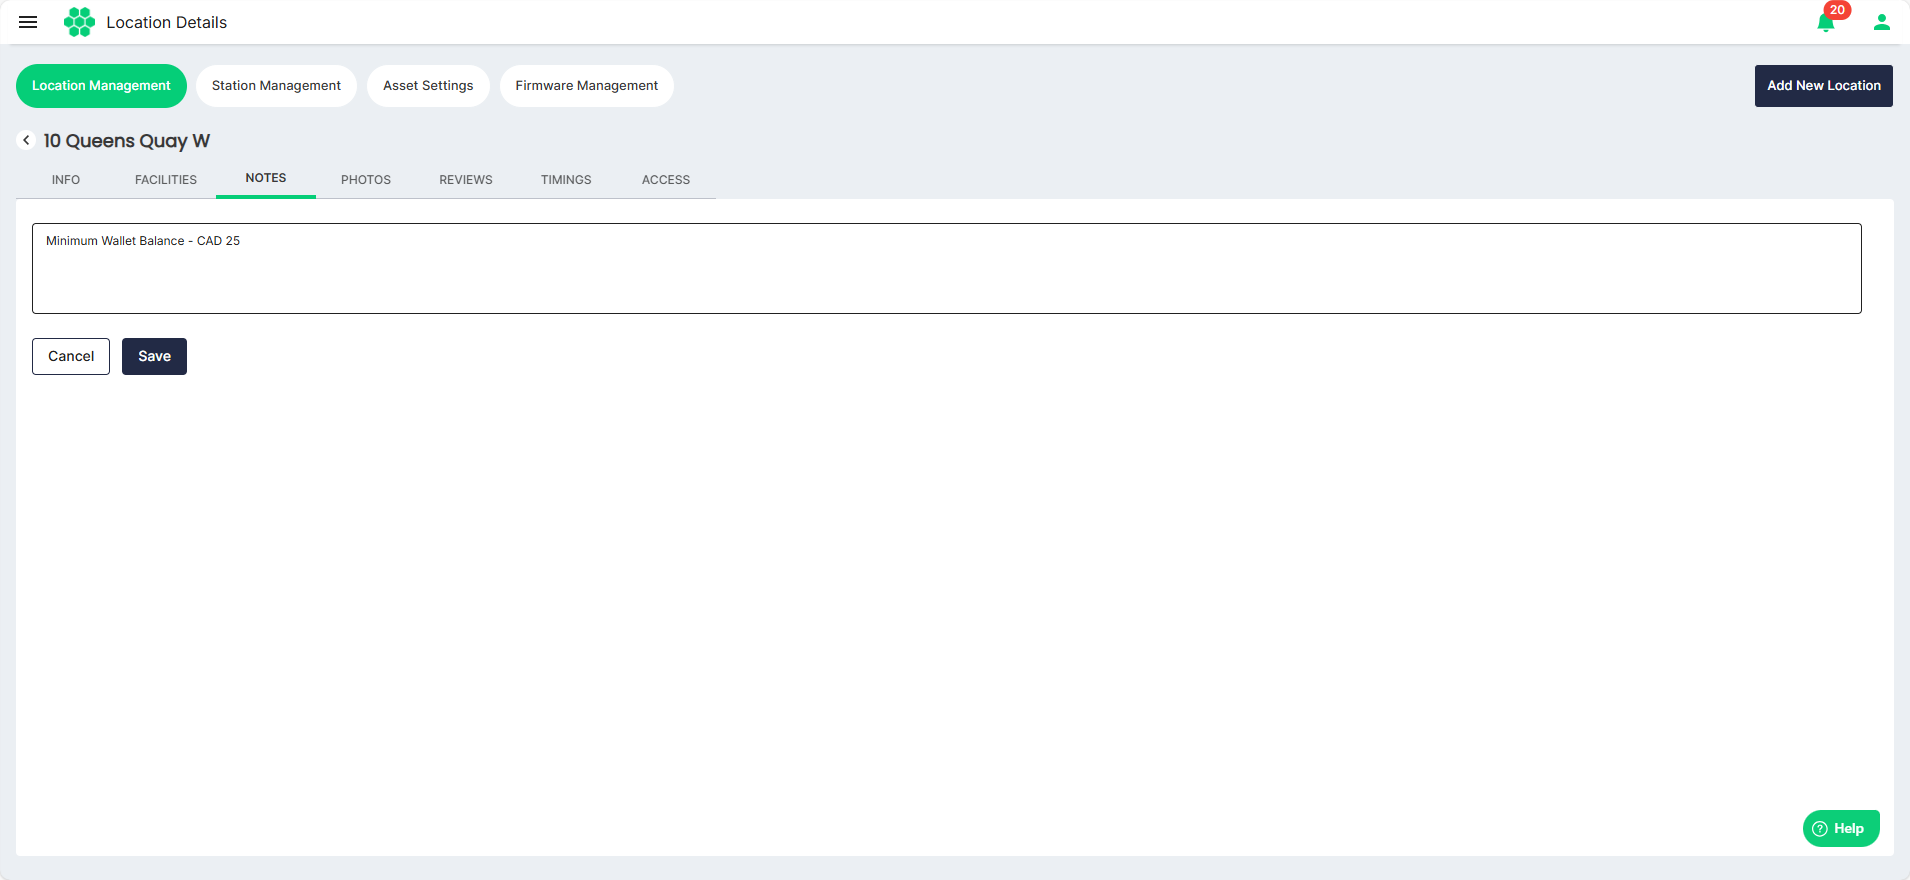
Managing Photos
Click on the Photos tab. The screen displays the photos associated with the location: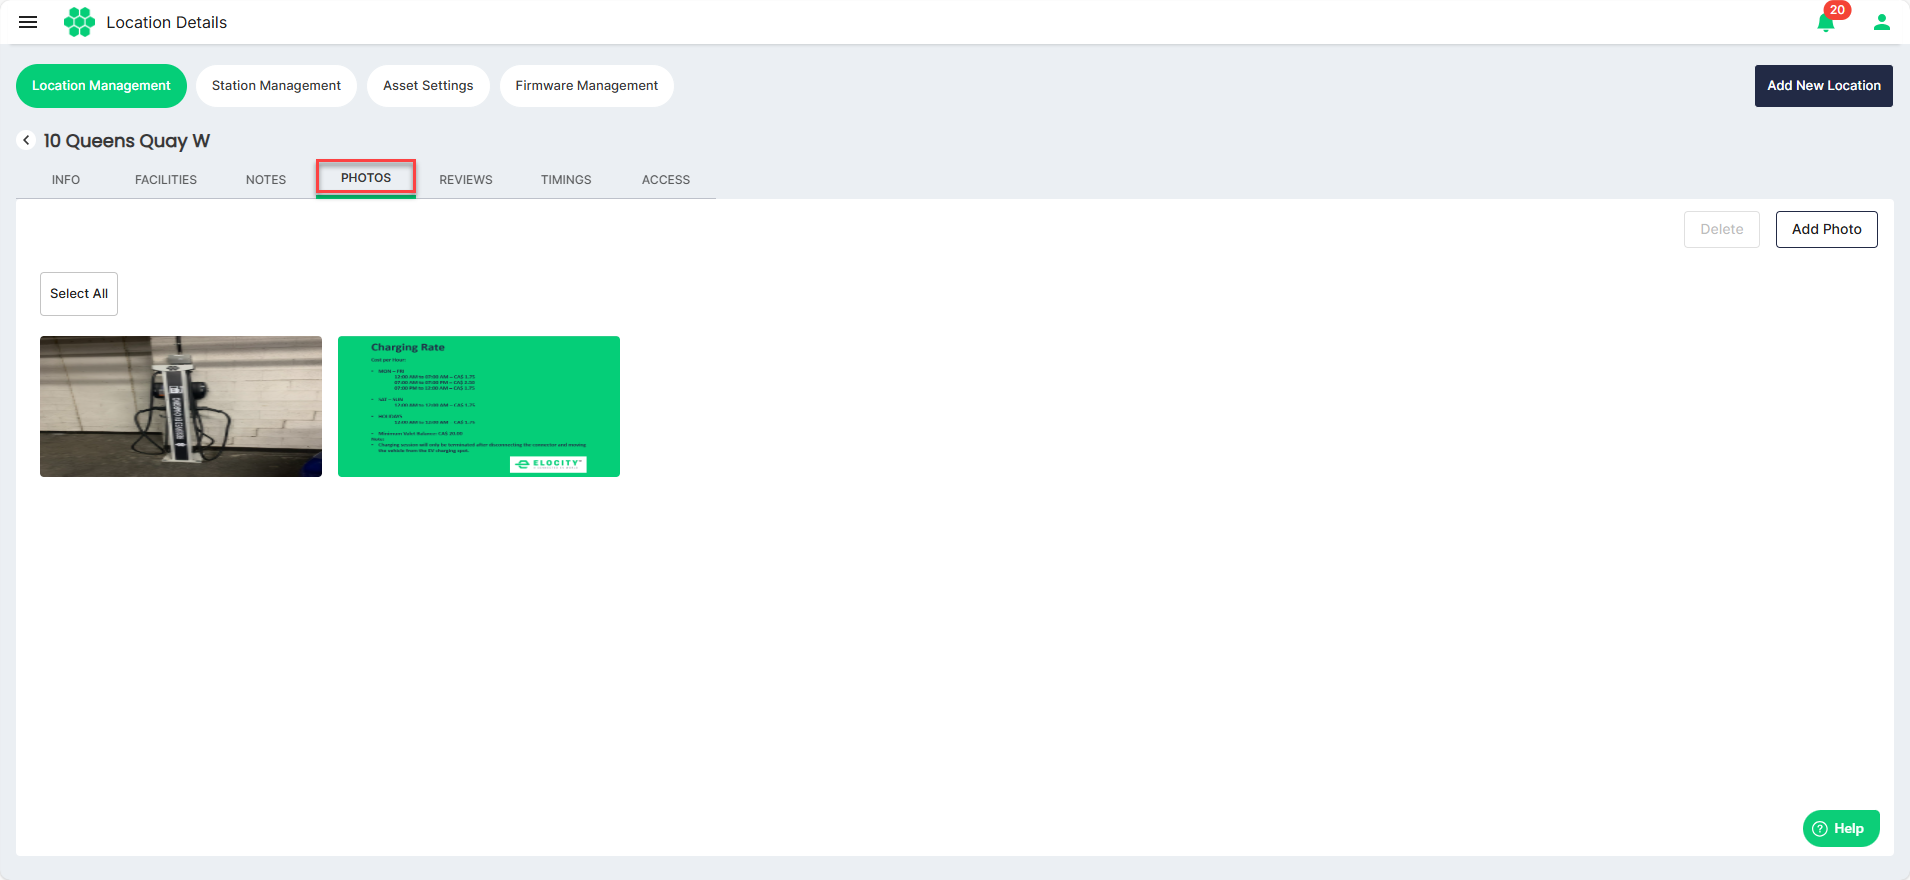
To delete photos, select the photos, or click the Select All button to select all the photos at once. Then, click on the Delete button. 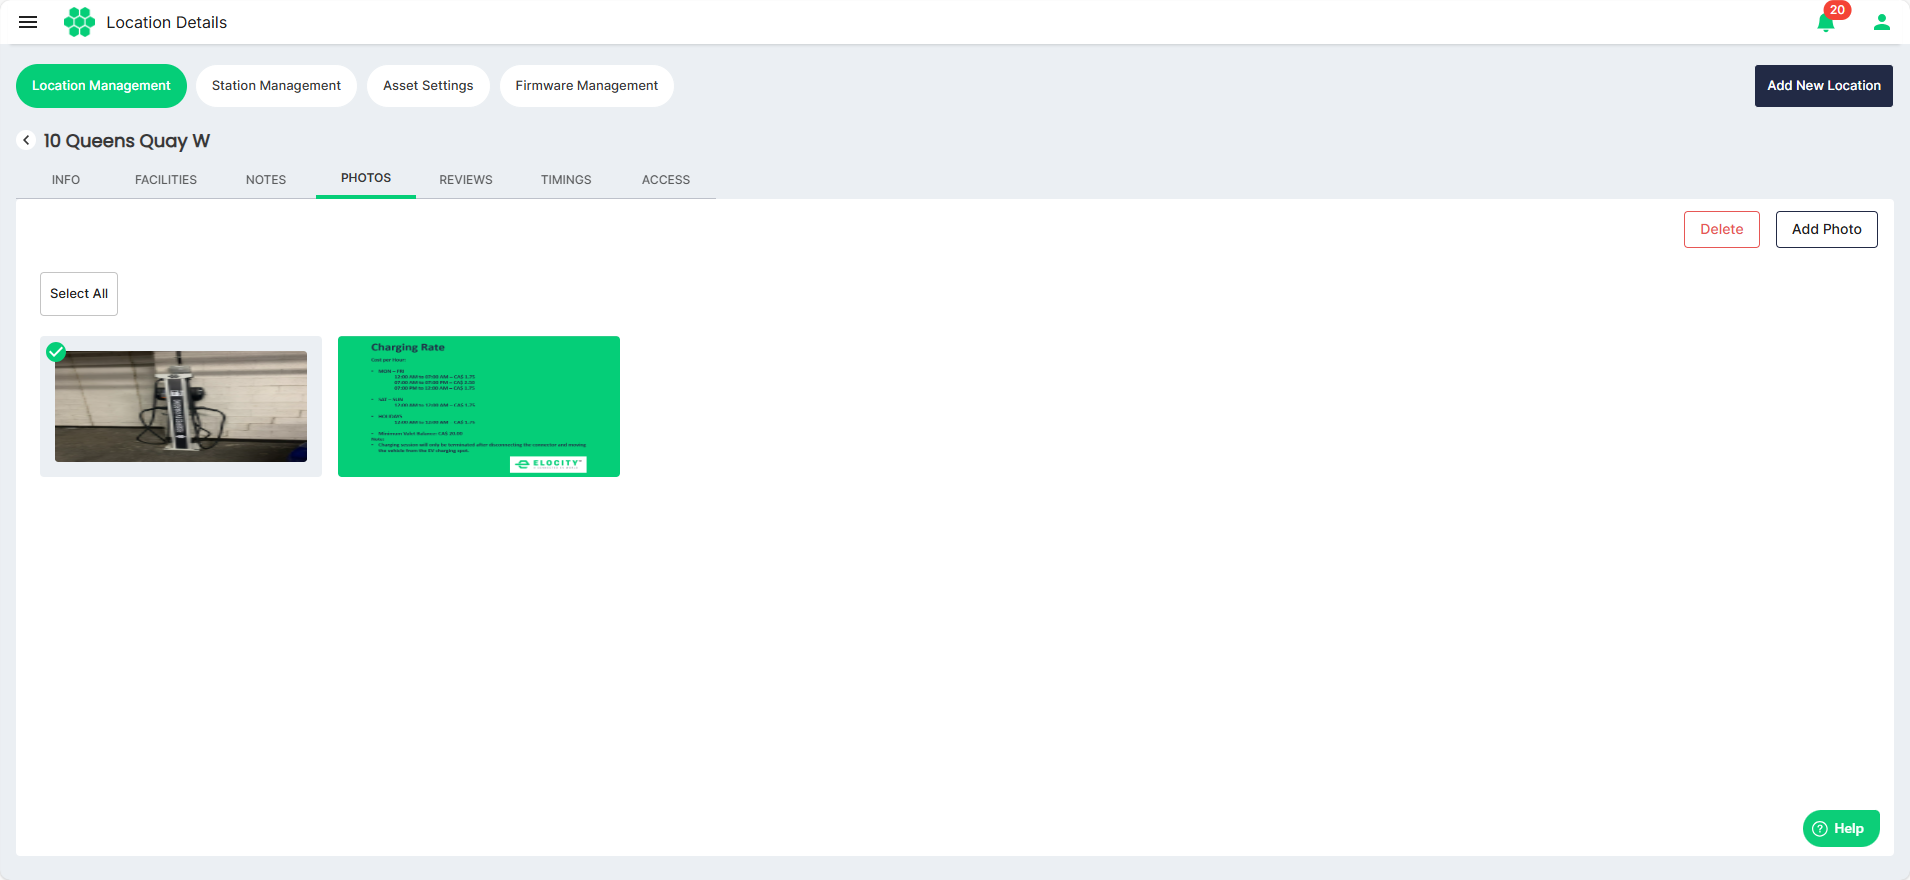
To upload photos, click the Add Photo button. The following screen appears from where you can add more photos from your device.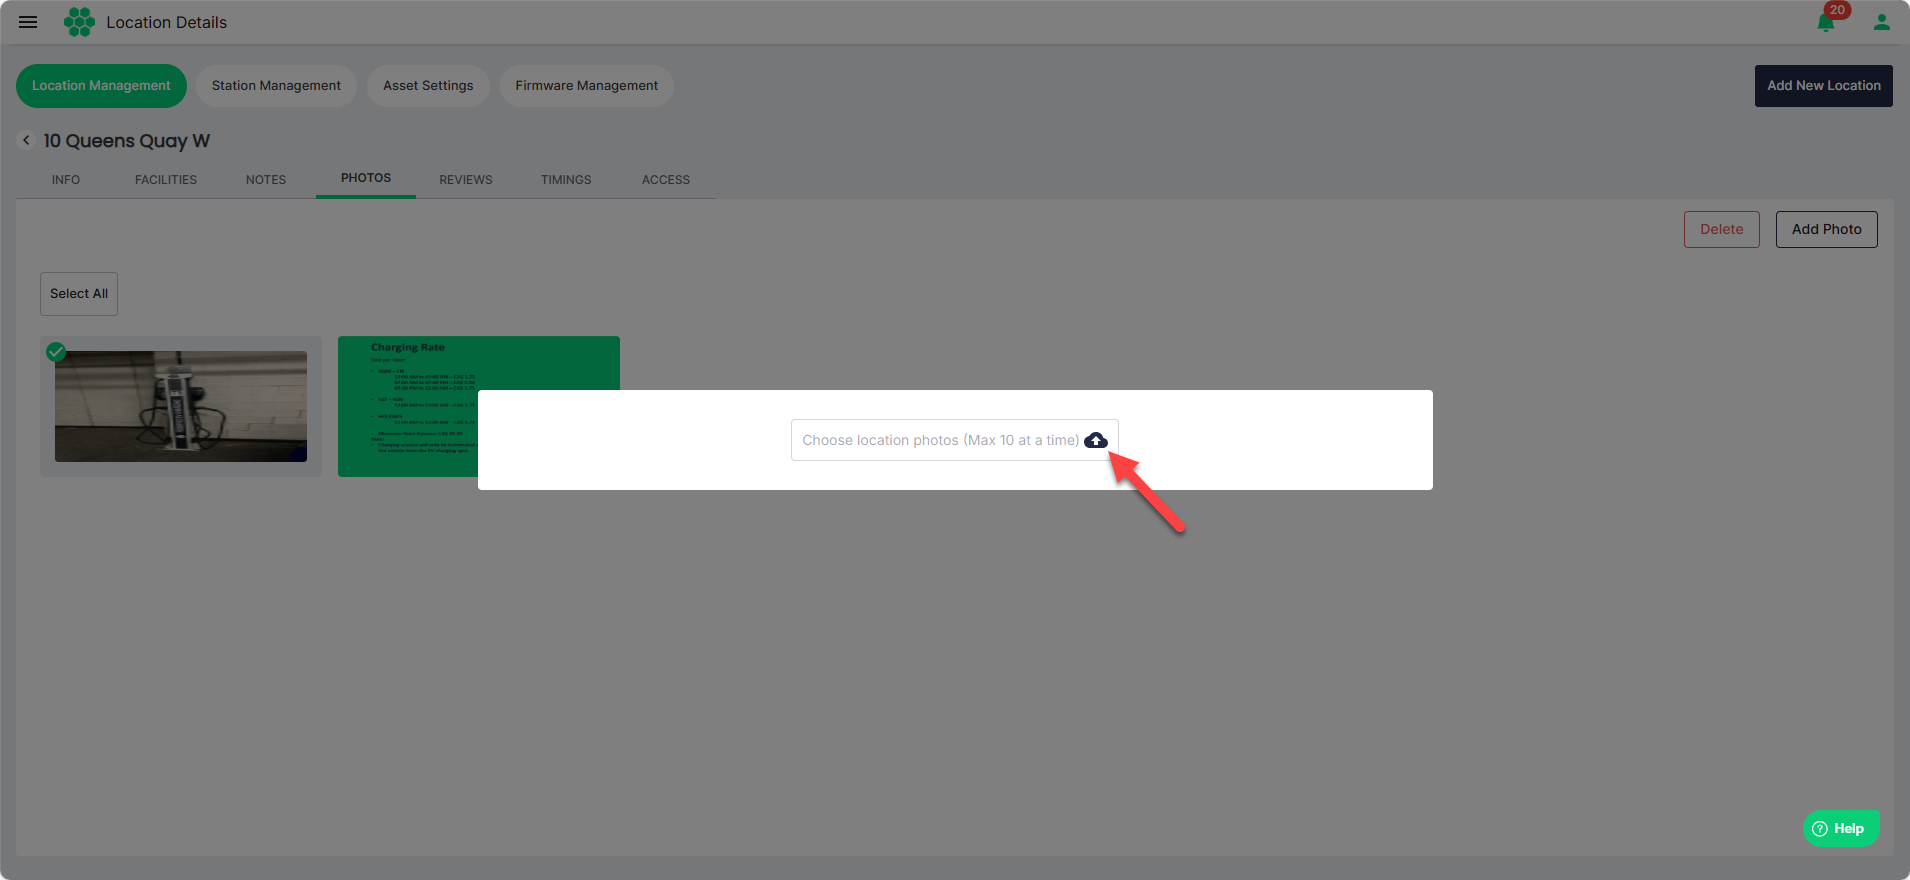
Viewing Reviews
Click on the Reviews tab. The screen displays reviews provided by the customers:
Managing Timings
Click on the Timings tab. The screen displays the operational timings associated with the location: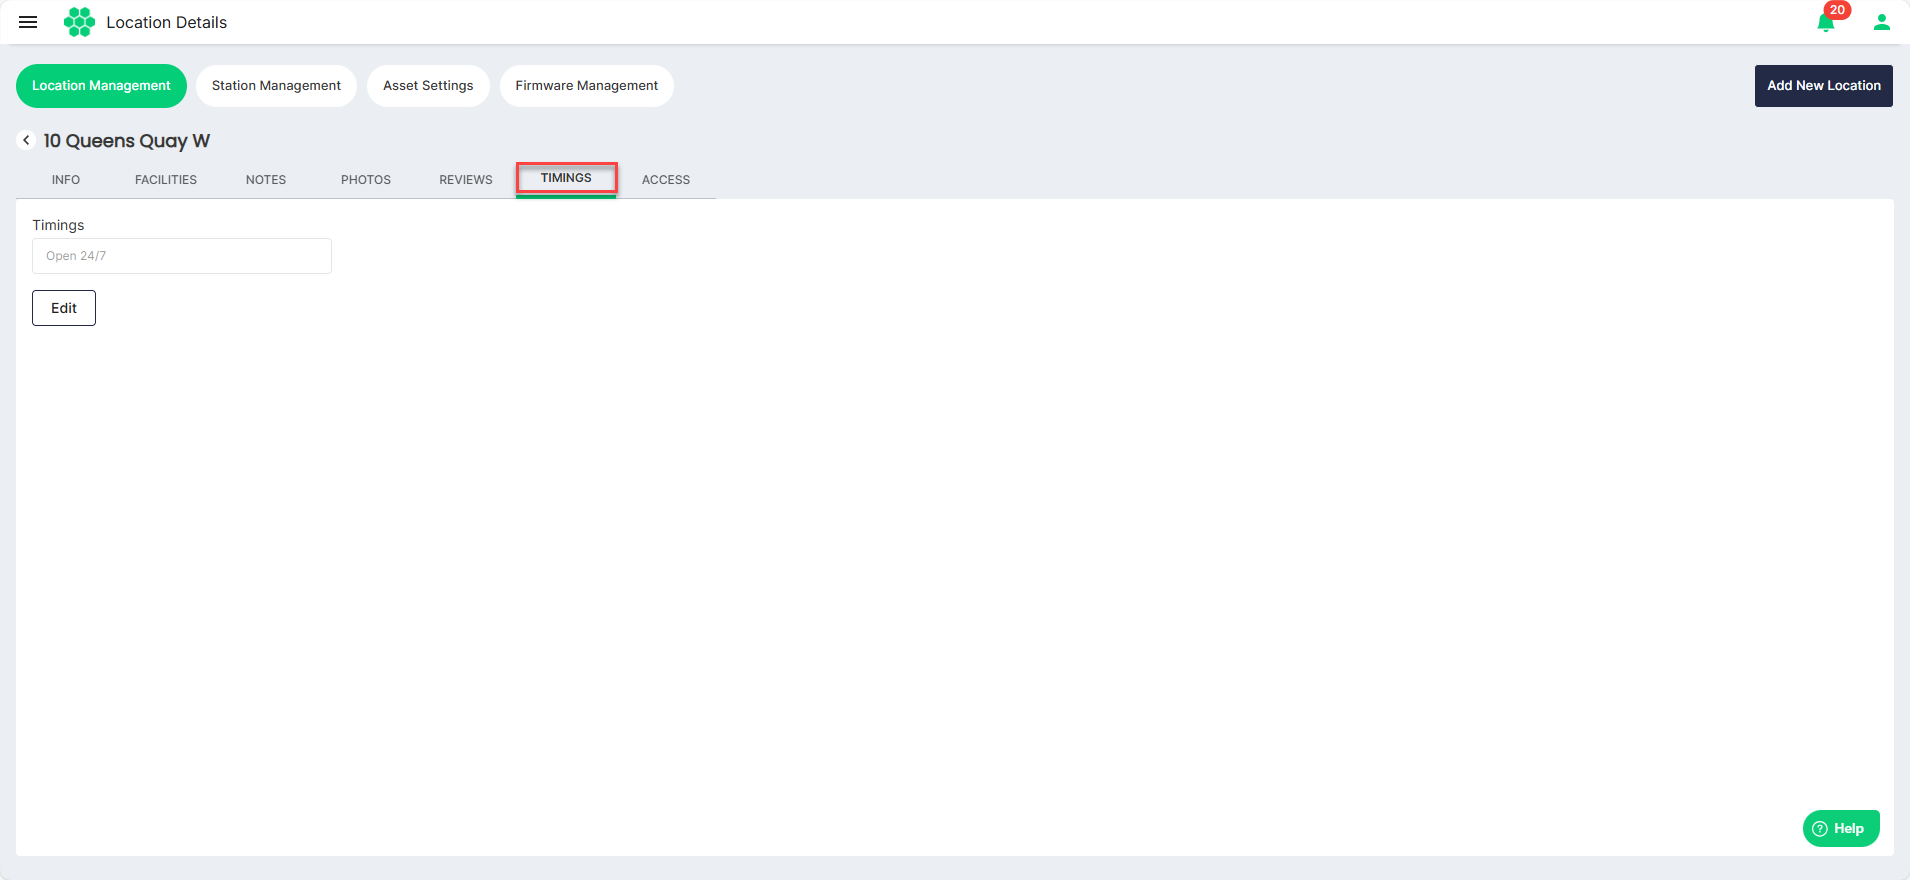 To edit the timings, follow these steps:
- Click on the Edit button.
- Select Open 24/7 or Customized from the Timings drop-down list.
- Select Open 24/7 if you want the location to be operational at all times.
- Select Customized to set the custom timings of operations for the location.
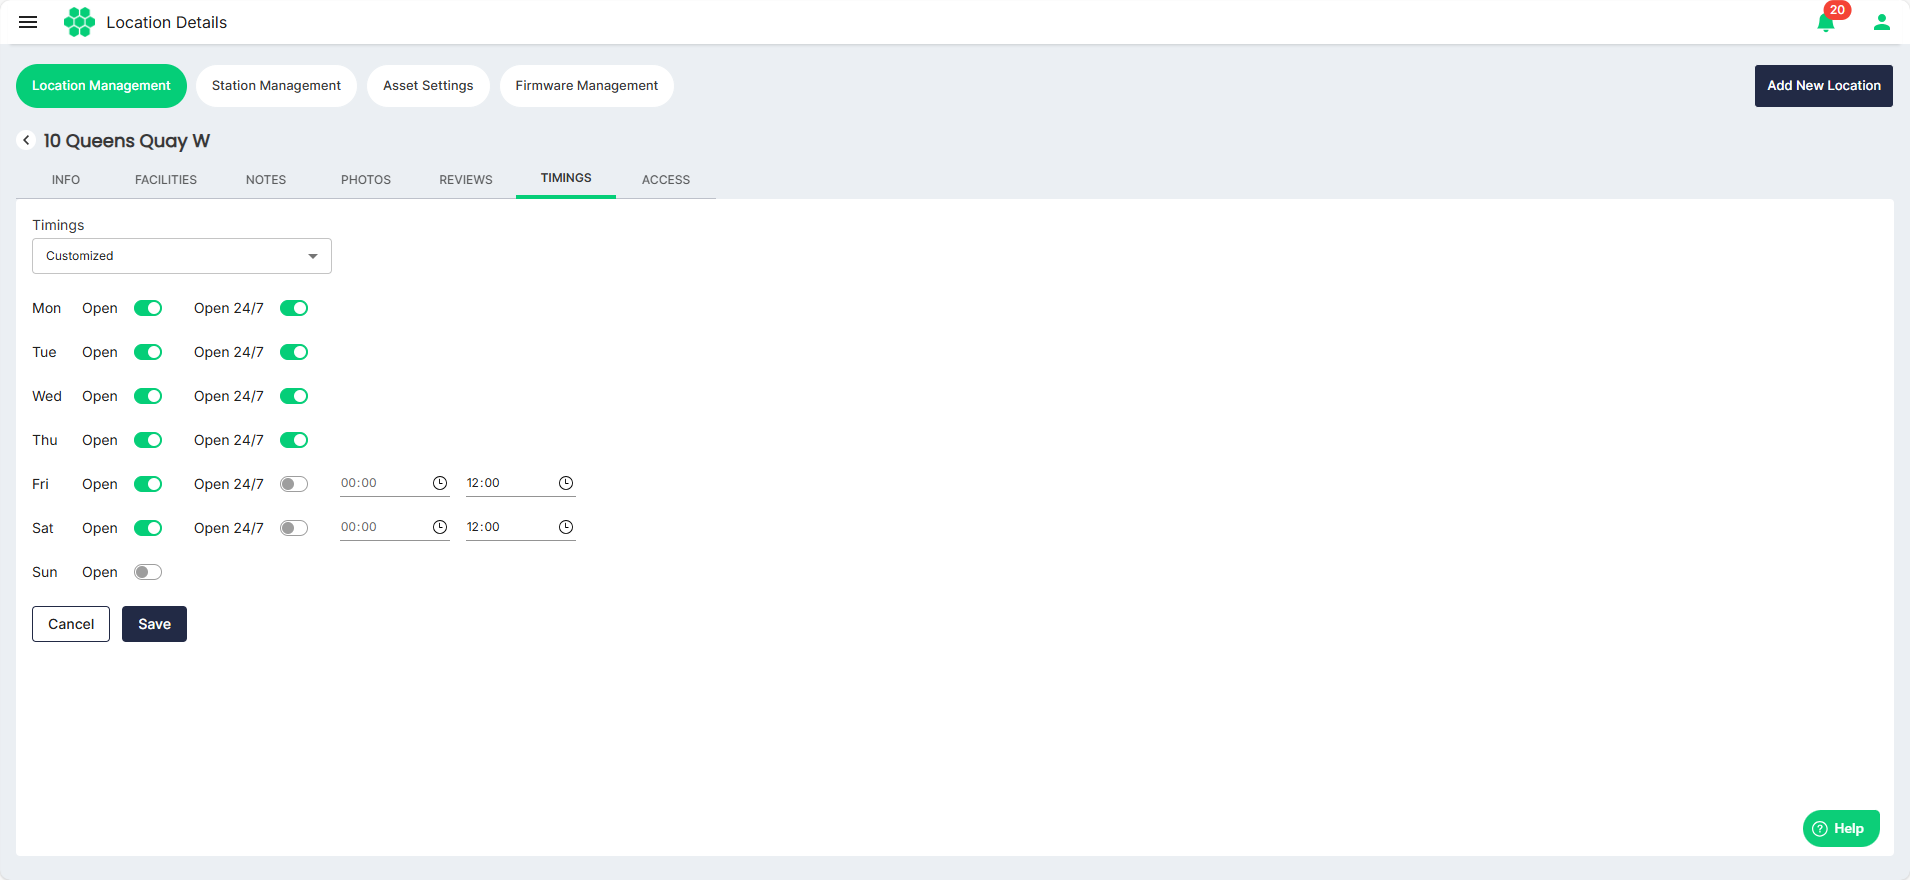
- Click the Save button.