Managing Groups
CPO users can create new groups to segment business employees and design discount plans. As part of managing groups, you can perform the following tasks:
Viewing Group Details
To view all the groups list and the details associated with a group, follow the steps:
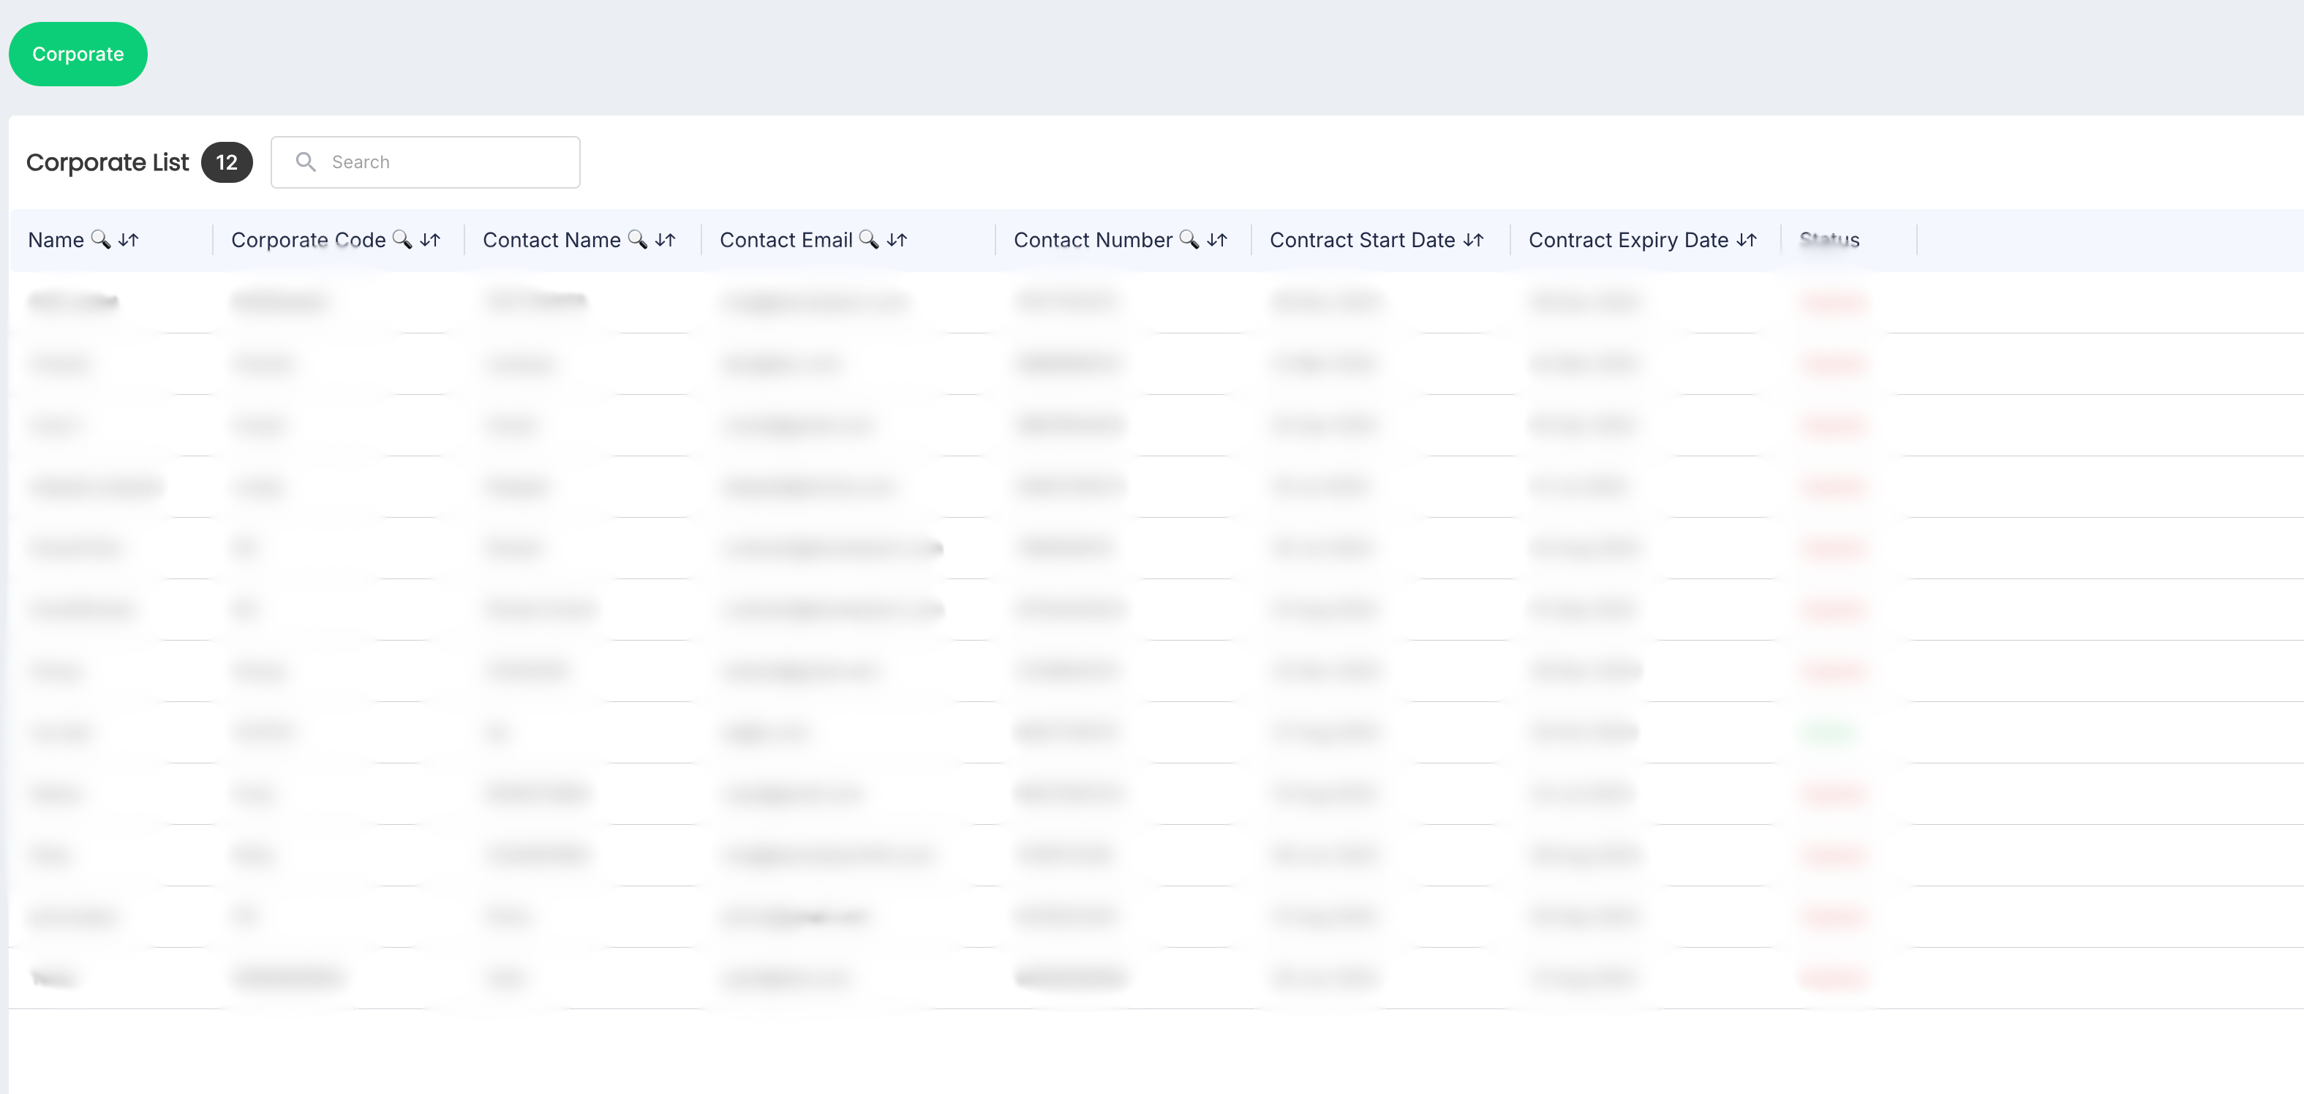
- Navigate to Corporate > Corporate. The Corporate List screen appears.
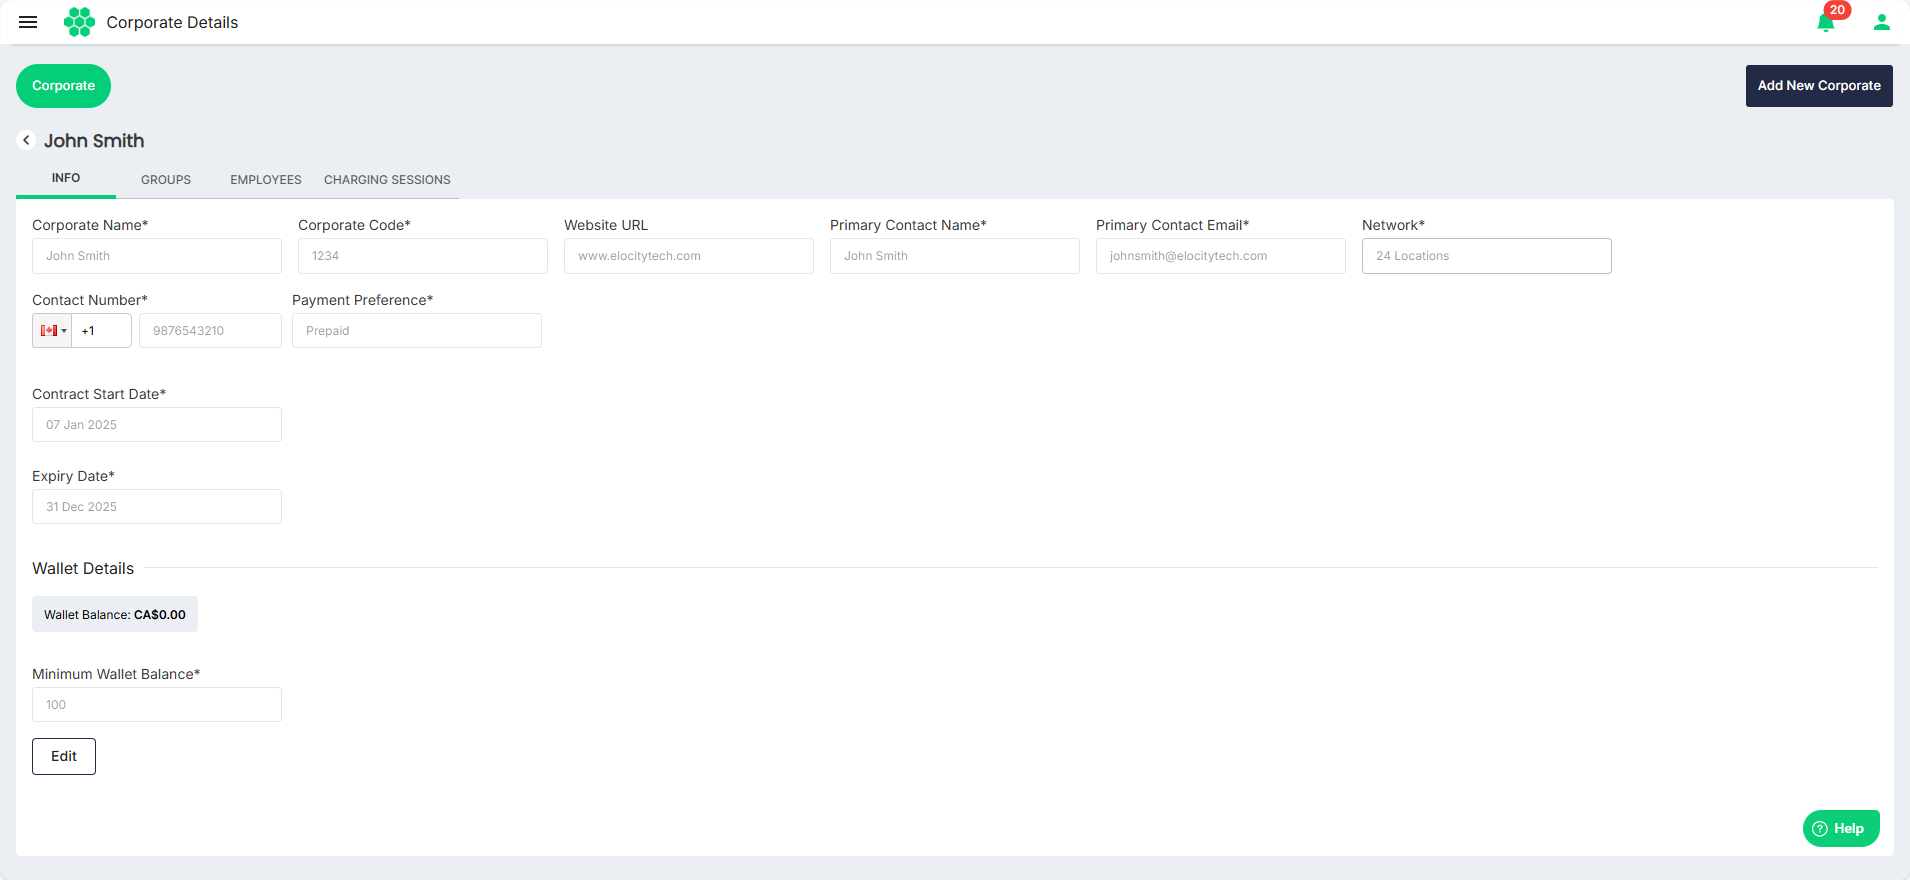
- Click anywhere inside the record row of the corporate that you want to view. The following screen appears:
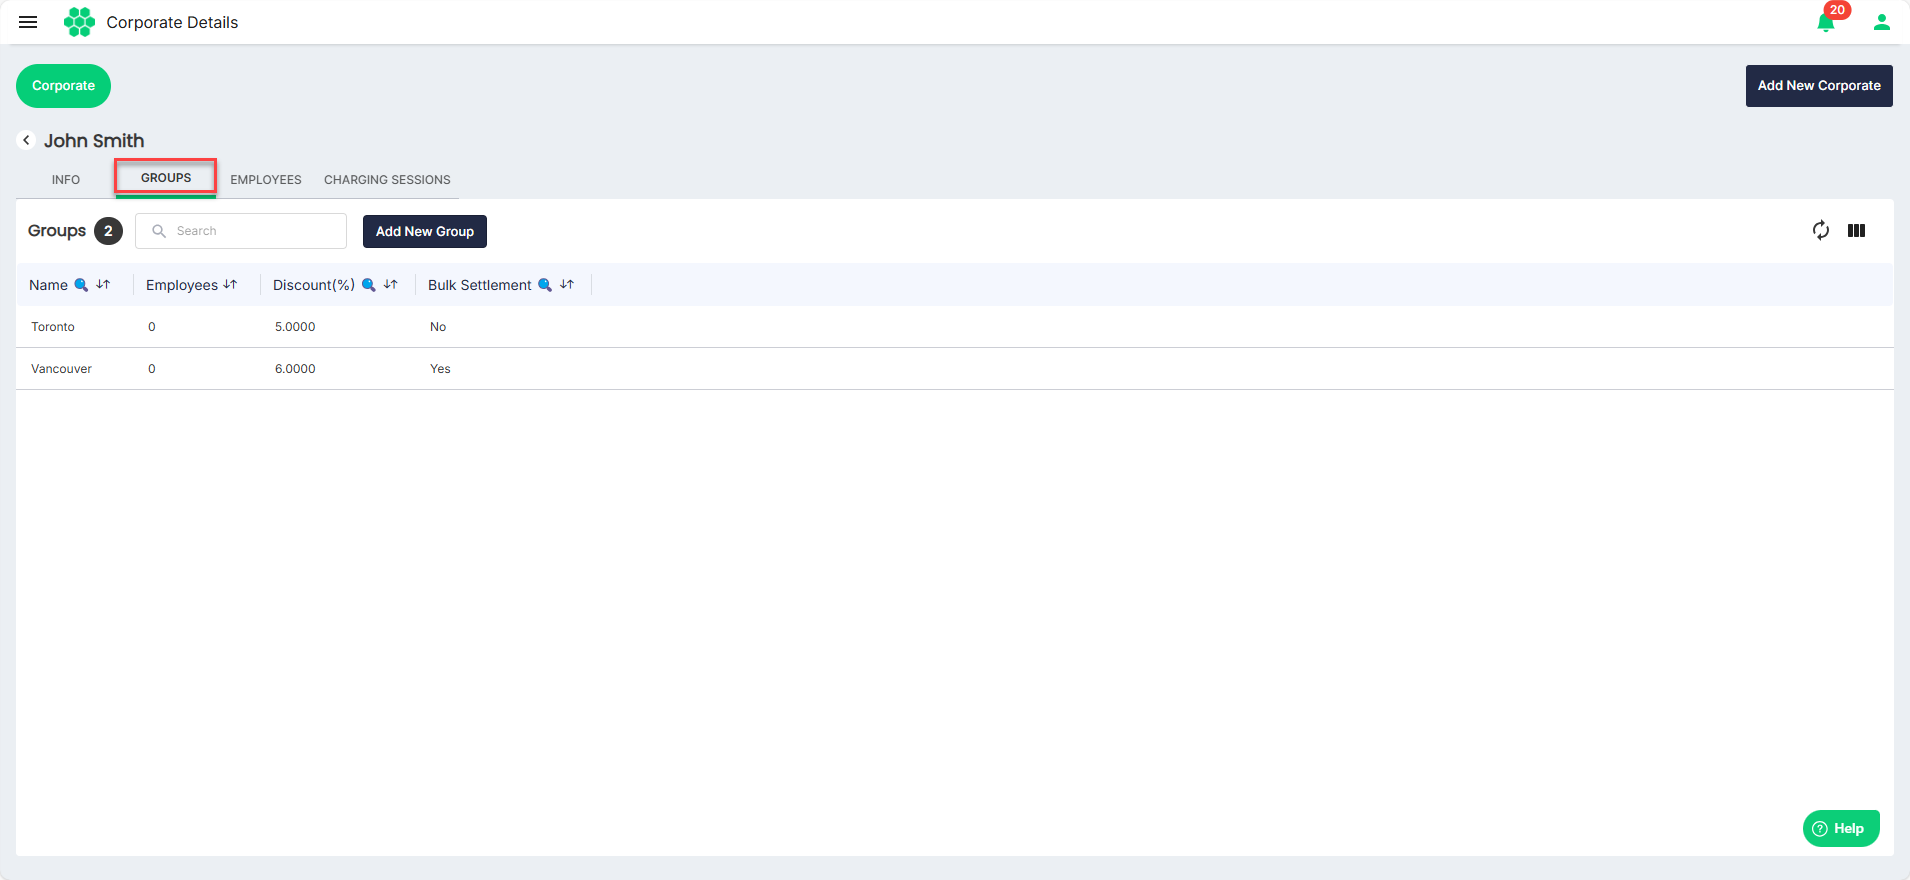
- Click on the GROUPS tab. The following screen appears that lists the groups associated with the corporate:
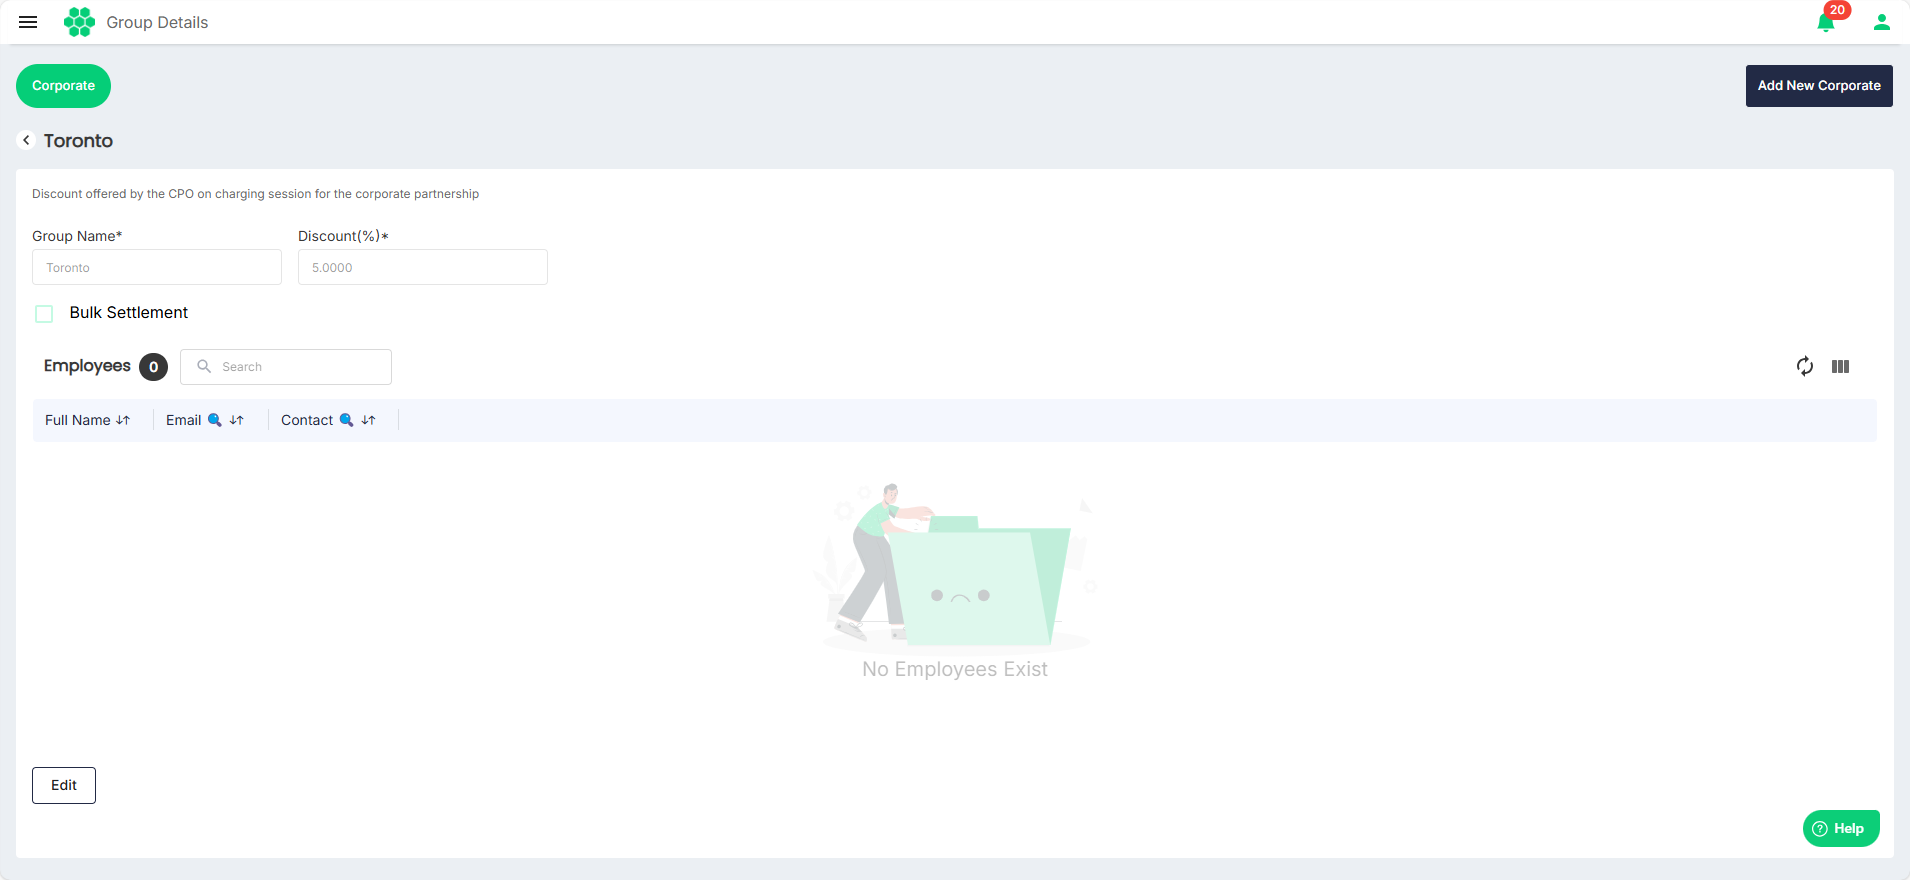
- Click on a group record row to view the details associated with a group. The following screen appears that lists the details associated with the group:
Editing Group Details
To edit the details associated with a group, follow the steps:
- Navigate to Corporate > Corporate. The Corporate List screen appears.
- Click anywhere inside the record row of the corporate whose group you want to modify. The following screen appears:
- Click on the GROUPS tab. The following screen appears that lists the groups associated with the corporate:
- Click on a group record row to view the details associated with a group. The following screen appears that lists the details associated with the group:
- Click Edit.
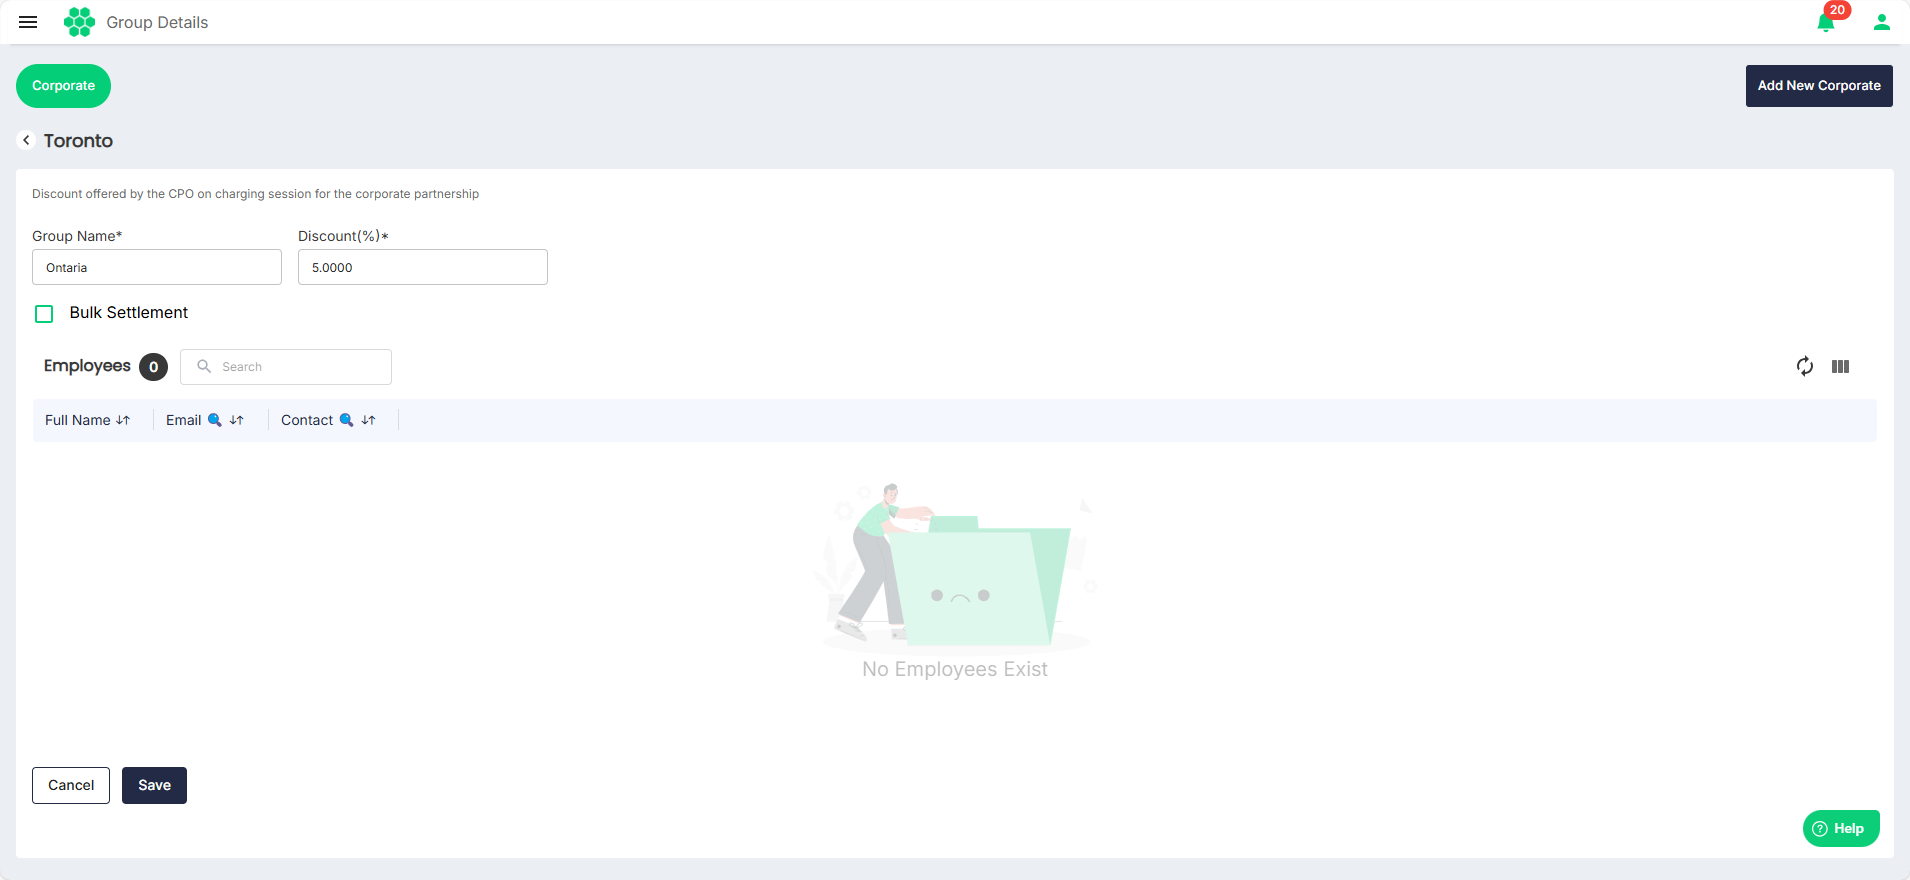
- Make the desired changes.
- Click Save.
Adding New Group
To add a new group, follow the steps:
- Navigate to Corporate > Corporate. The Corporate List screen appears.
- Click anywhere inside the record row of the corporate where you want to add a group. The following screen appears:
- Click on the GROUPS tab. The following screen appears that lists the groups associated with the corporate:
- Click on the Add New Group button.
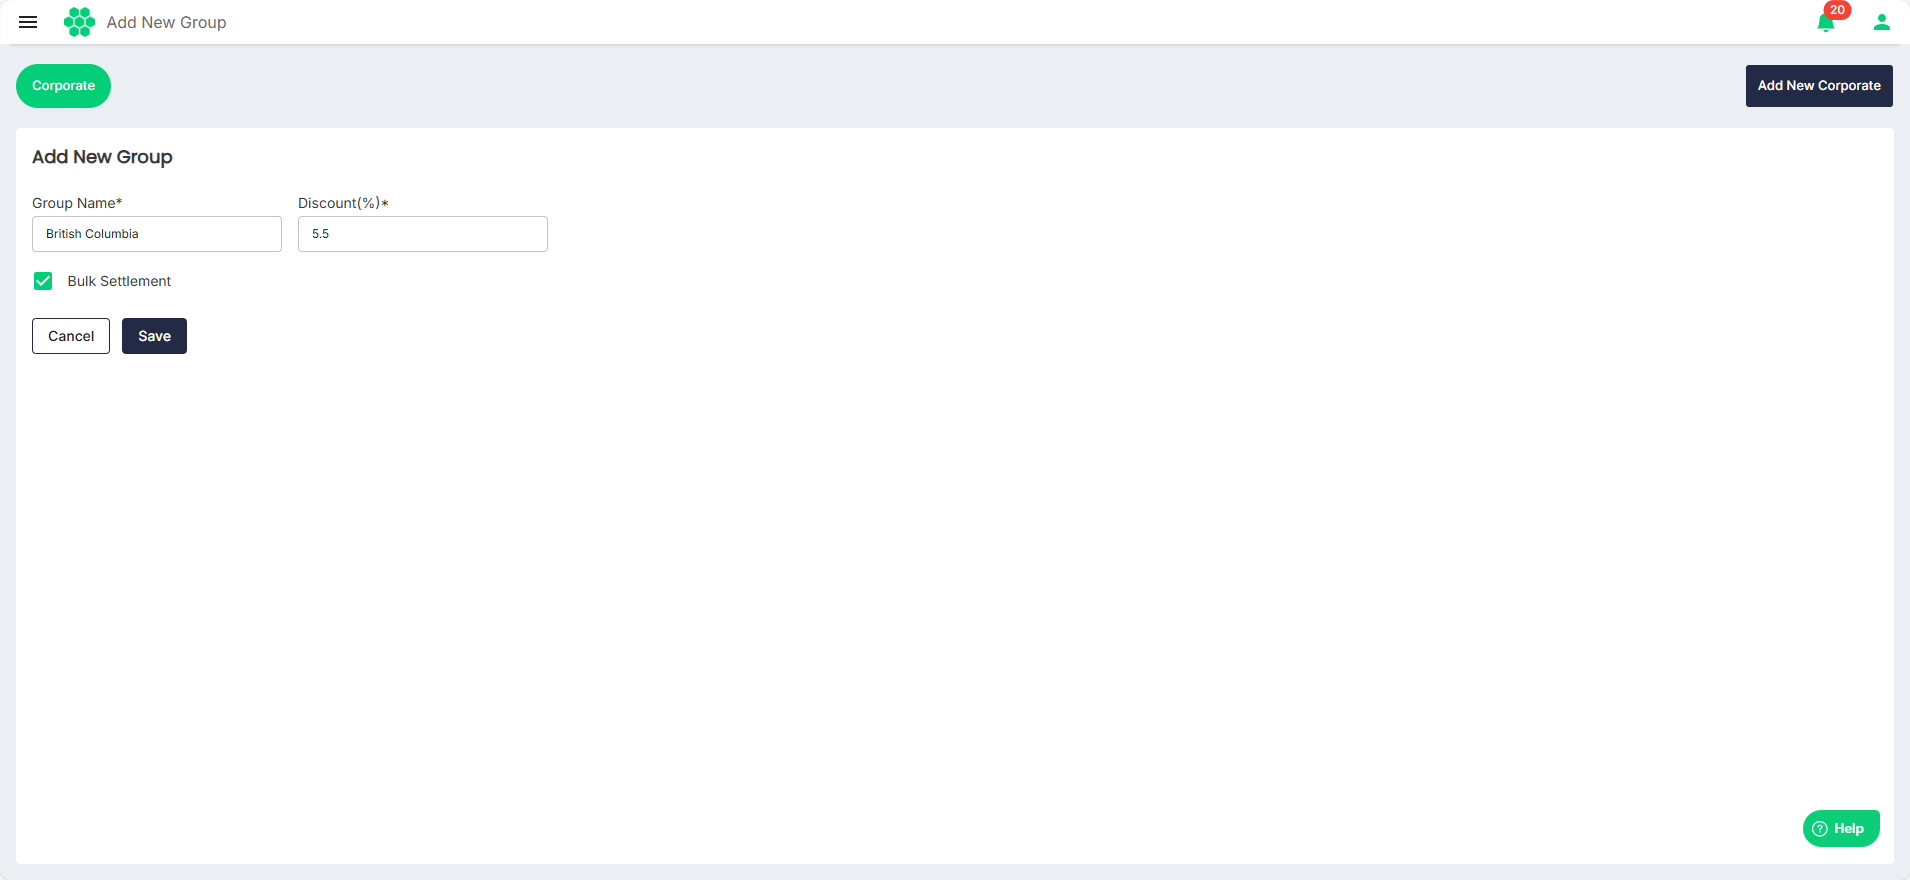
- Enter the Group Name and Discount (%).
- Select the Bulk Settlement option if required.
- When selected, the business pays for the charging sessions as an offline payment.
- When unselected, the employees pay for the charging sessions after discounts.
- Click Save.