Roles & Permissions
Application: HIEV Administration Portal
Page: Administration > Roles & Permissions
Page URL: https://hiev.ca/ca/role-management
Document status: Revised draft based on the live interface and product clarifications reviewed on 22 July 2026
1. Overview
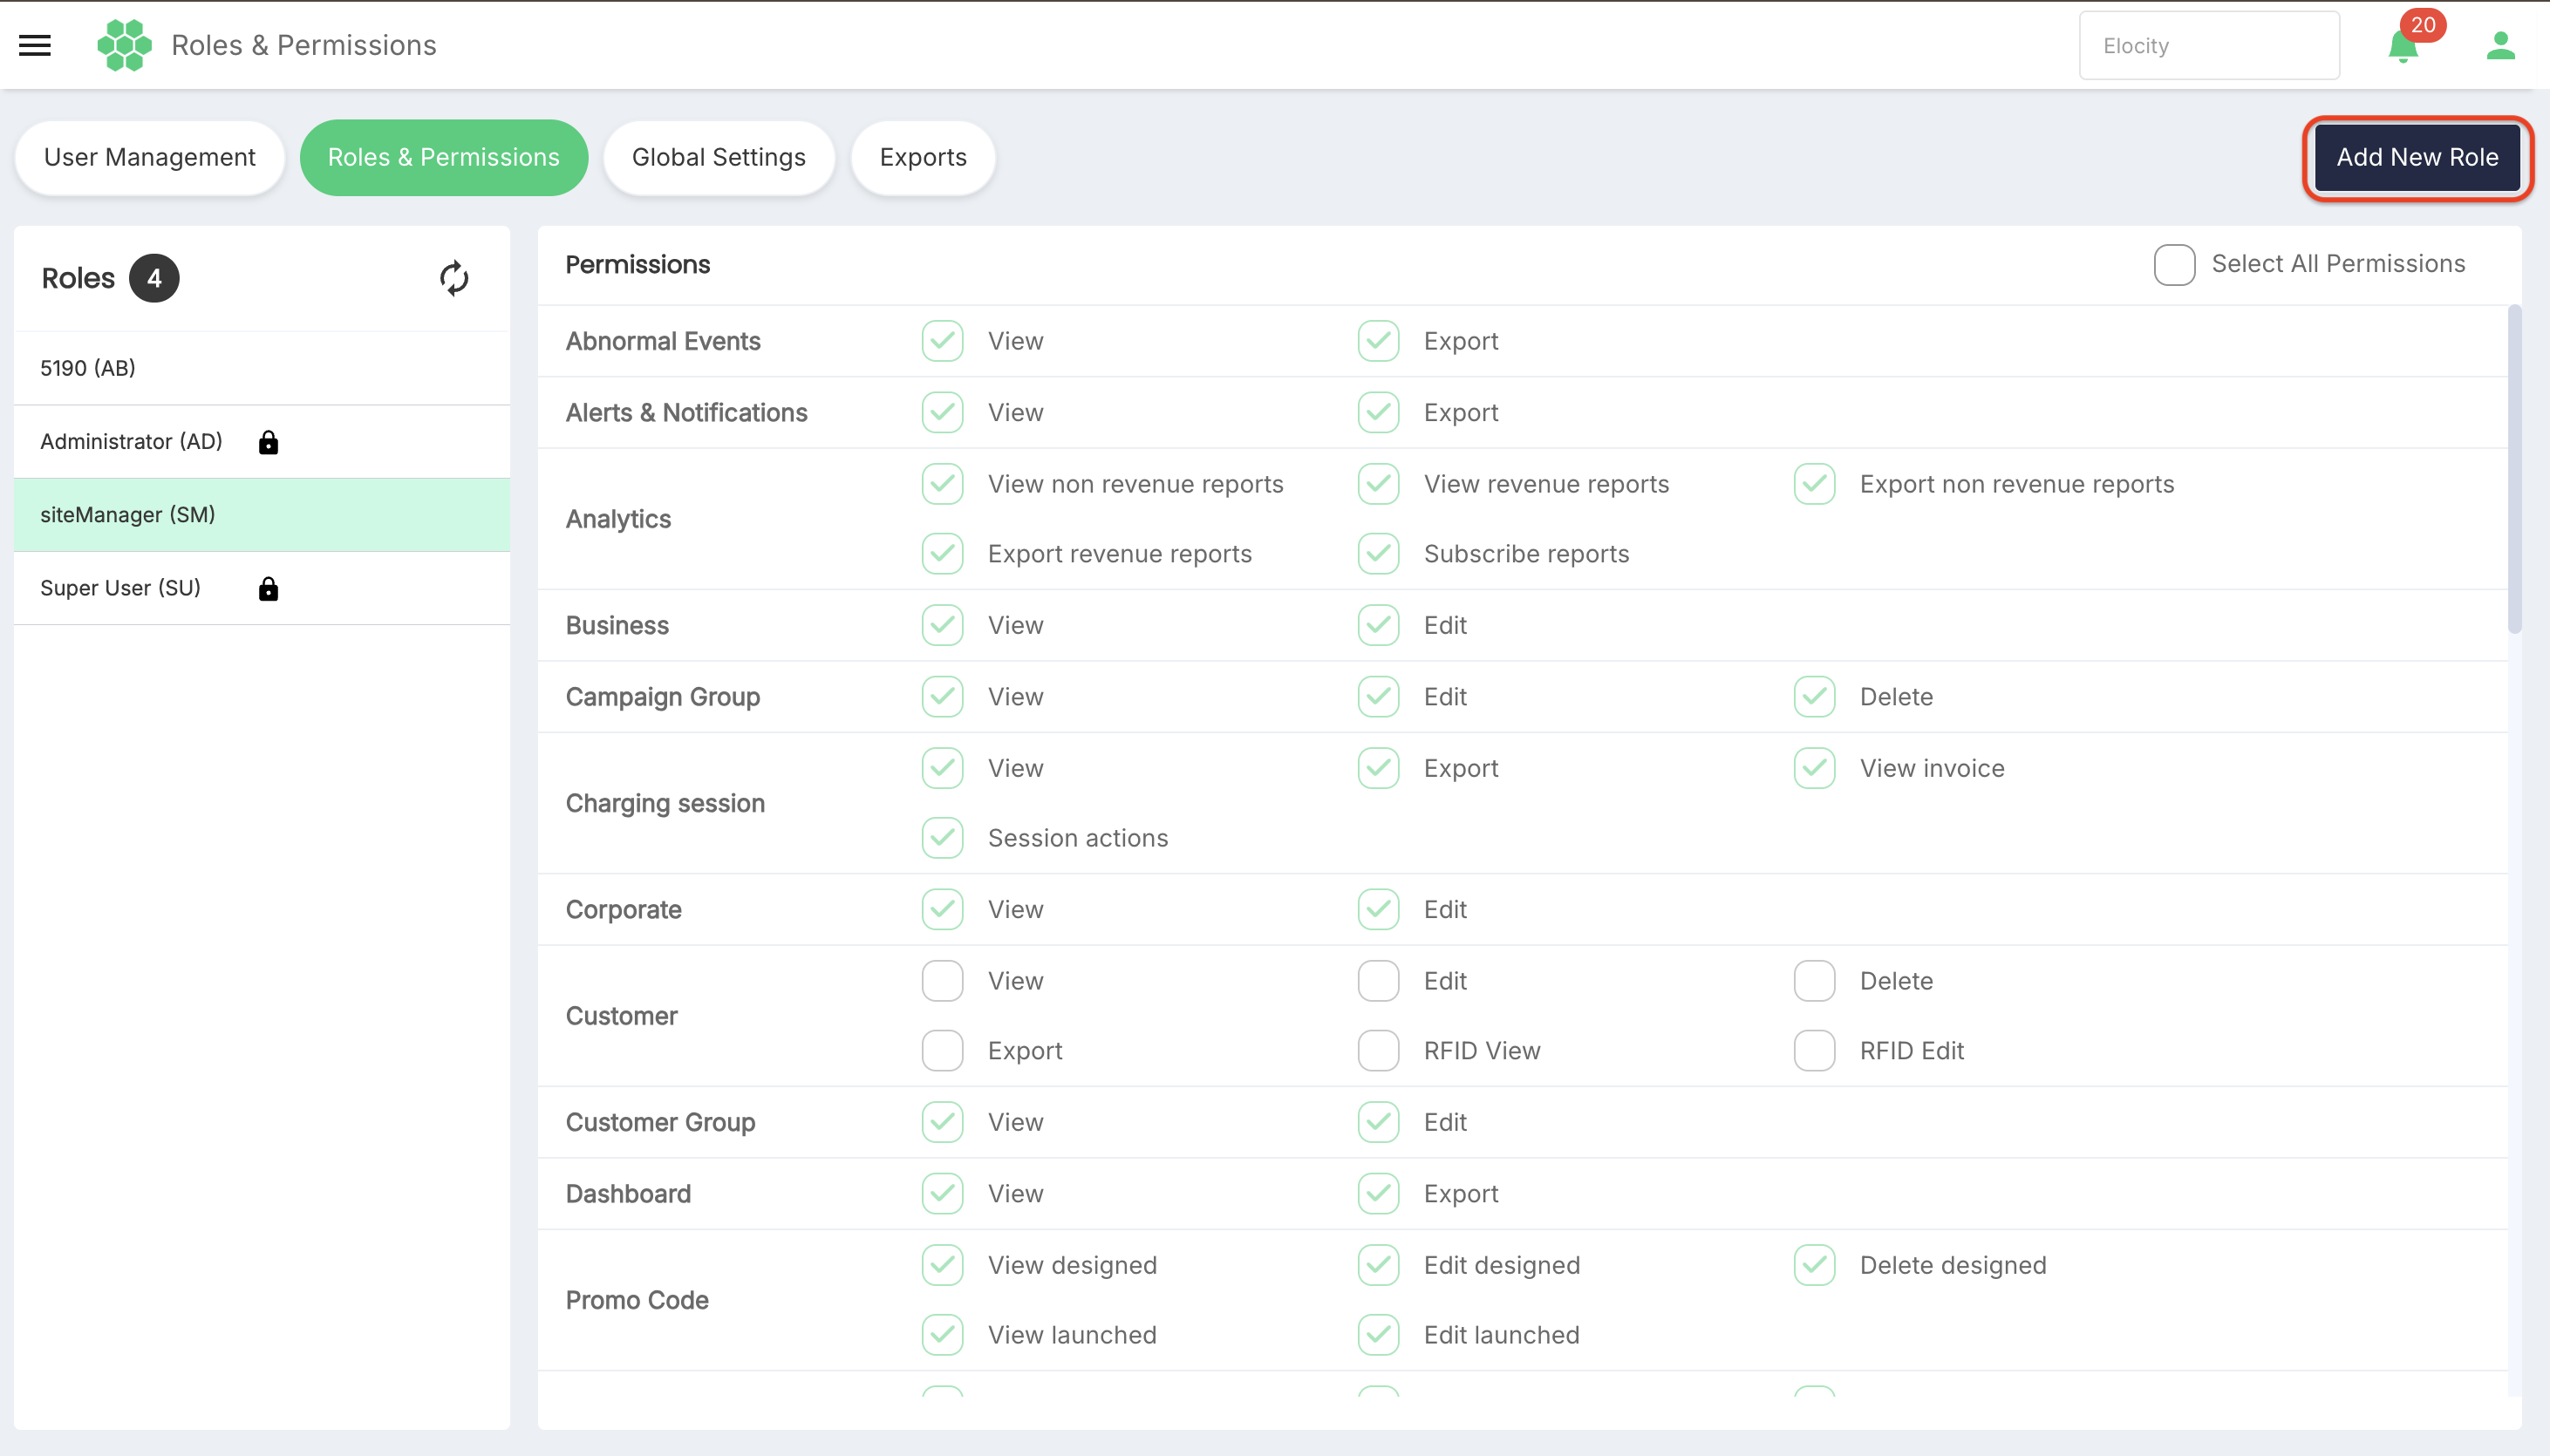
Roles & Permissions is the administrative area for reviewing portal roles and the permissions assigned to each role. Administrators with the necessary access can also create a role or change the permissions of an existing role.
Roles are global across all businesses. Each user is assigned one role, and the permissions of that role determine the user's authorized portal functions.
The reviewed interface provides these functions:
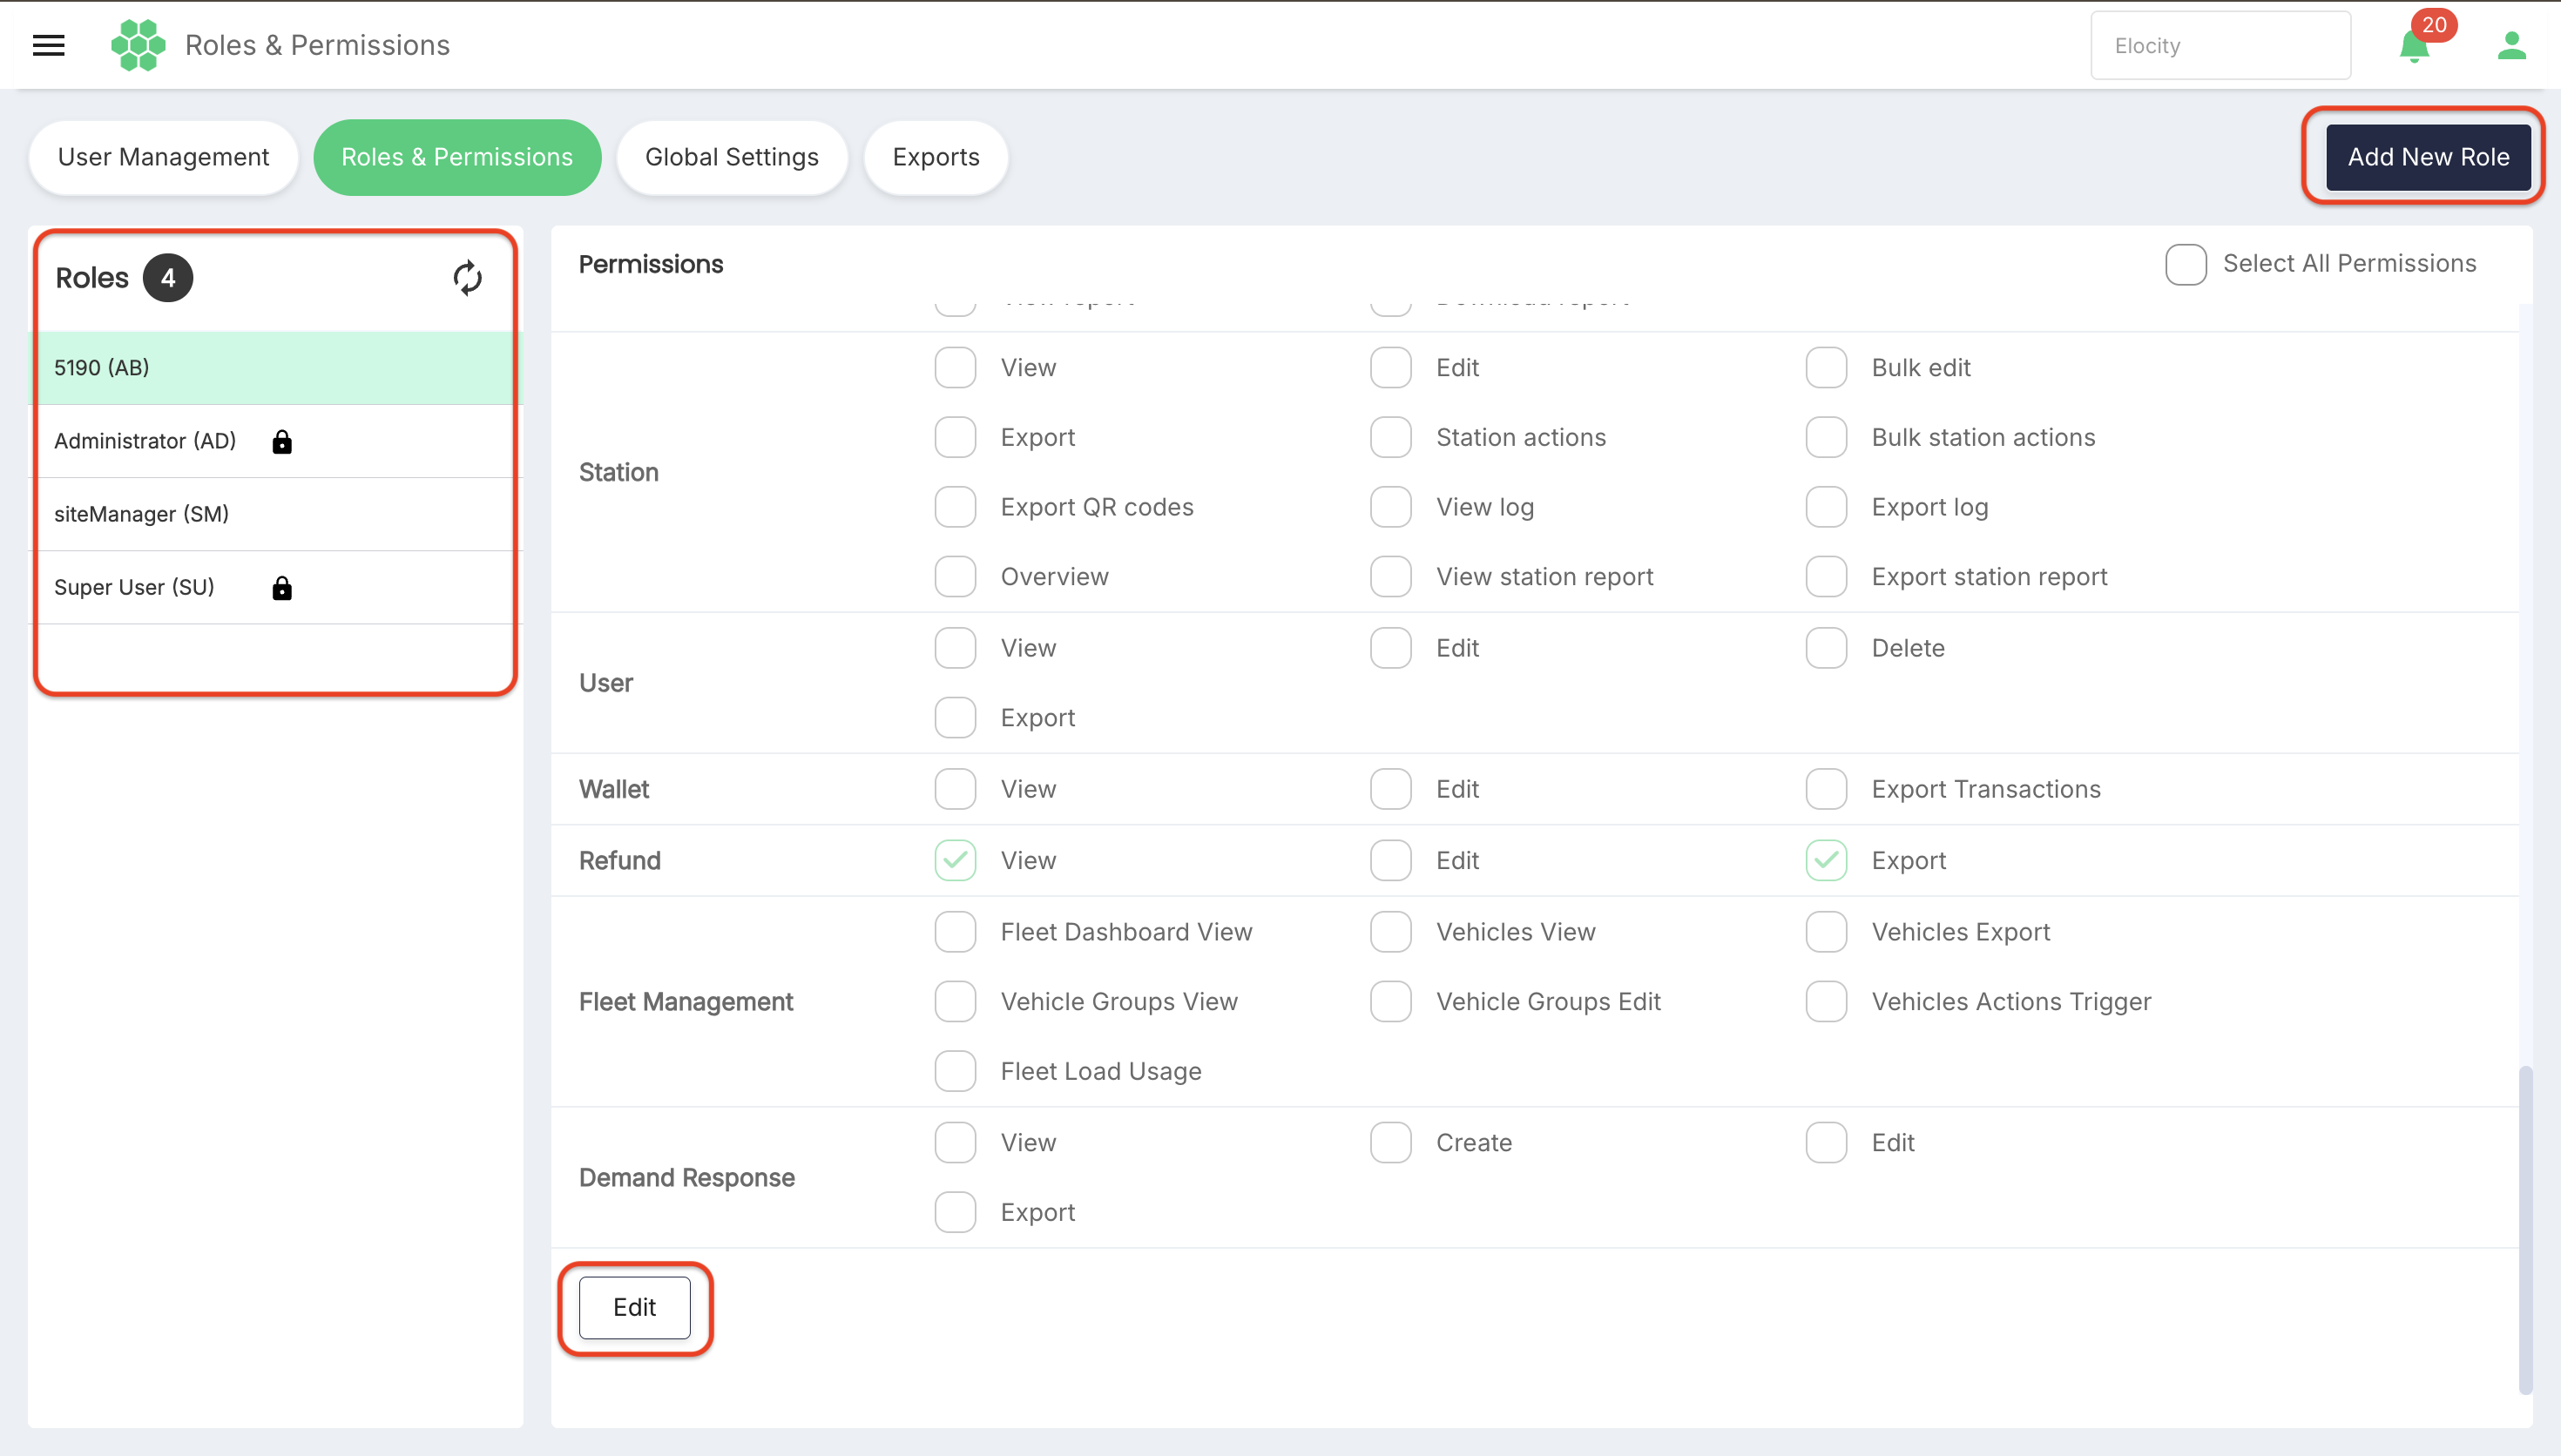
- View the available roles and the total role count.
- Select a role and review its assigned permissions.
- Refresh the role list.
- Add a role with a name, code, and permission selections.
- Edit the permissions assigned to an existing role.
Permission changes can affect what users are able to see or do throughout the portal. Review the selected role and permission changes carefully before saving.
2. Accessing Roles & Permissions
- Sign in to the HIEV Administration Portal.
- Open the Administration area.
- Select Roles & Permissions.
- Verify the business context displayed at the top of the portal.
The Role > Edit permission authorizes both creating a role and editing an existing role. The permission required for view-only access to this page still requires confirmation.
The page also provides navigation to:
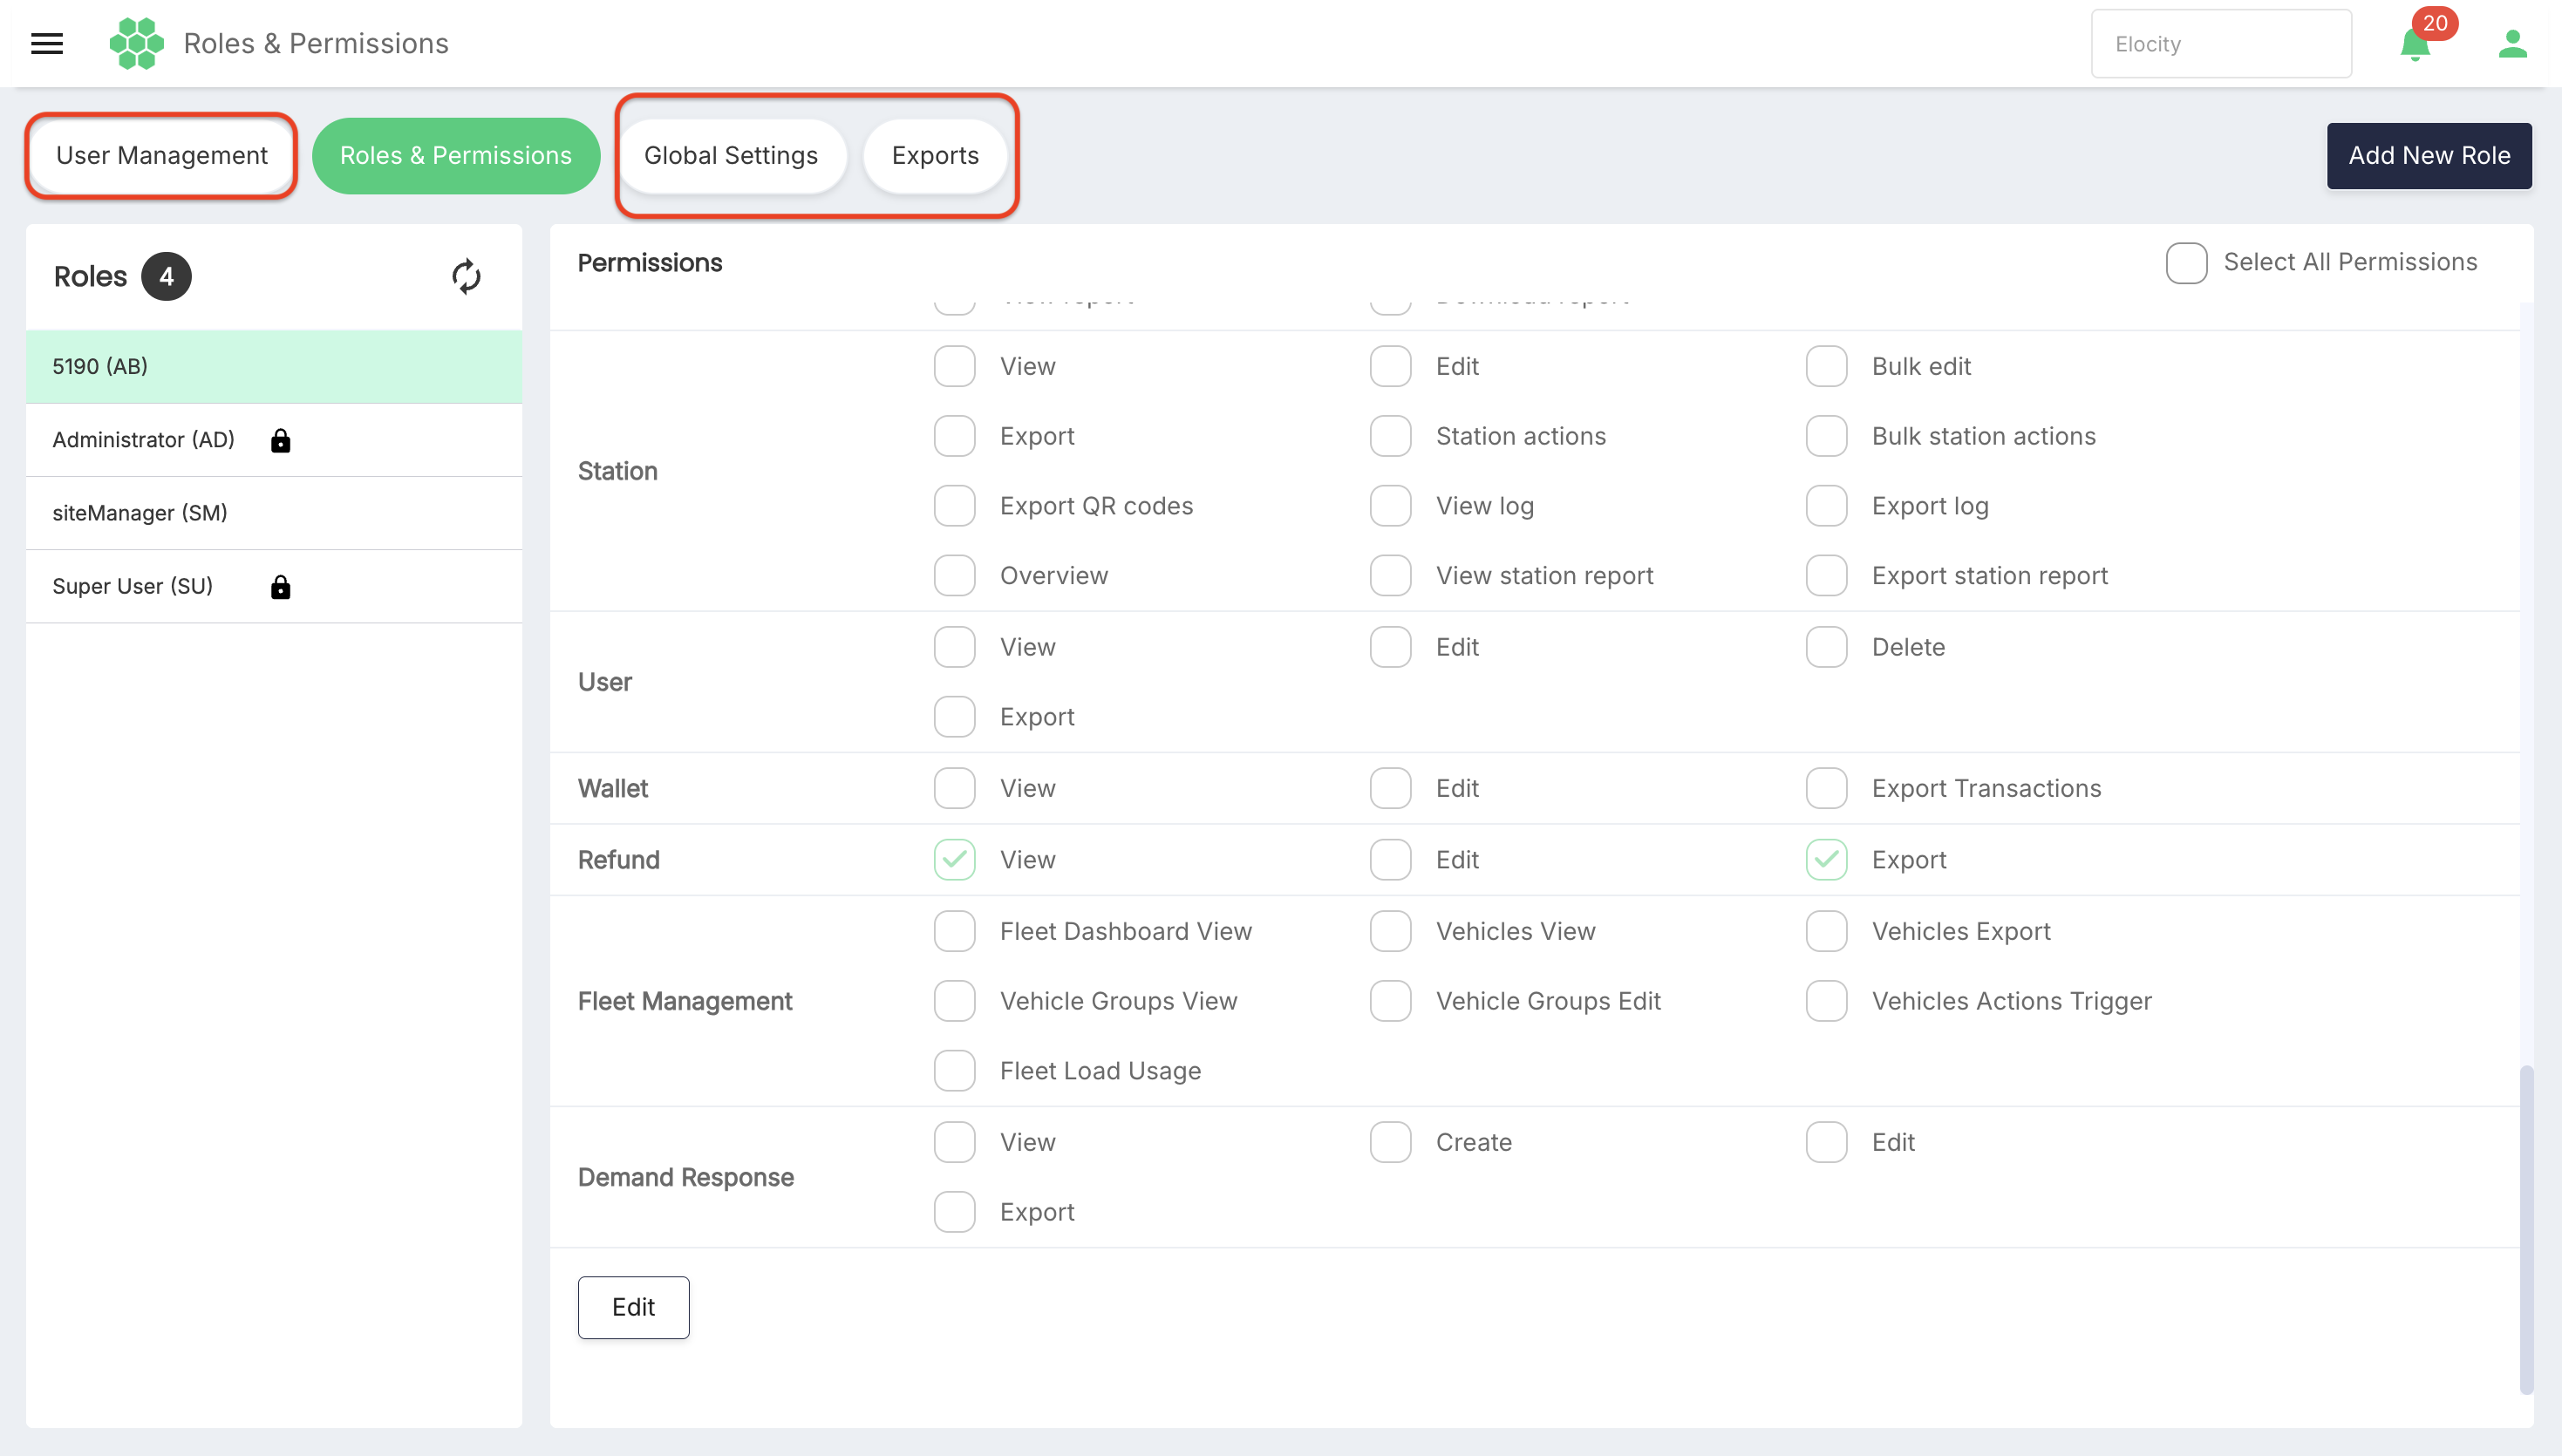
- User Management
- Global Settings
- Exports
Those modules are outside the scope of this guide.
Business selector observed during review
The page displayed All Businesses. Roles apply across all businesses, so an individual business cannot be selected on this page. The disabled business entries are therefore expected for Roles & Permissions.
3. Page Layout
The page uses a master-detail layout:
- The Roles panel lists existing roles.
- The number beside Roles shows the number of records currently displayed. The reviewed page showed 23 roles.
- The Permissions panel shows the permission configuration for the selected role.
- Add New Role opens the role-creation form.
- Refresh reloads the role list while retaining the selected role in the reviewed interface.
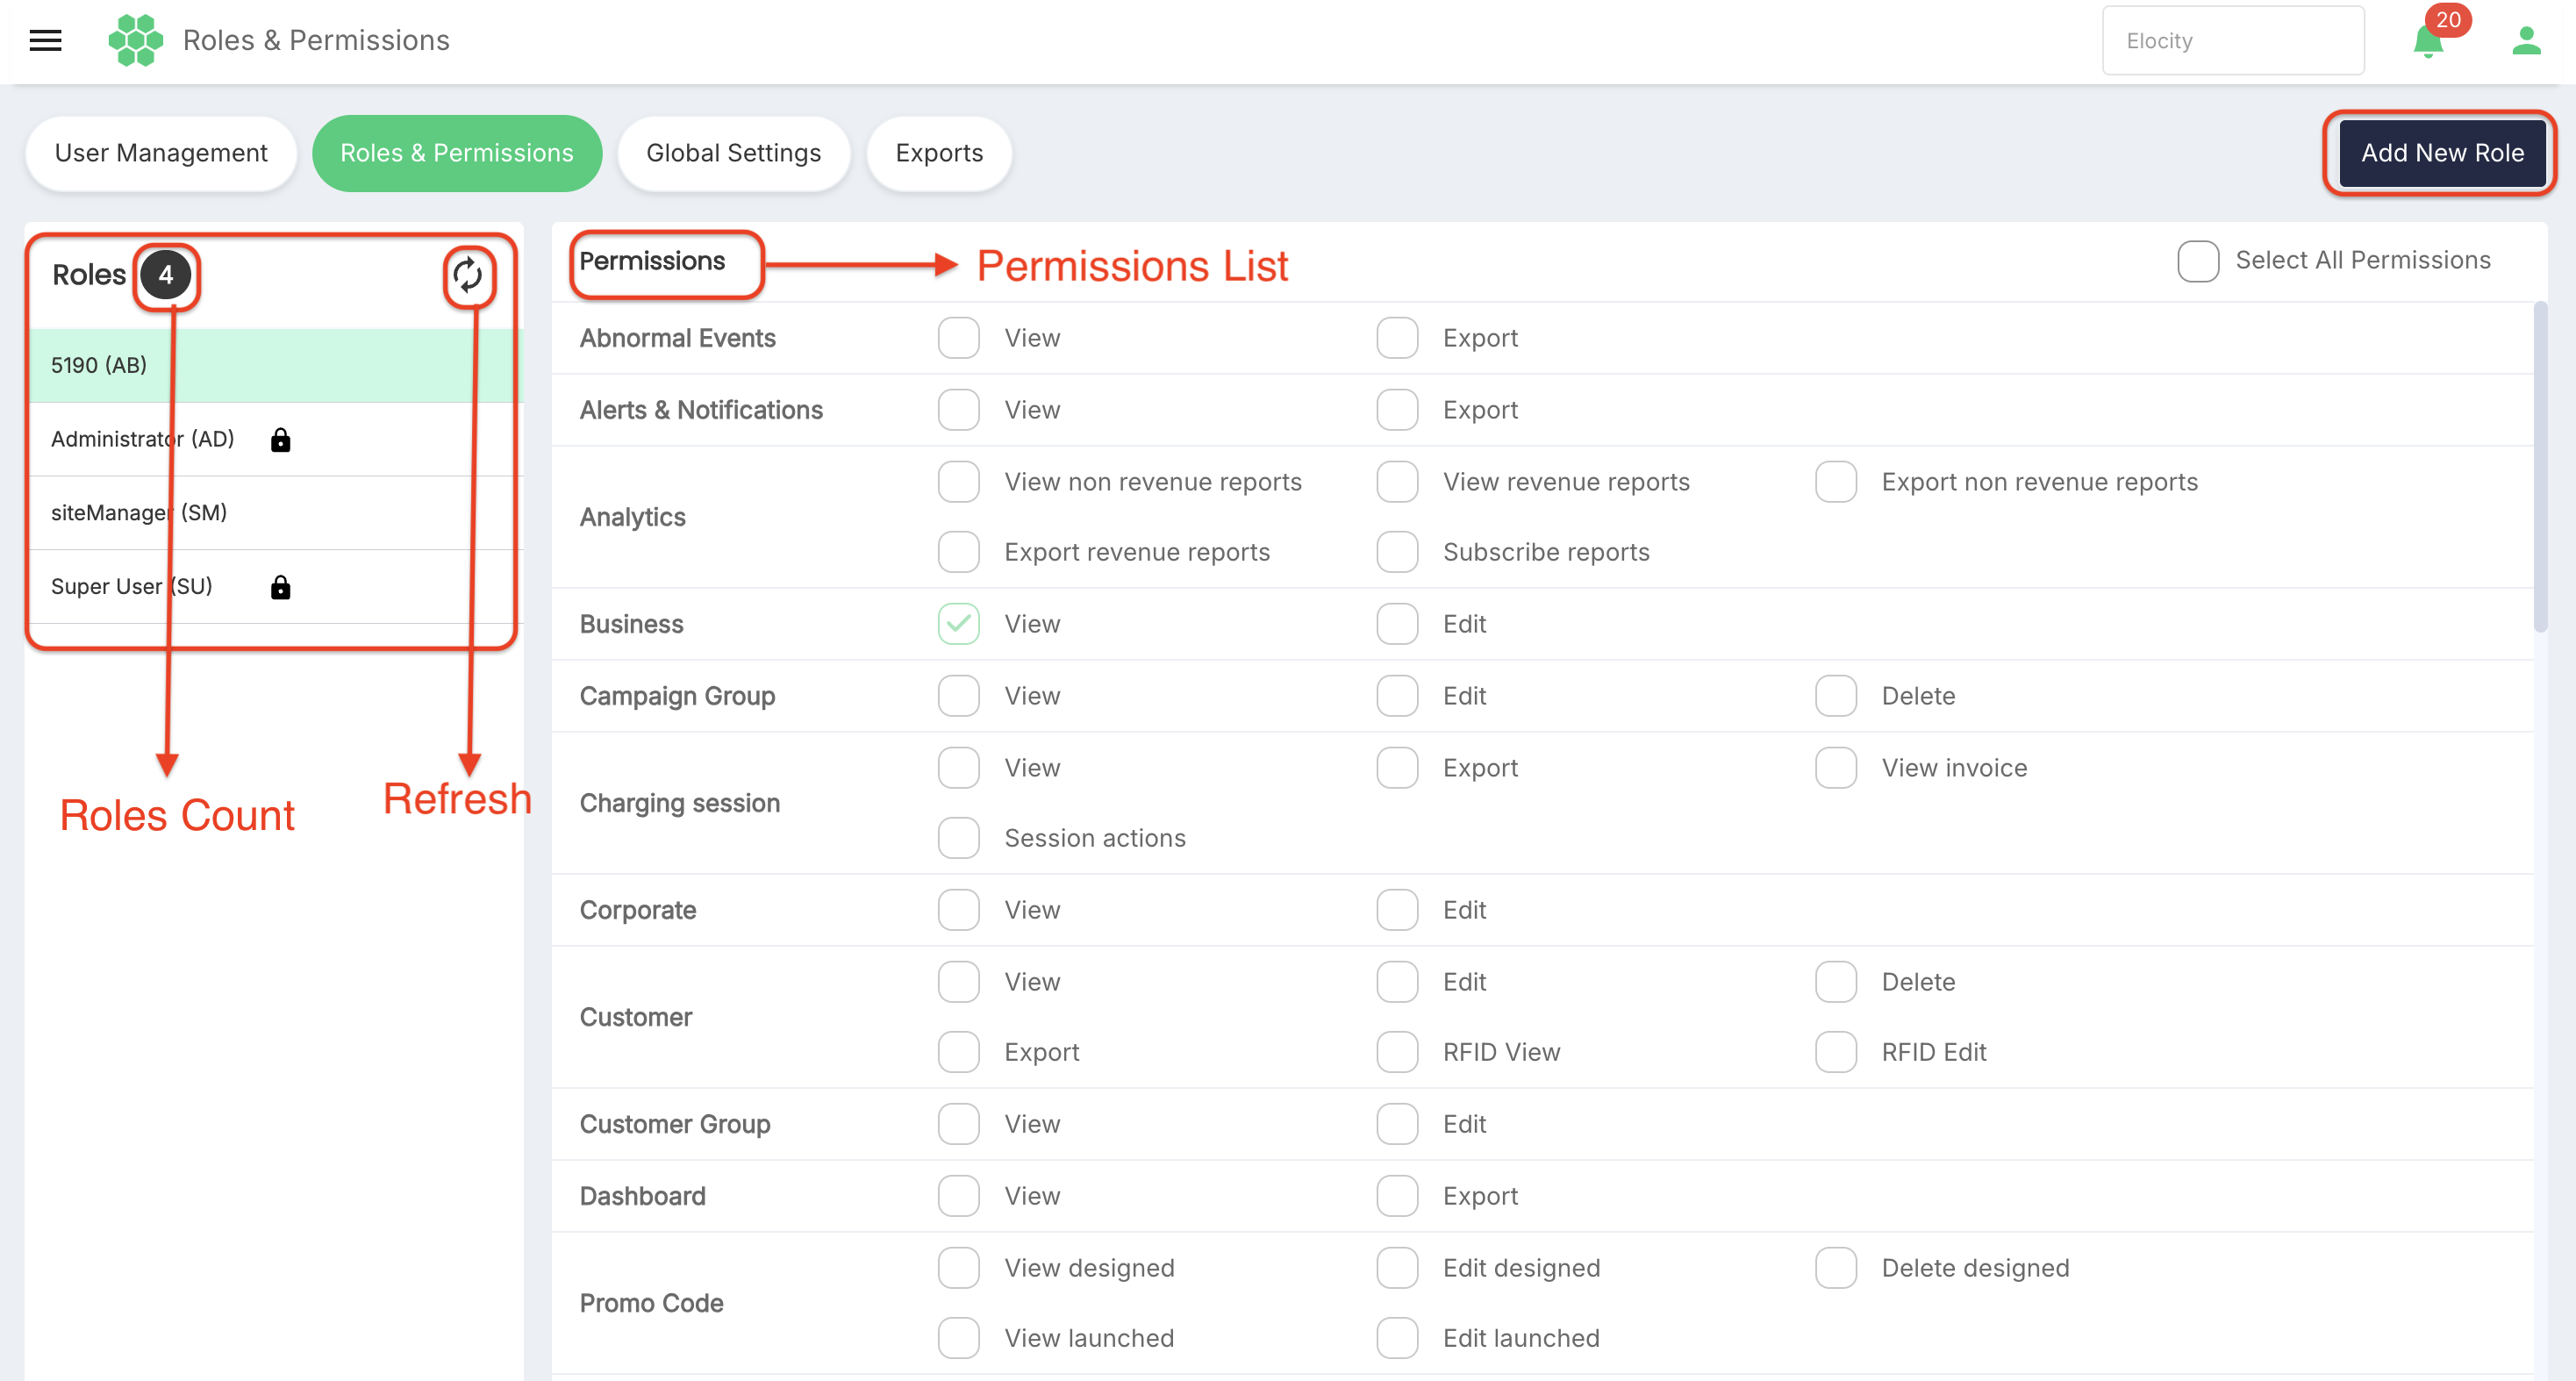
Each role is displayed as Role Name (Code), for example Accounts (AP).
4. Viewing a Role's Permissions
- Locate the required role in the Roles panel.
- Select the role row. Keyboard users can focus the row and press Space.
- Review the checkboxes in the Permissions panel.
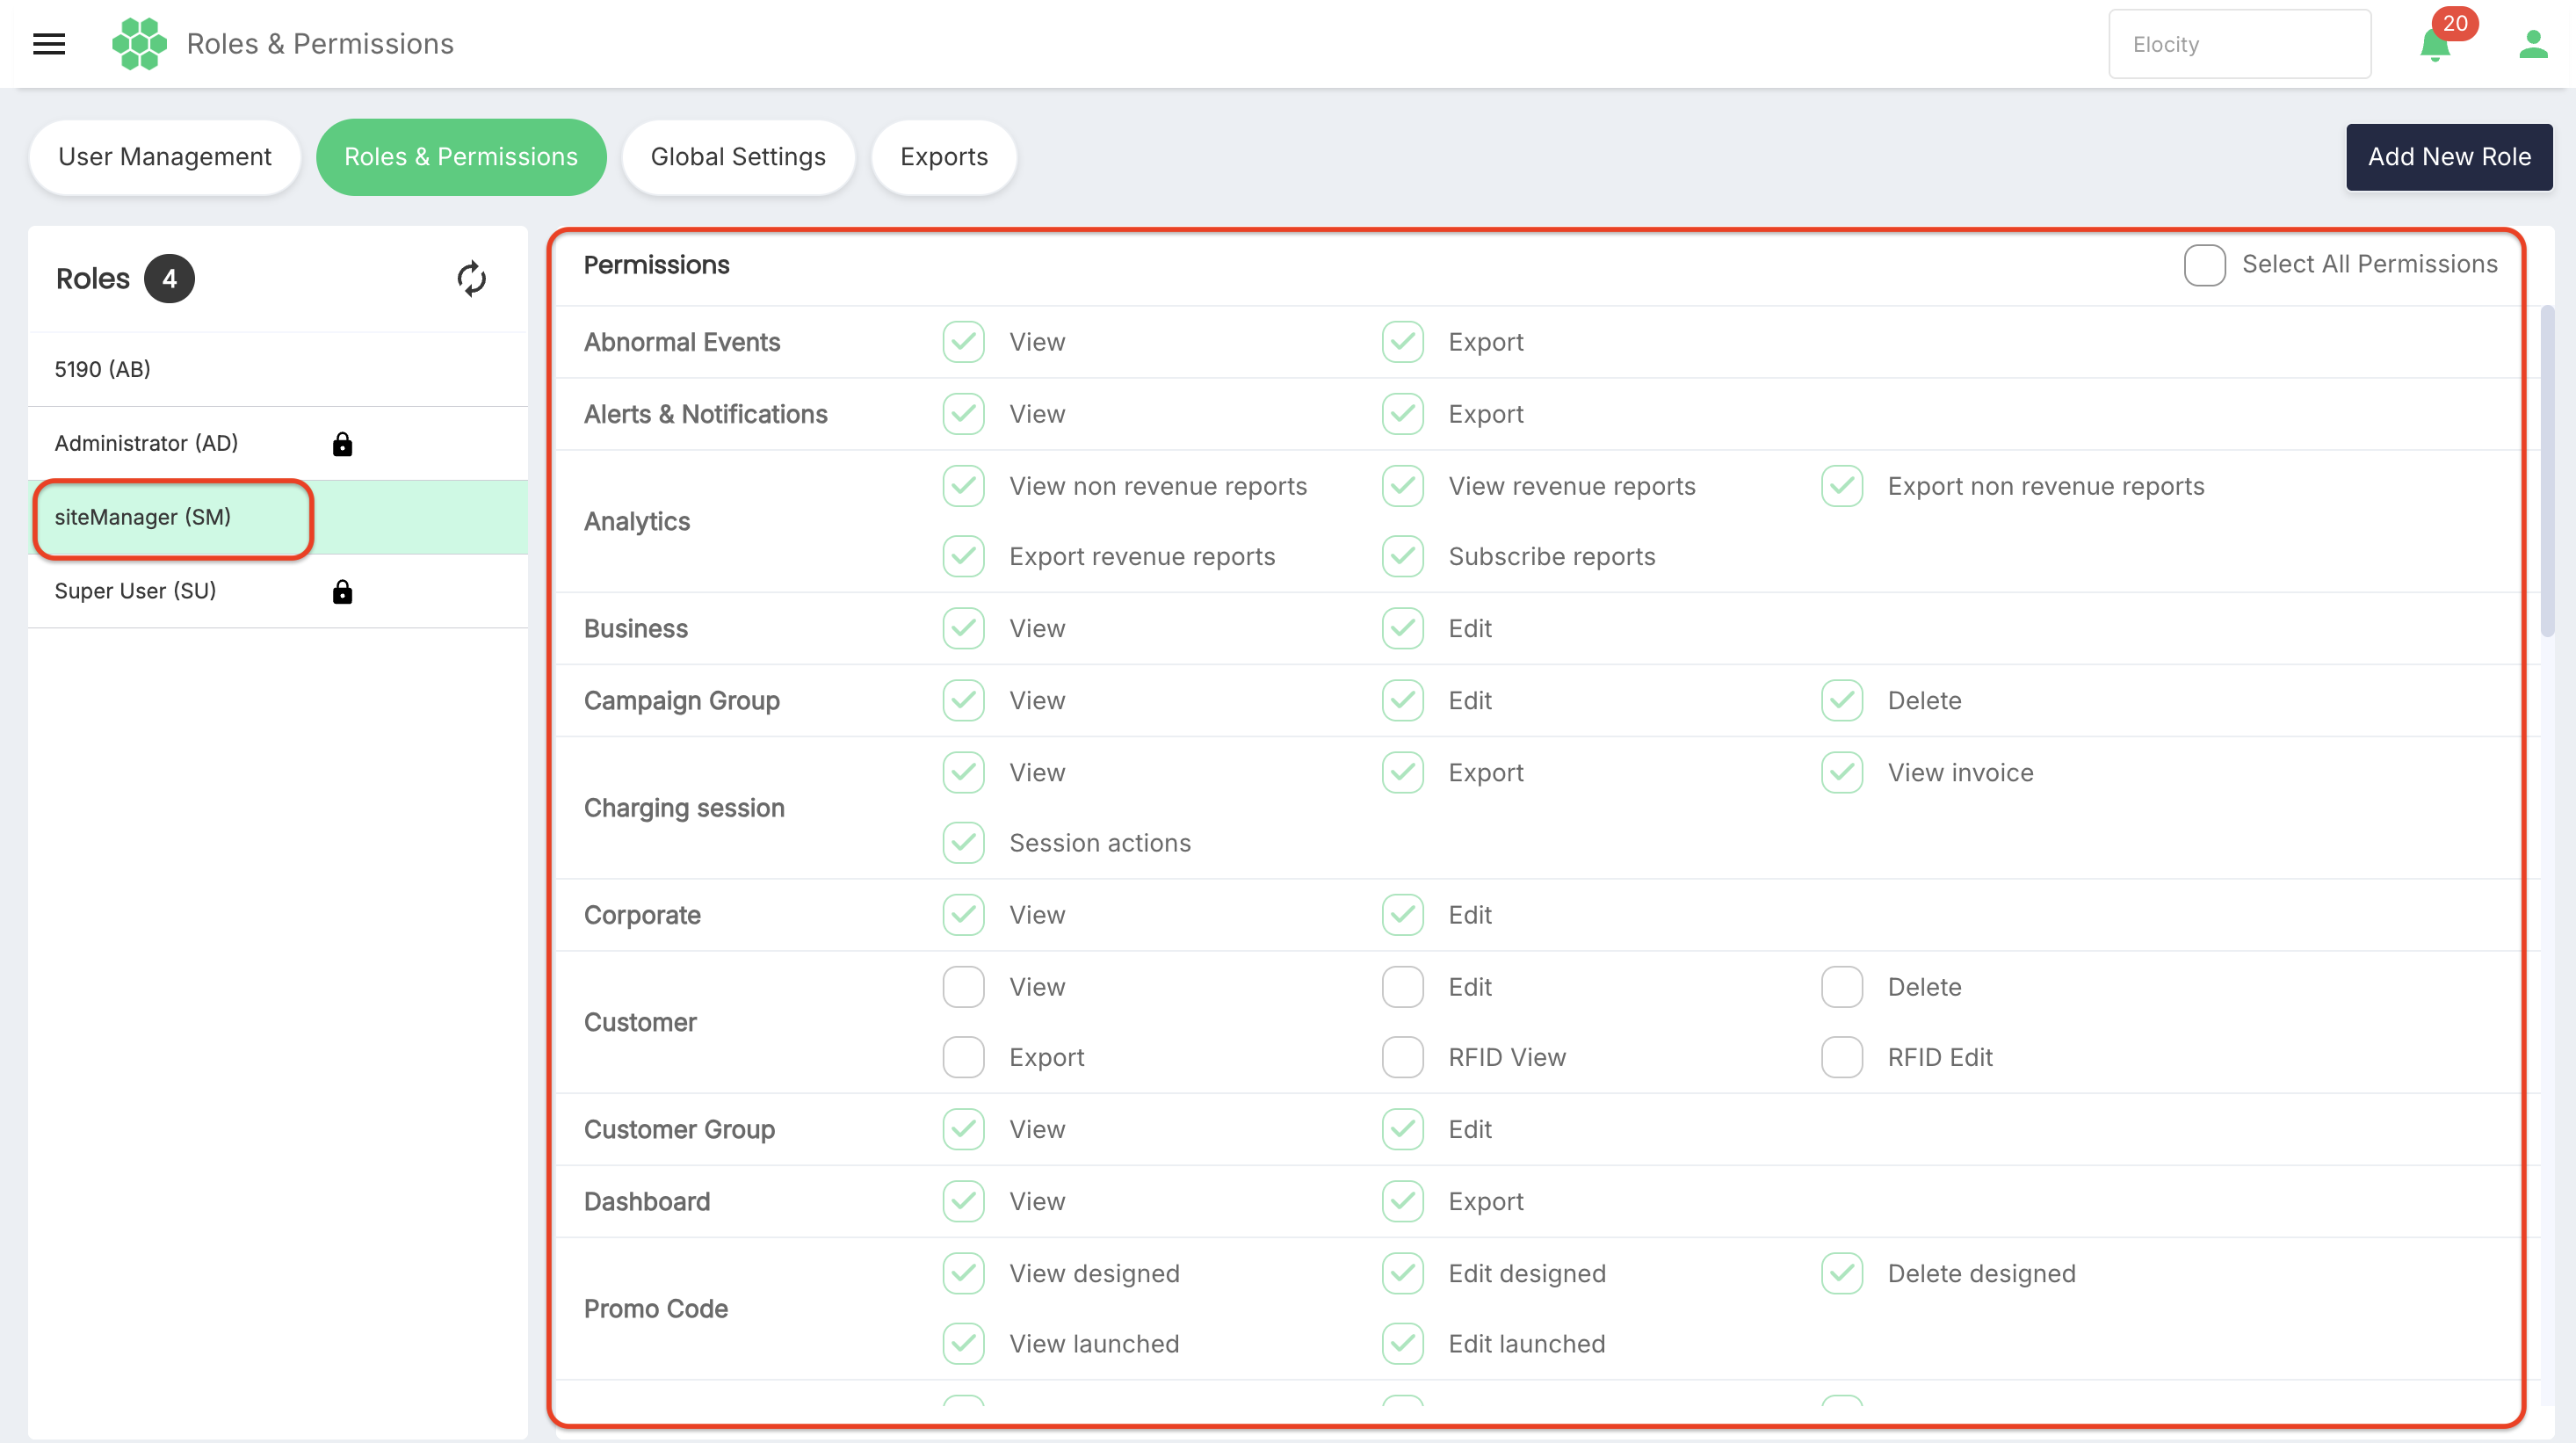
In view mode:
- A selected checkbox identifies a permission assigned to the selected role.
- A clear checkbox identifies a permission not assigned to the selected role.
- The permission checkboxes and Select All Permissions control are disabled.
- Select Edit to make the permission controls editable.
Selecting another role replaces the permission state in the right-hand panel with that role's configuration.
5. Permission Reference
The reviewed interface contained 103 individual permissions grouped into 28 functional areas. The labels below are transcribed from the live page.
Permissions are module-specific. An action permission depends on the corresponding View permission for that module. The exact scope of the specialized permission labels still requires product clarification.
| Functional area | Permission labels displayed |
|---|---|
| Abnormal Events | View; Export |
| Alerts & Notifications | View; Export |
| Analytics | View non revenue reports; View revenue reports; Export non revenue reports; Export revenue reports; Subscribe reports |
| Business | View; Edit |
| Campaign Group | View; Edit; Delete |
| Charging session | View; Export; View invoice; Session actions |
| Corporate | View; Edit |
| Customer | View; Edit; Delete; Export; RFID View; RFID Edit |
| Customer Group | View; Edit |
| Dashboard | View; Export |
| Promo Code | View designed; Edit designed; Delete designed; View launched; Edit launched |
| Tariff | View designed; Edit designed; Delete designed; View launched; Edit launched |
| Evse Model | View; Edit |
| EV Model | View; Edit |
| Feedback | View; Export |
| Firmware | View; Edit; Delete; Schedule job; View job |
| Global setting | View; Edit |
| Load Group | View; Edit; Delete; Analytics view |
| Location | View; Edit; Bulk edit; Export; Access view; Access edit; Access delete |
| Push Notification | View; Edit; Delete |
| Reservation | View; Edit |
| Revenue share | View; Edit; Delete; View report; Download report |
| Role | View; Edit |
| Schedule Charging | View; Edit; Delete; View report; Download report |
| Station | View; Edit; Bulk edit; Export; Station actions; Bulk station actions; Export QR codes; View log; Export log; Overview; View station report; Export station report |
| User | View; Edit; Delete; Export |
| Wallet | View; Edit; Export Transactions |
| Refund | View; Edit; Export |
6. Adding a Role
Open the form
-
From Roles & Permissions, select Add New Role.
-
The portal opens
https://hiev.ca/ca/add-new-role.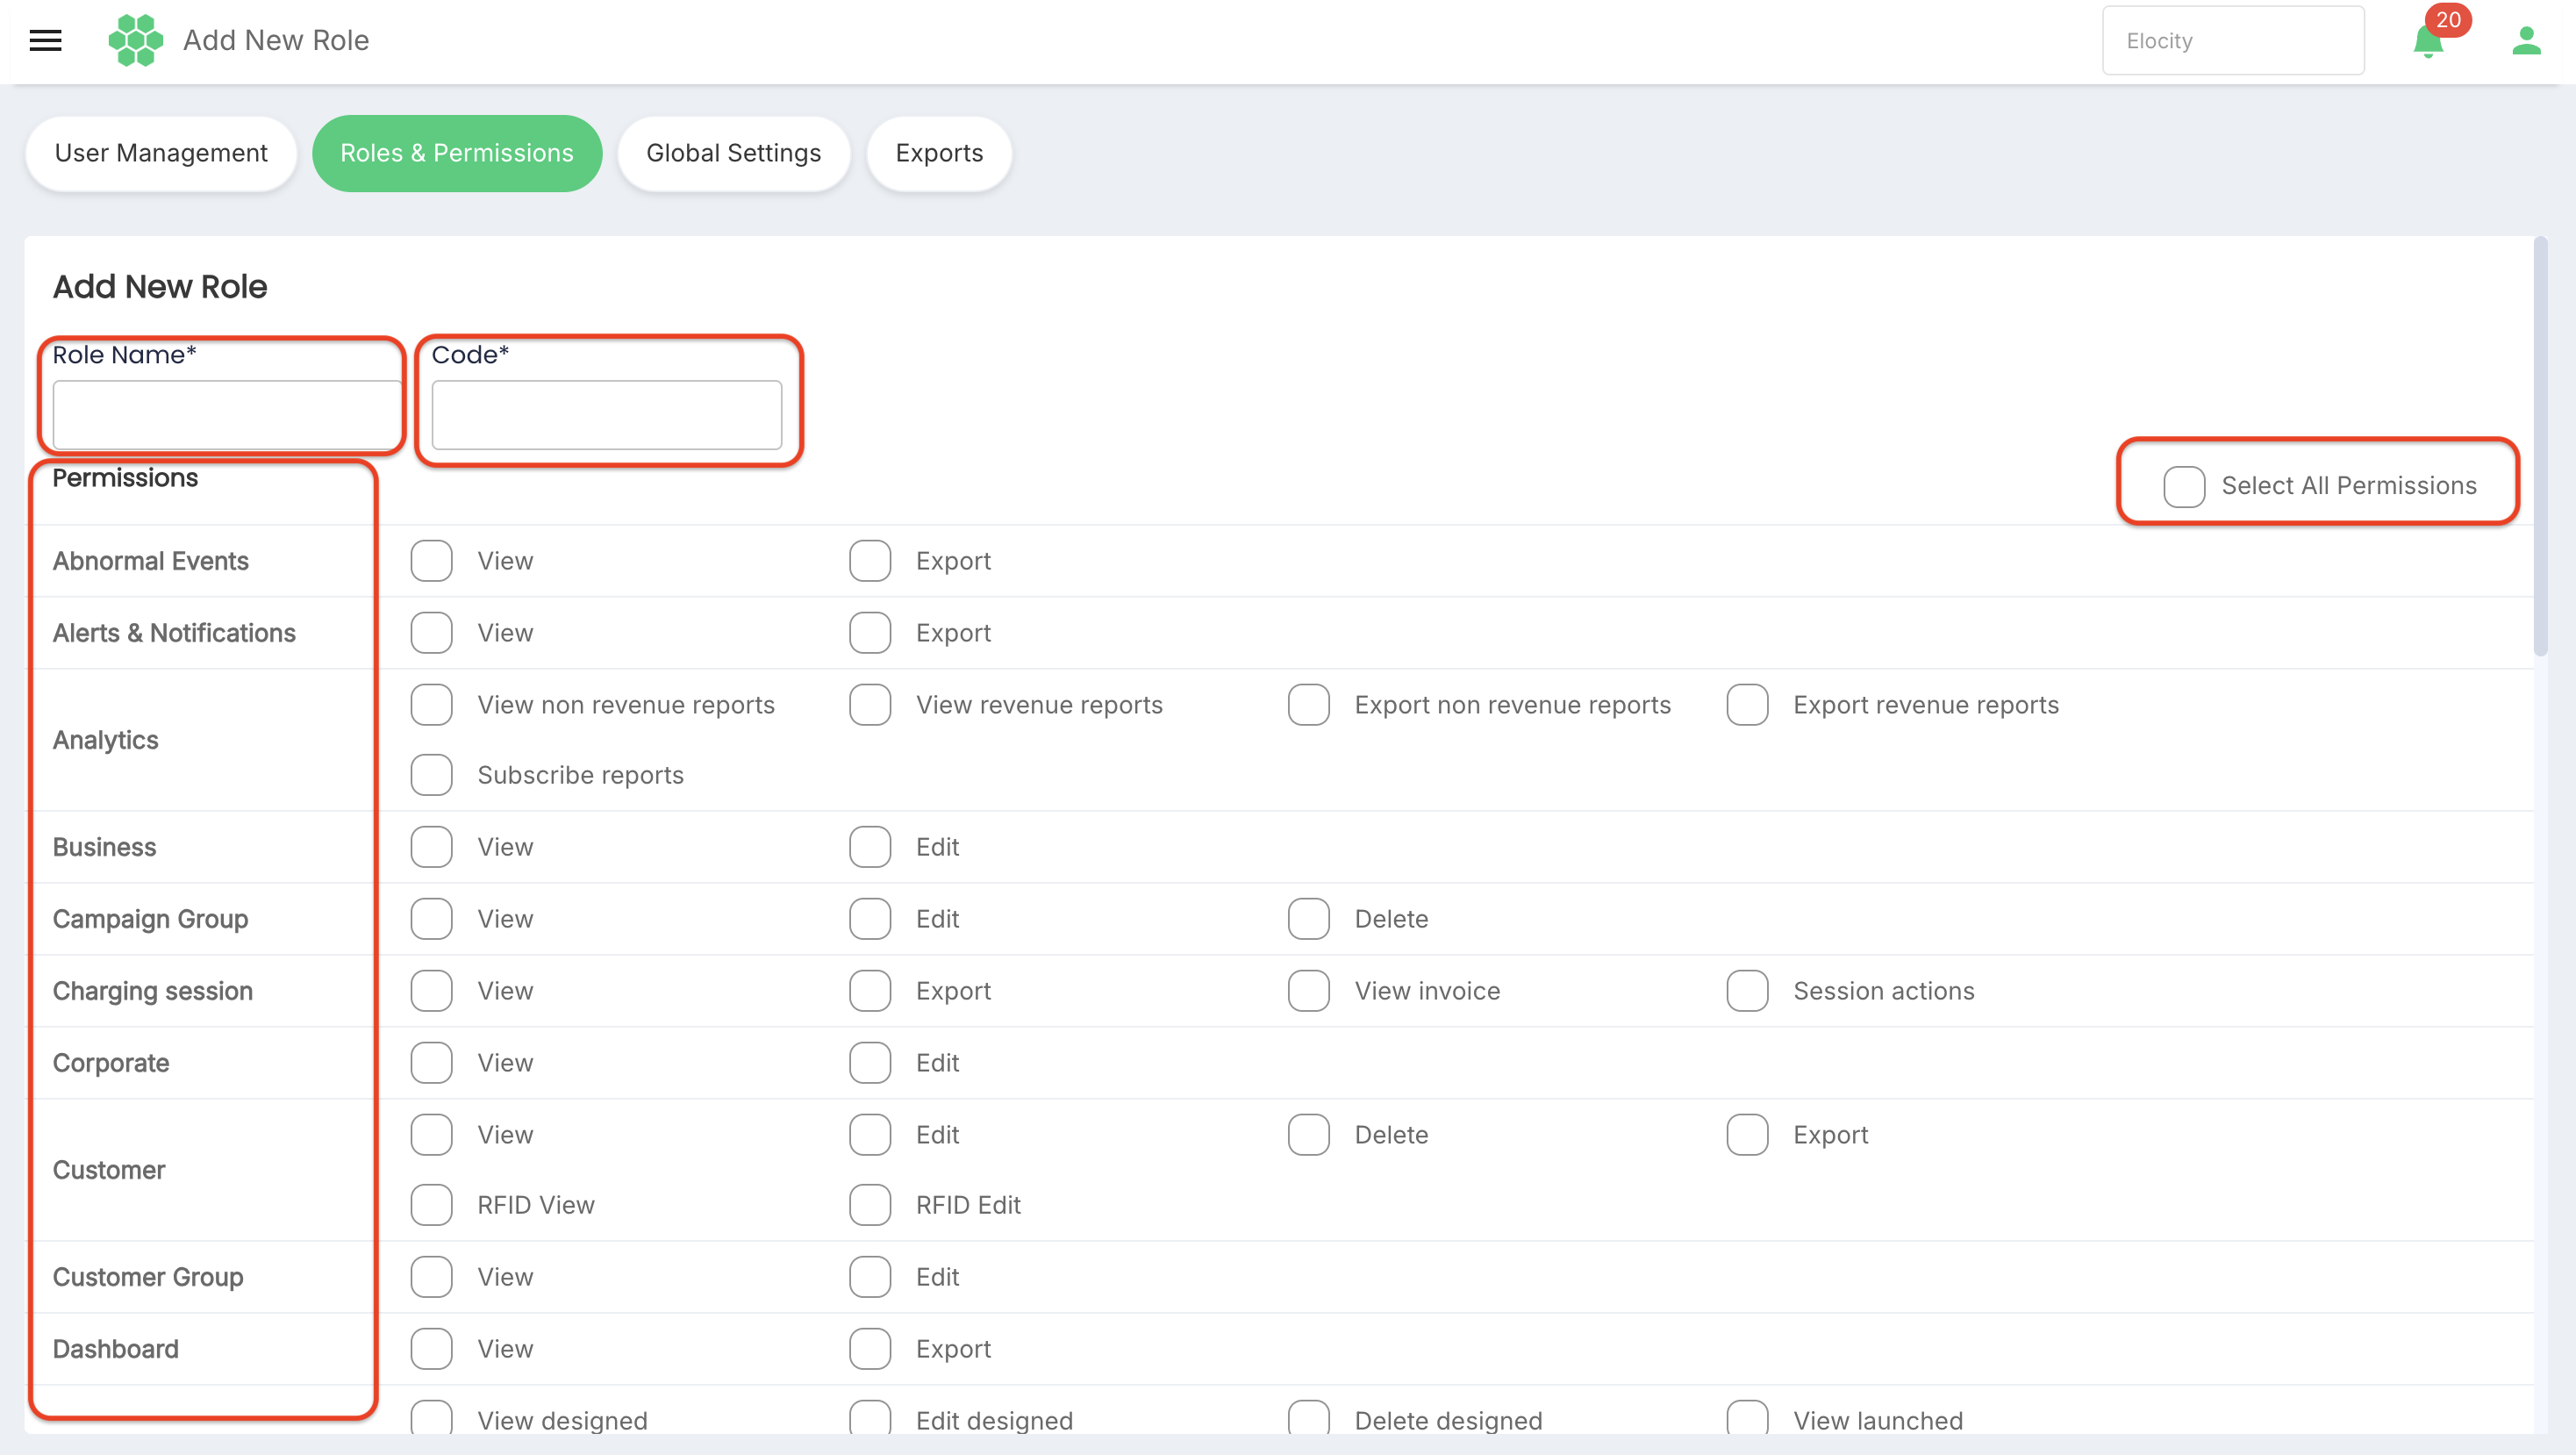
Role fields
| Field | Required | Description verified from the interface |
|---|---|---|
| Role Name | Yes | Globally unique name used to identify the role. The clarification describes a limit of “almost 50 characters”; the exact maximum and allowed characters still require confirmation. |
| Code | Yes | Immutable two-character identifier displayed in parentheses after the role name. Allowed characters, capitalization, and uniqueness rules still require confirmation. |
| Permissions | Not marked with an asterisk | Permission checkboxes grouped by functional area. |
| Select All Permissions | Not marked with an asterisk | Selects all permissions available in the current release. It does not automatically grant permissions introduced in a future release. |
Submitting the empty form produced these validation messages:
Role Name cannot be emptyCode cannot be empty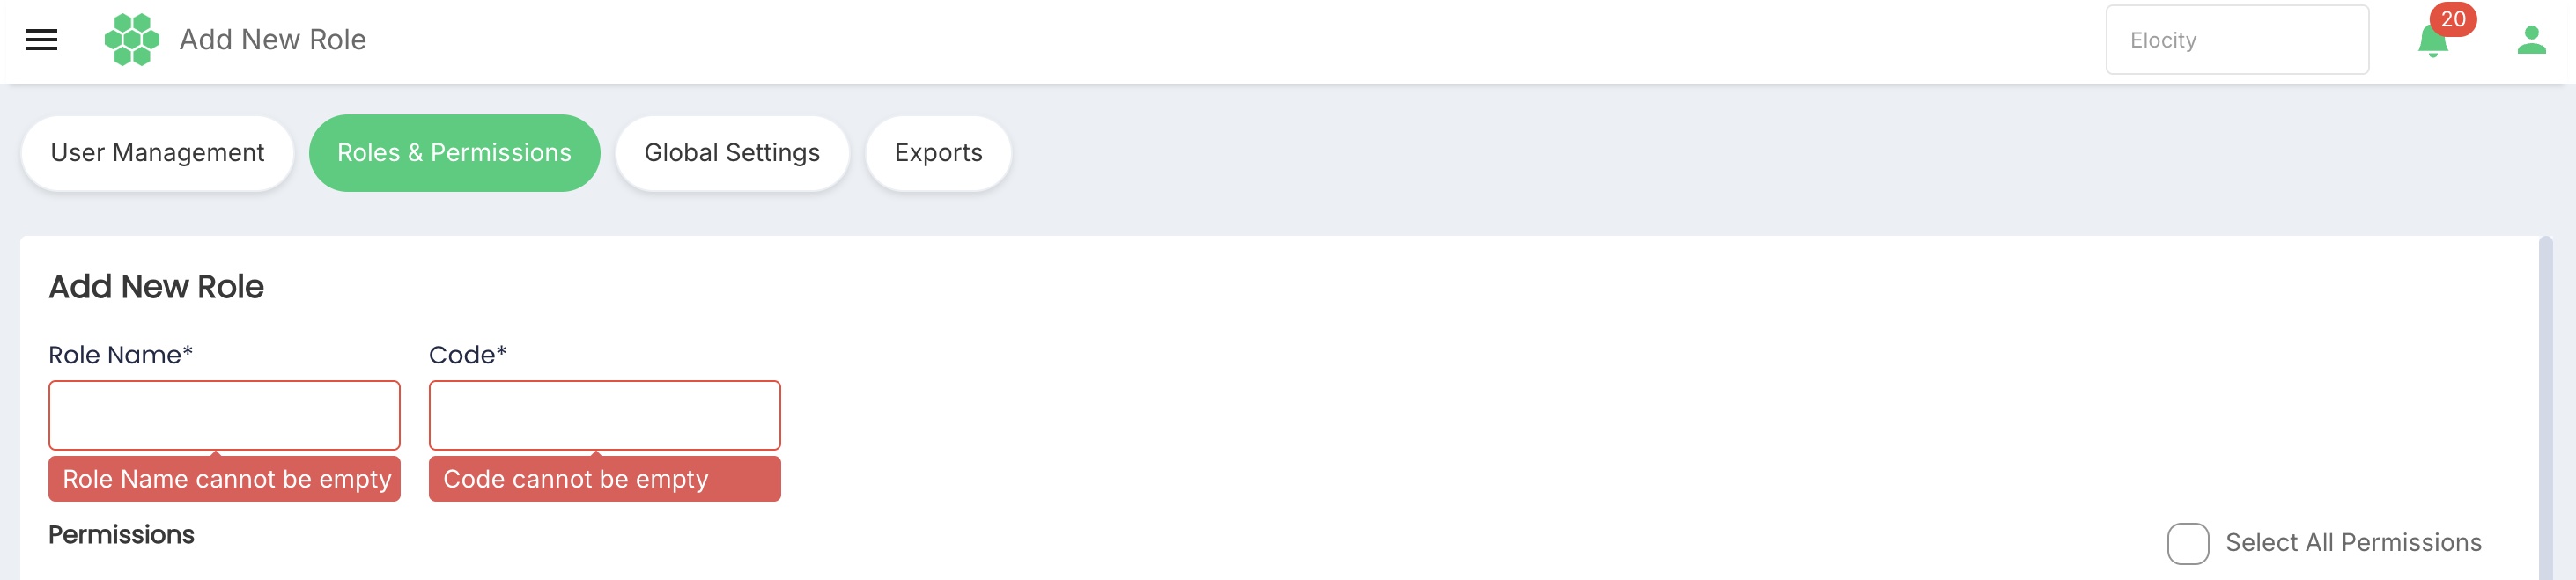
All individual permissions are clear by default when a new role is created. No other field-length, character, or code-format rules were verified.
Select permissions
- Review all functional areas in the permission matrix.
- Select each permission required for the role.
- Review every selected checkbox before saving.
An action permission requires the related module's View permission. The live review did not determine whether the portal automatically selects prerequisites, rejects an incomplete combination, or accepts the combination and enforces the dependency only when used.
Save or cancel
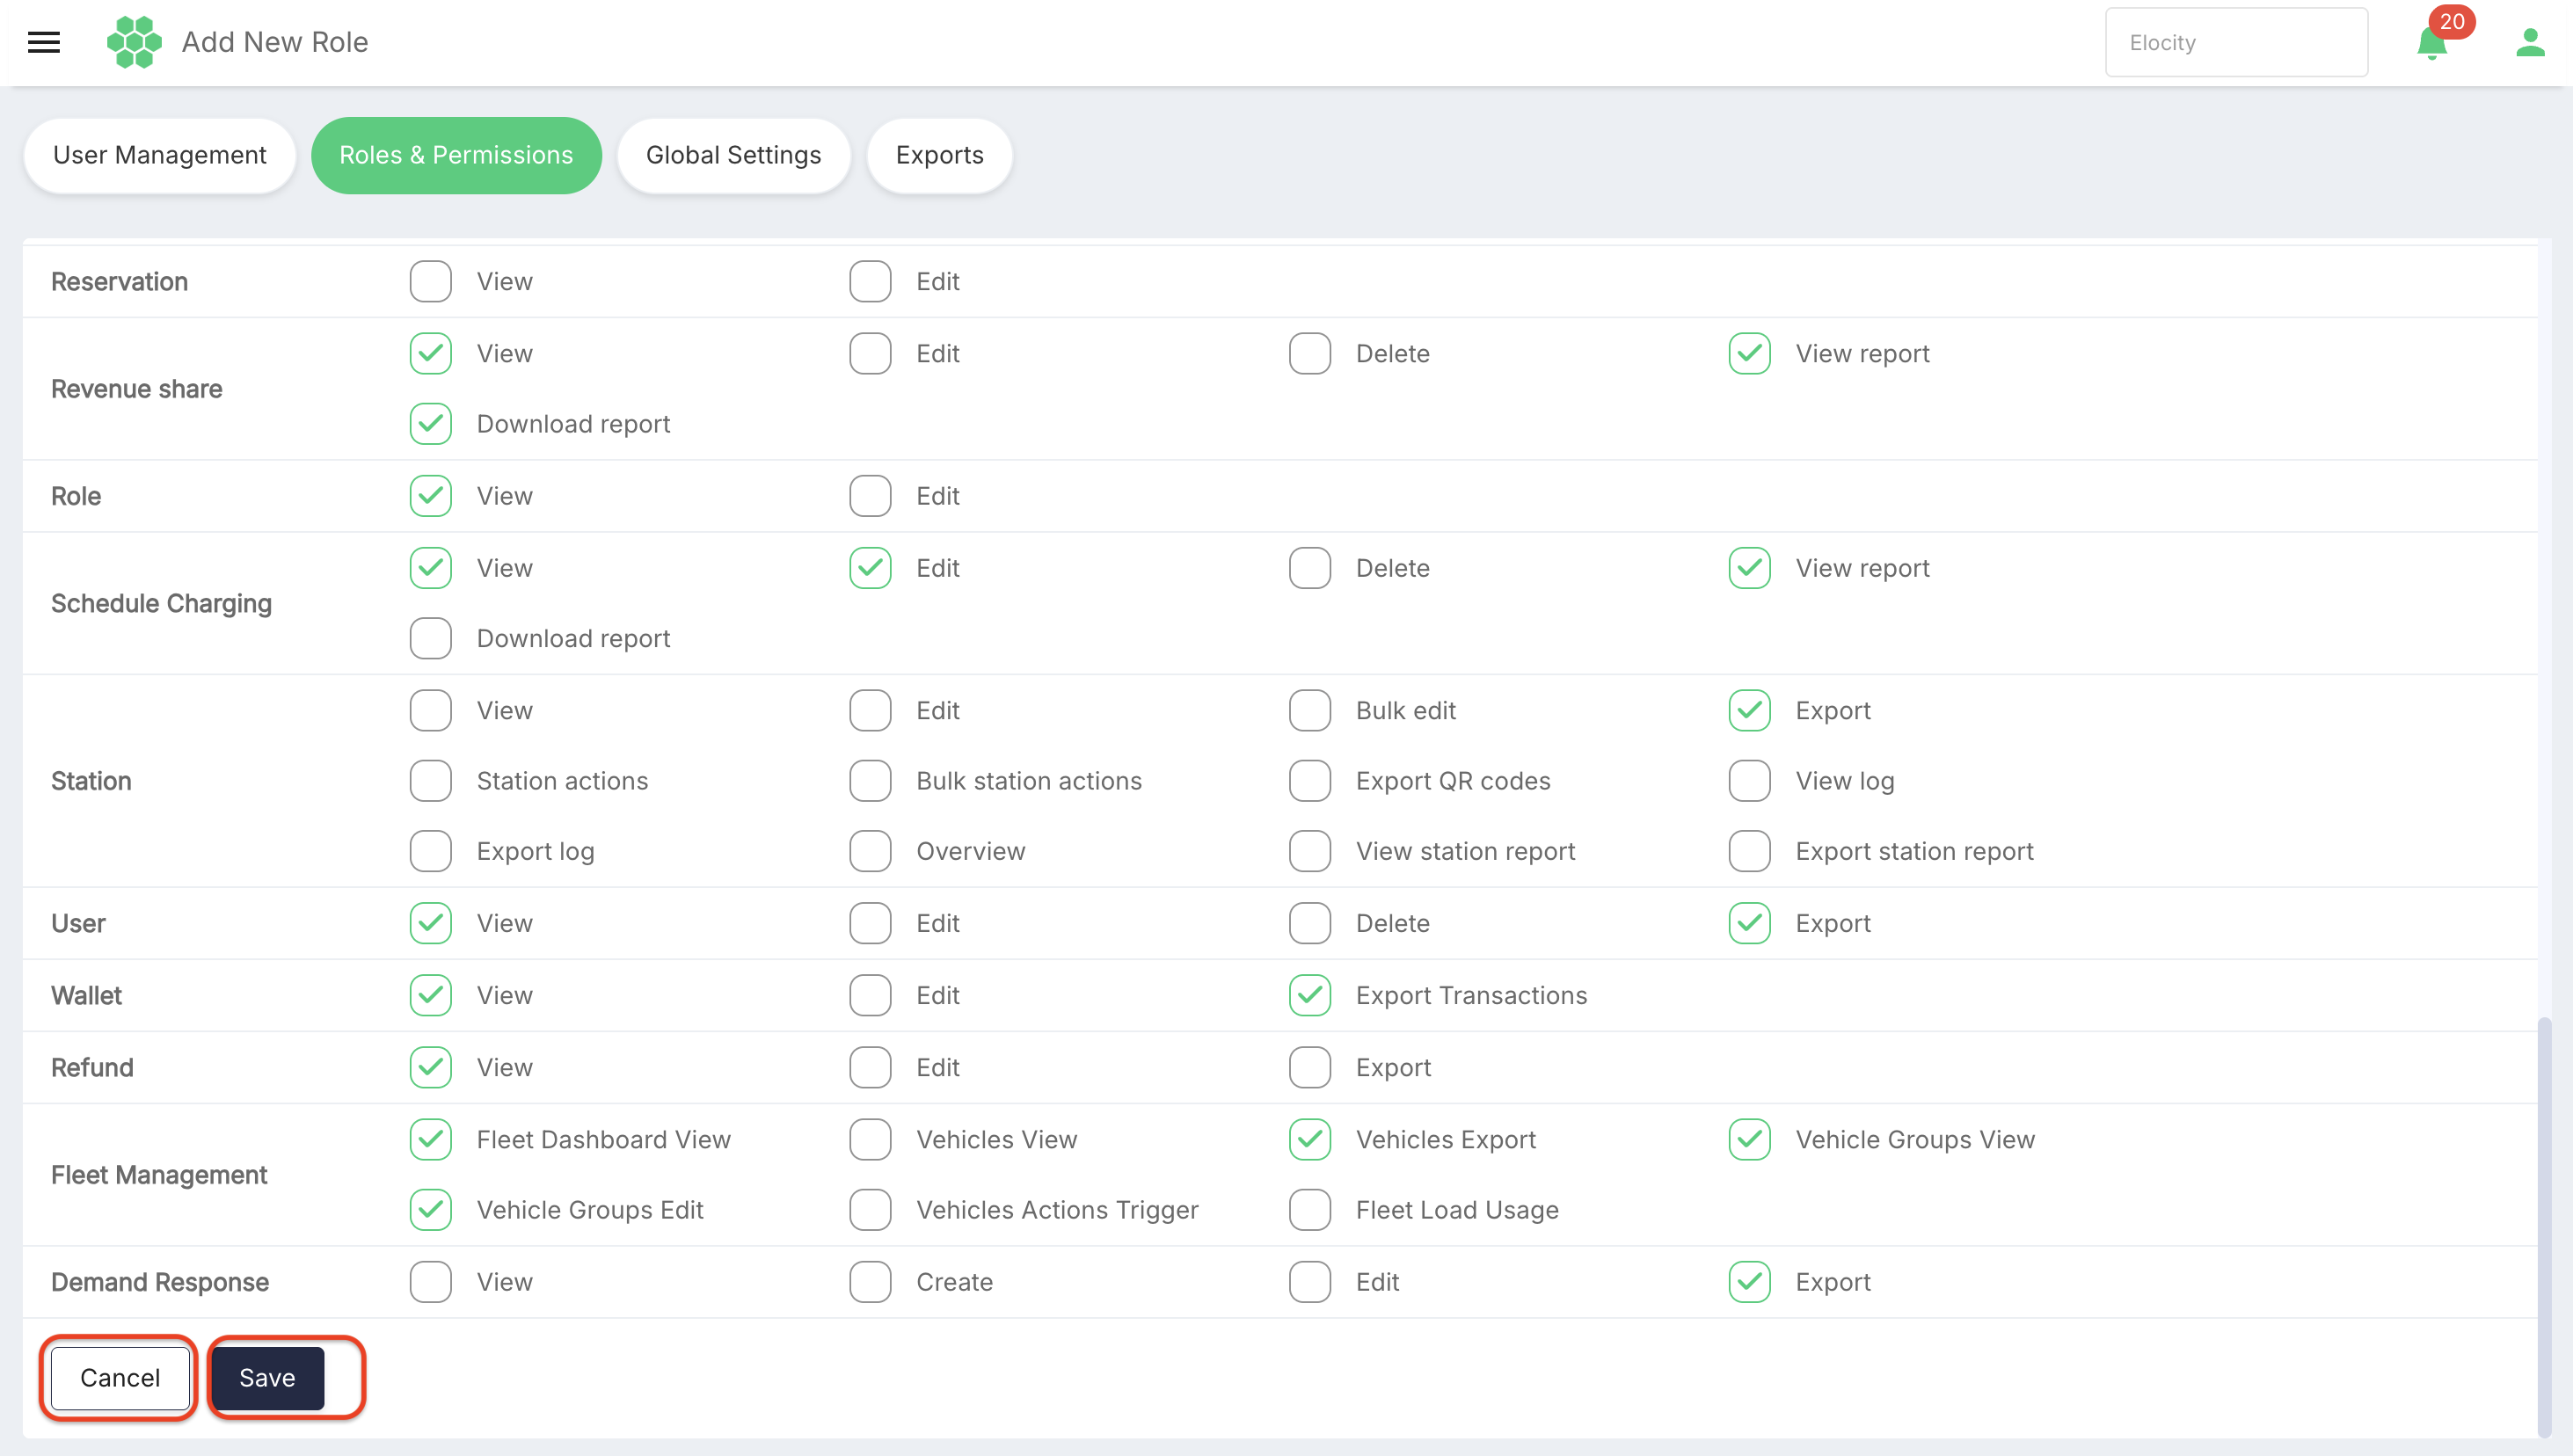
- Select Save to submit the role after completing the required fields and reviewing the permissions.
- Select Cancel to return to Roles & Permissions without creating a role.
The review tested only empty-field validation and then used Cancel. It did not create a role or verify a success message.
7. Editing an Existing Role
- Select the required role in the Roles panel.
- Confirm the role name and code displayed in the selected row.
- Review the current permission selections.
- Select Edit.
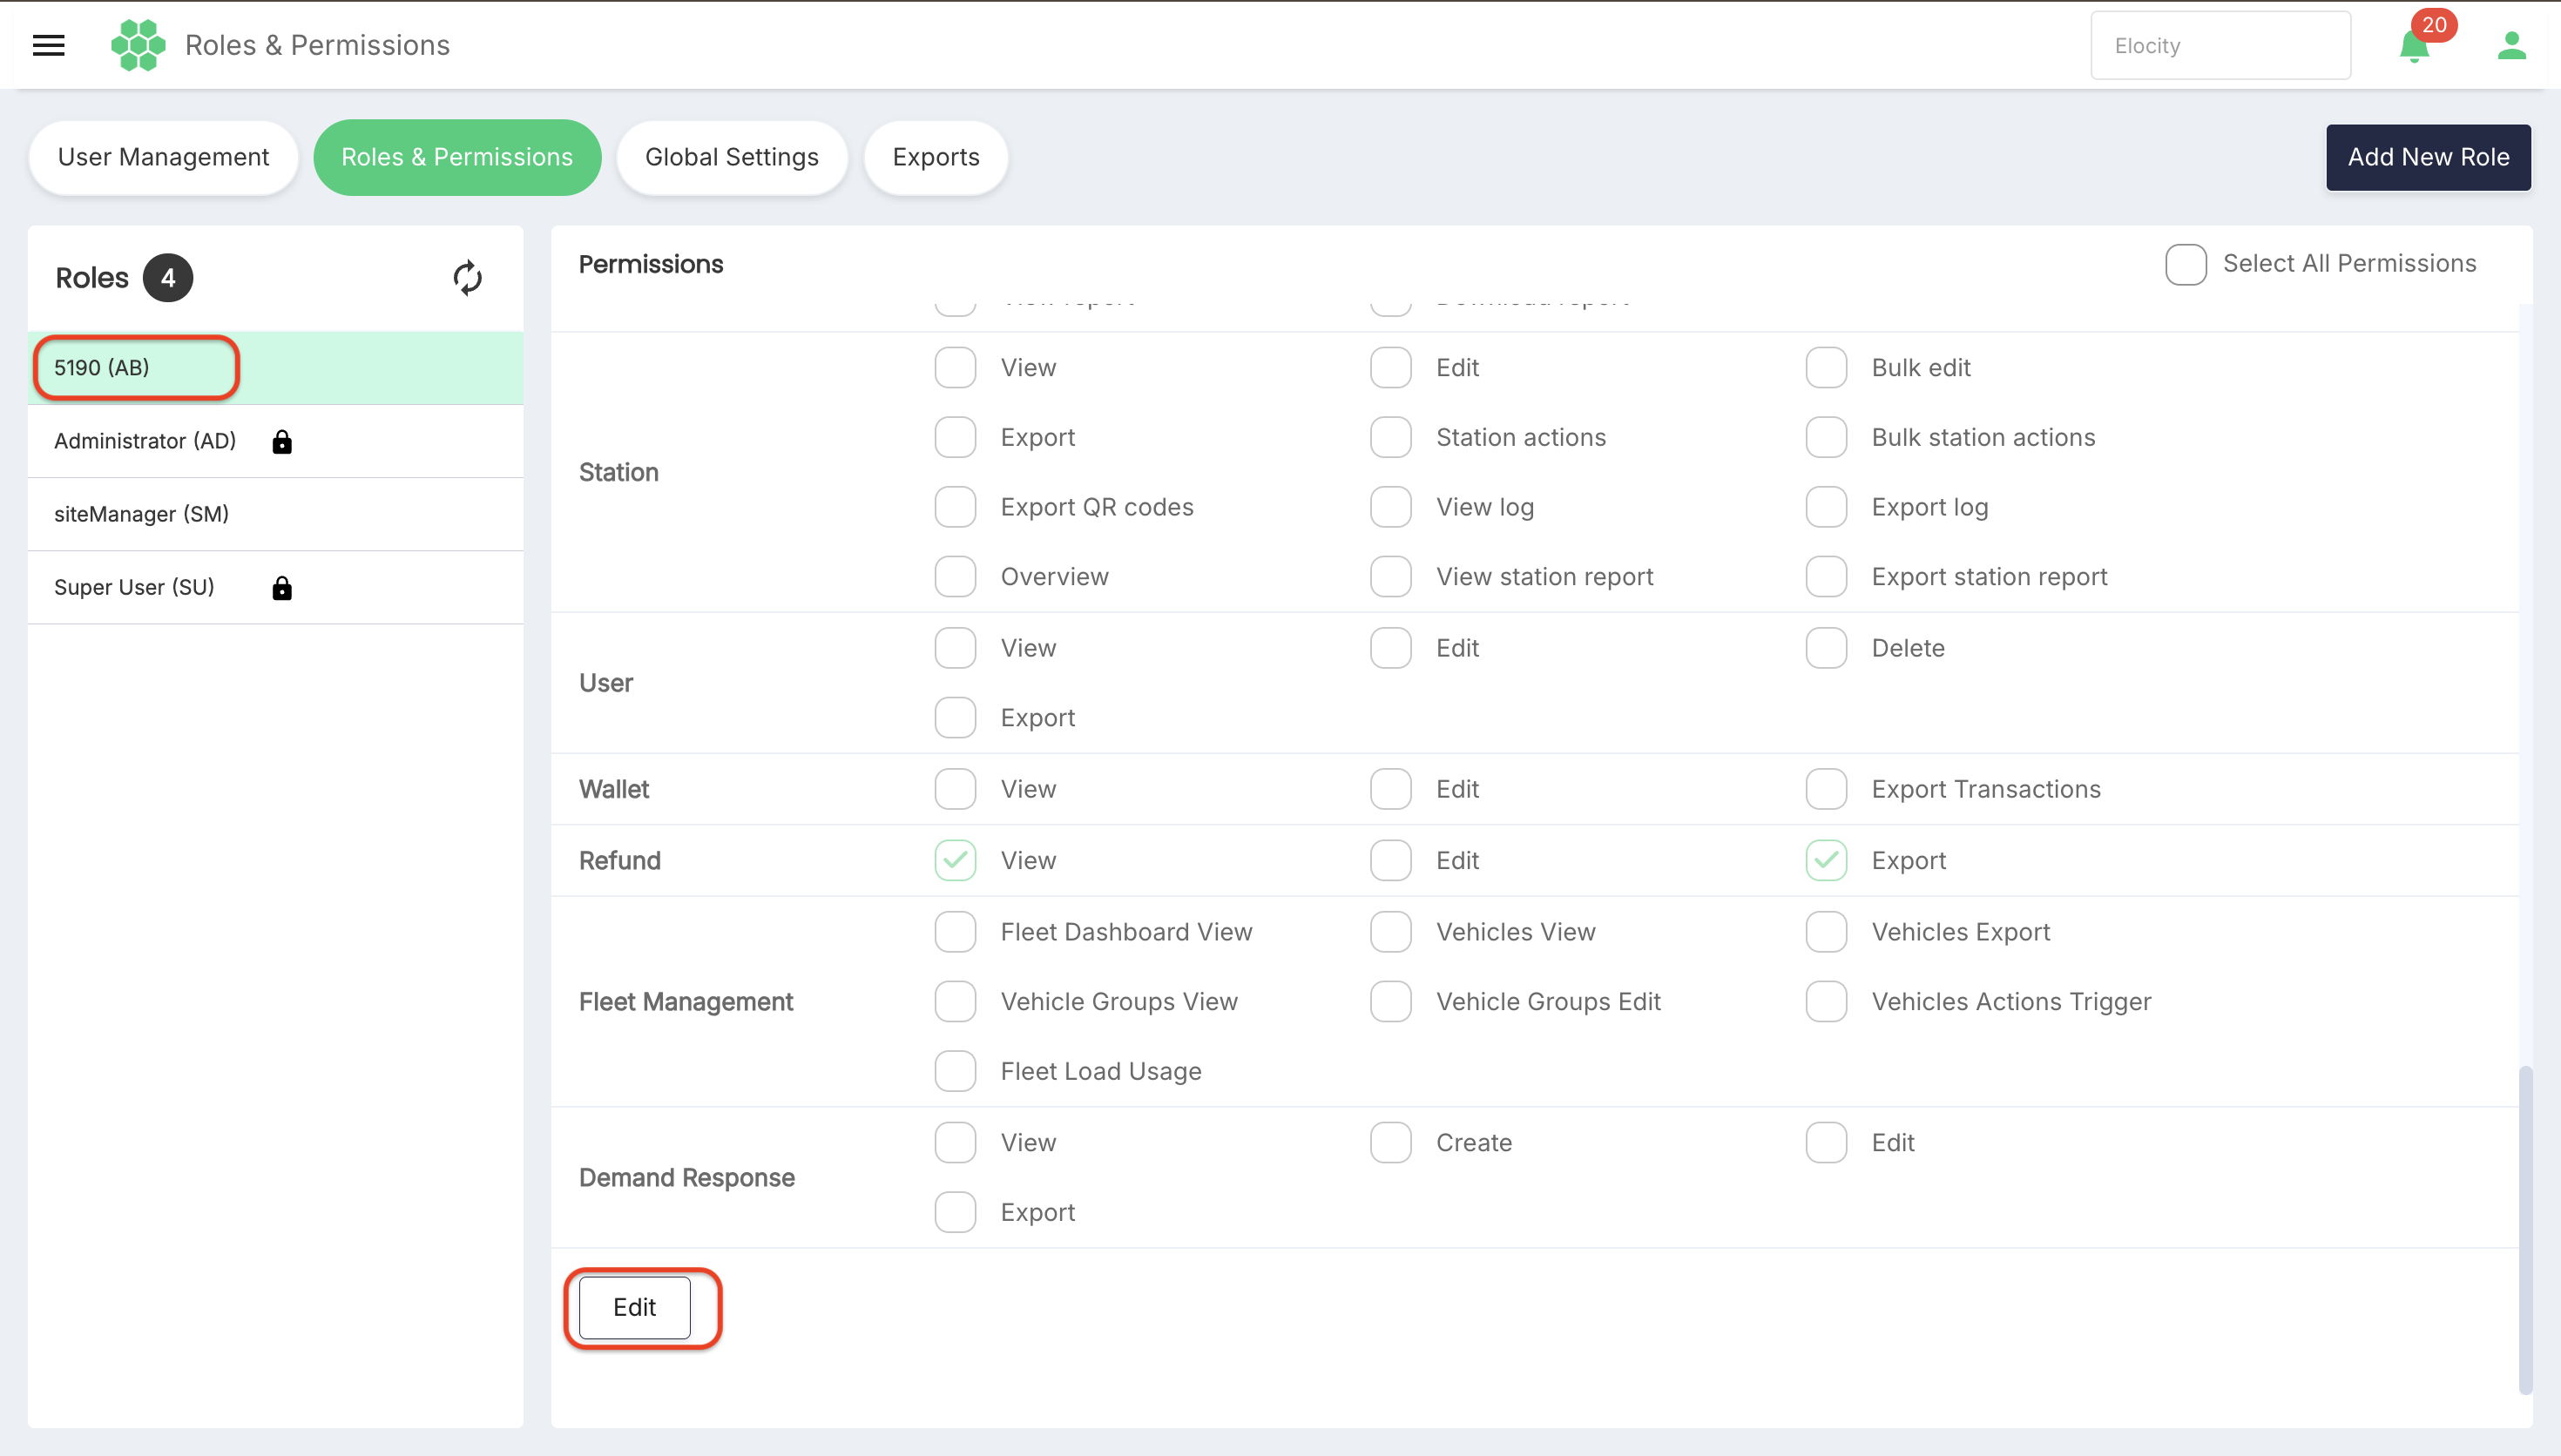
- Select or clear the required permission checkboxes.
- Select Save to submit the permission changes or Cancel to discard them.
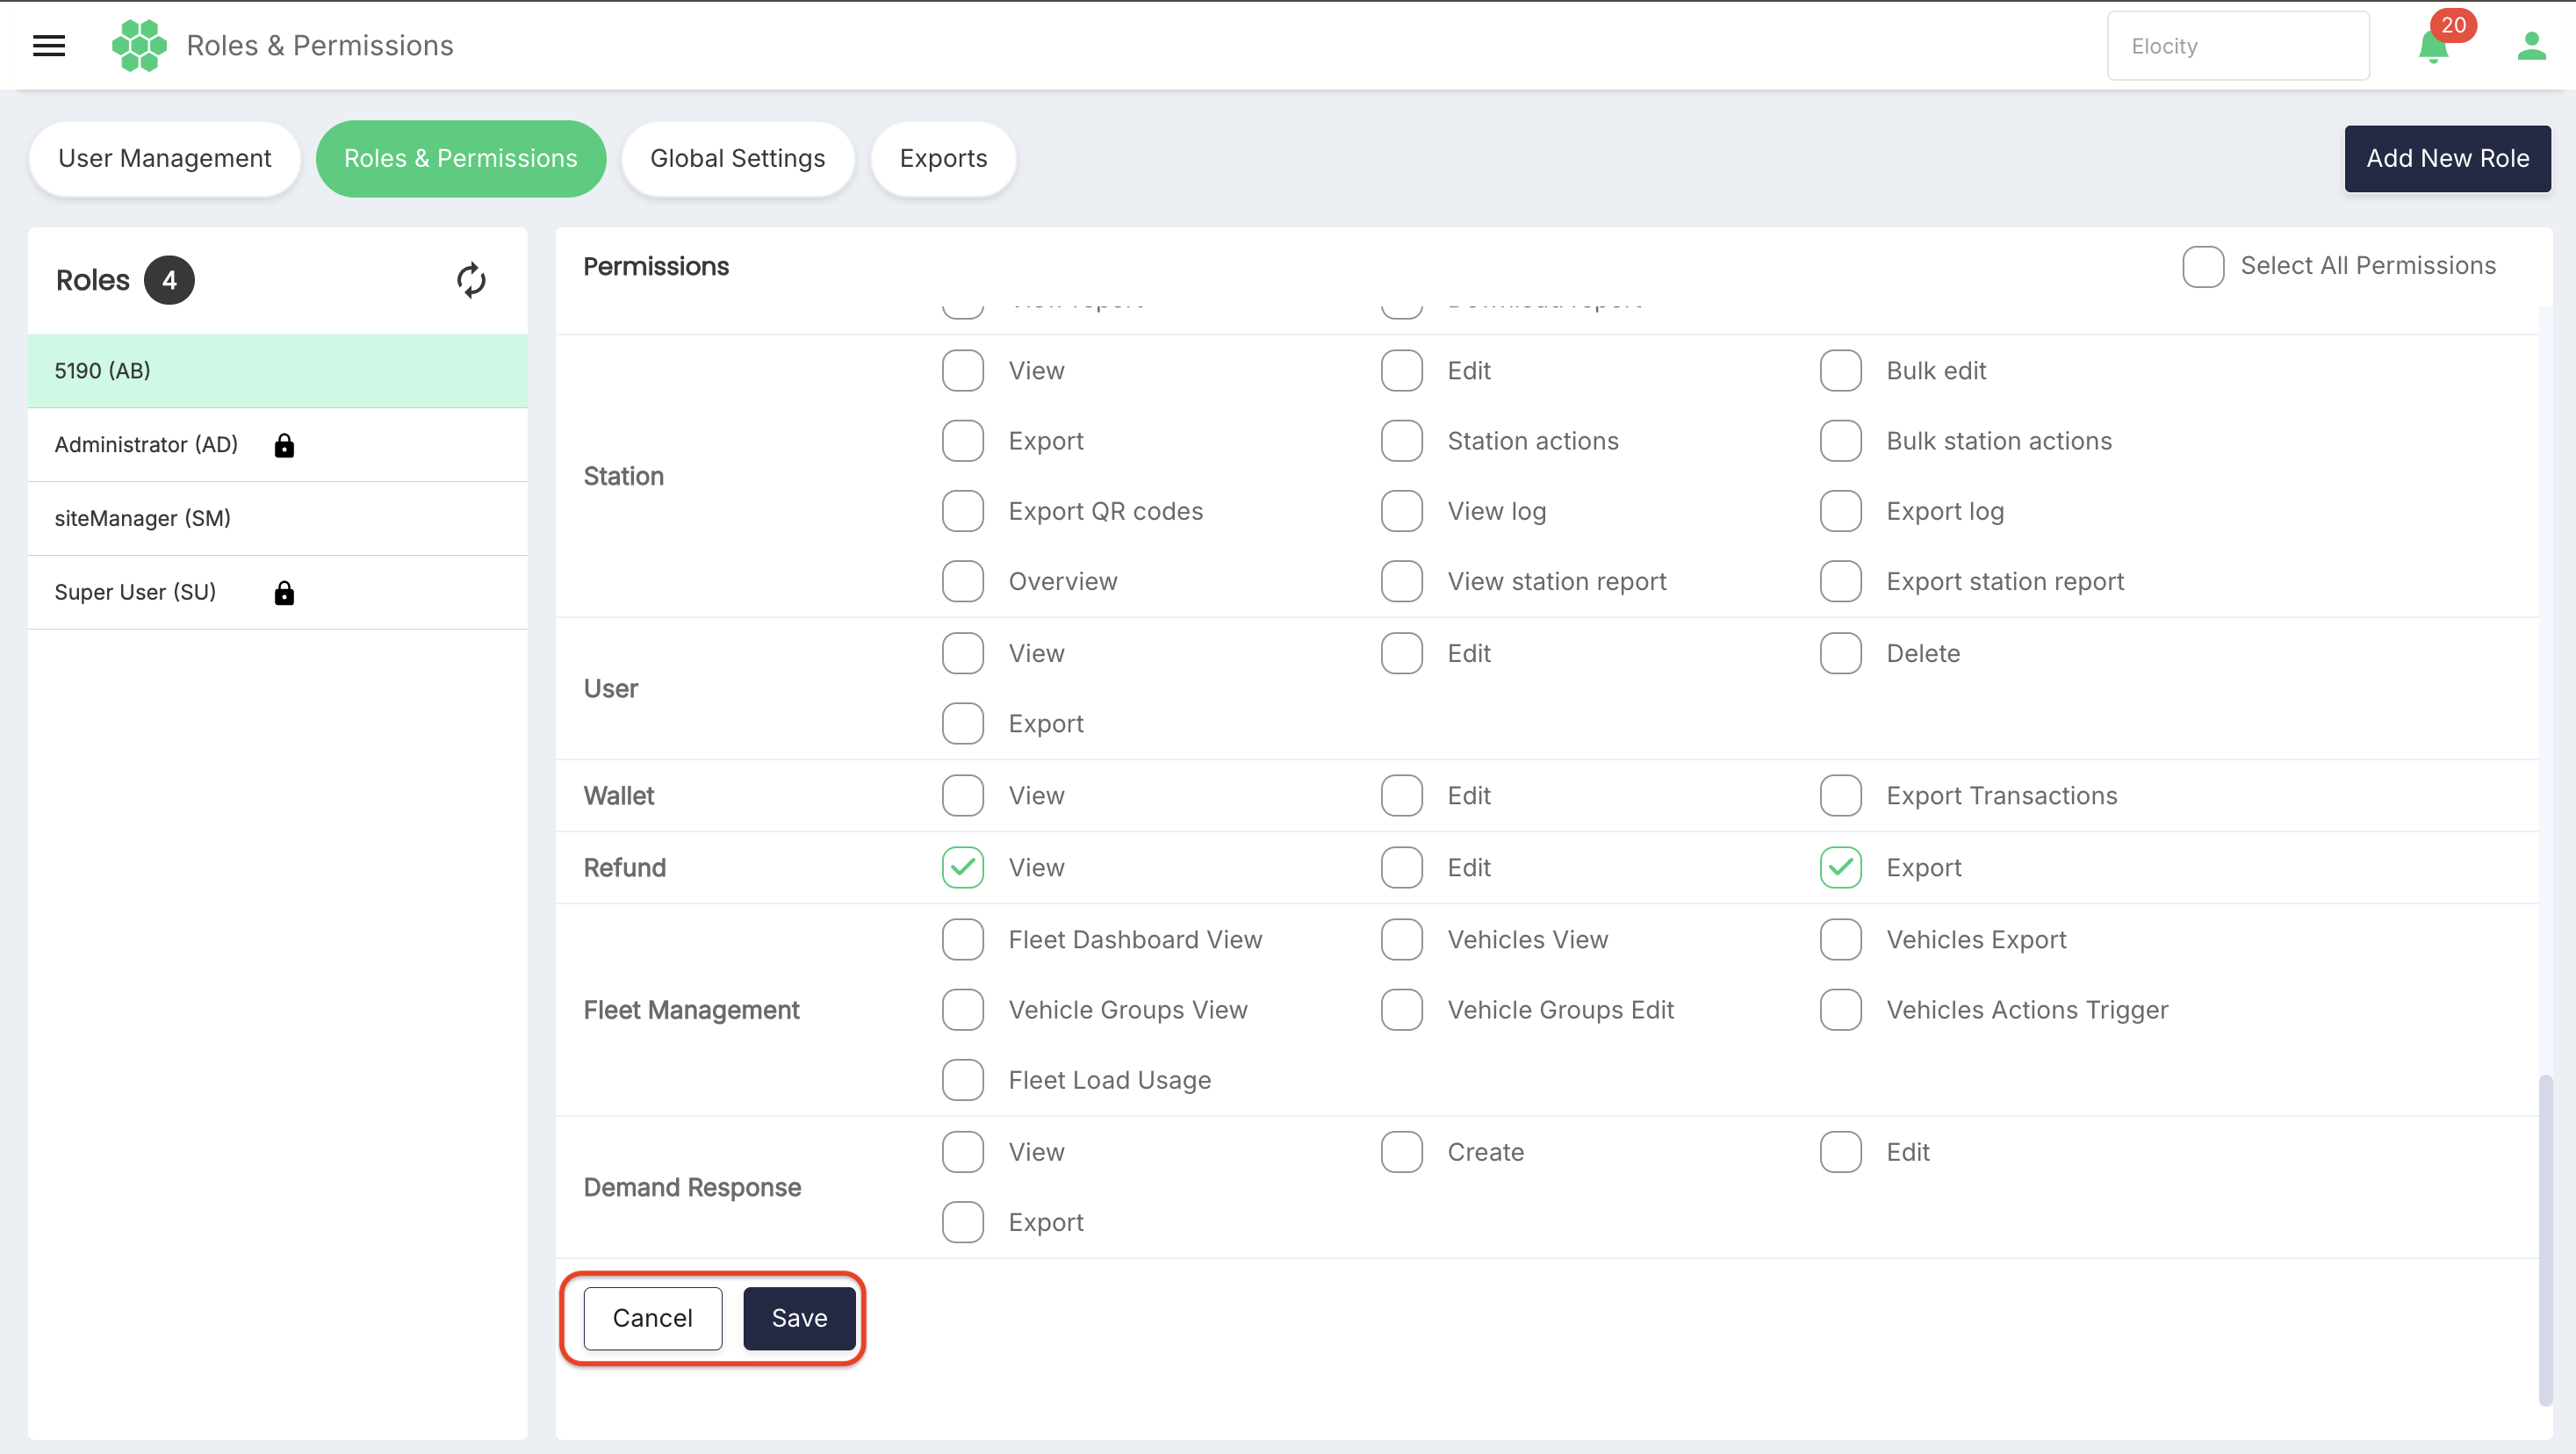
In the reviewed interface, Edit enabled the permission checkboxes and replaced the Edit button with Cancel and Save. Role Name and Code fields were not displayed in edit mode. Code is immutable; whether an existing Role Name can be changed elsewhere still requires confirmation.
The system-defined Super User and Administrator roles are protected from modification.
No permission change was saved during the review.
8. Refreshing the Role List
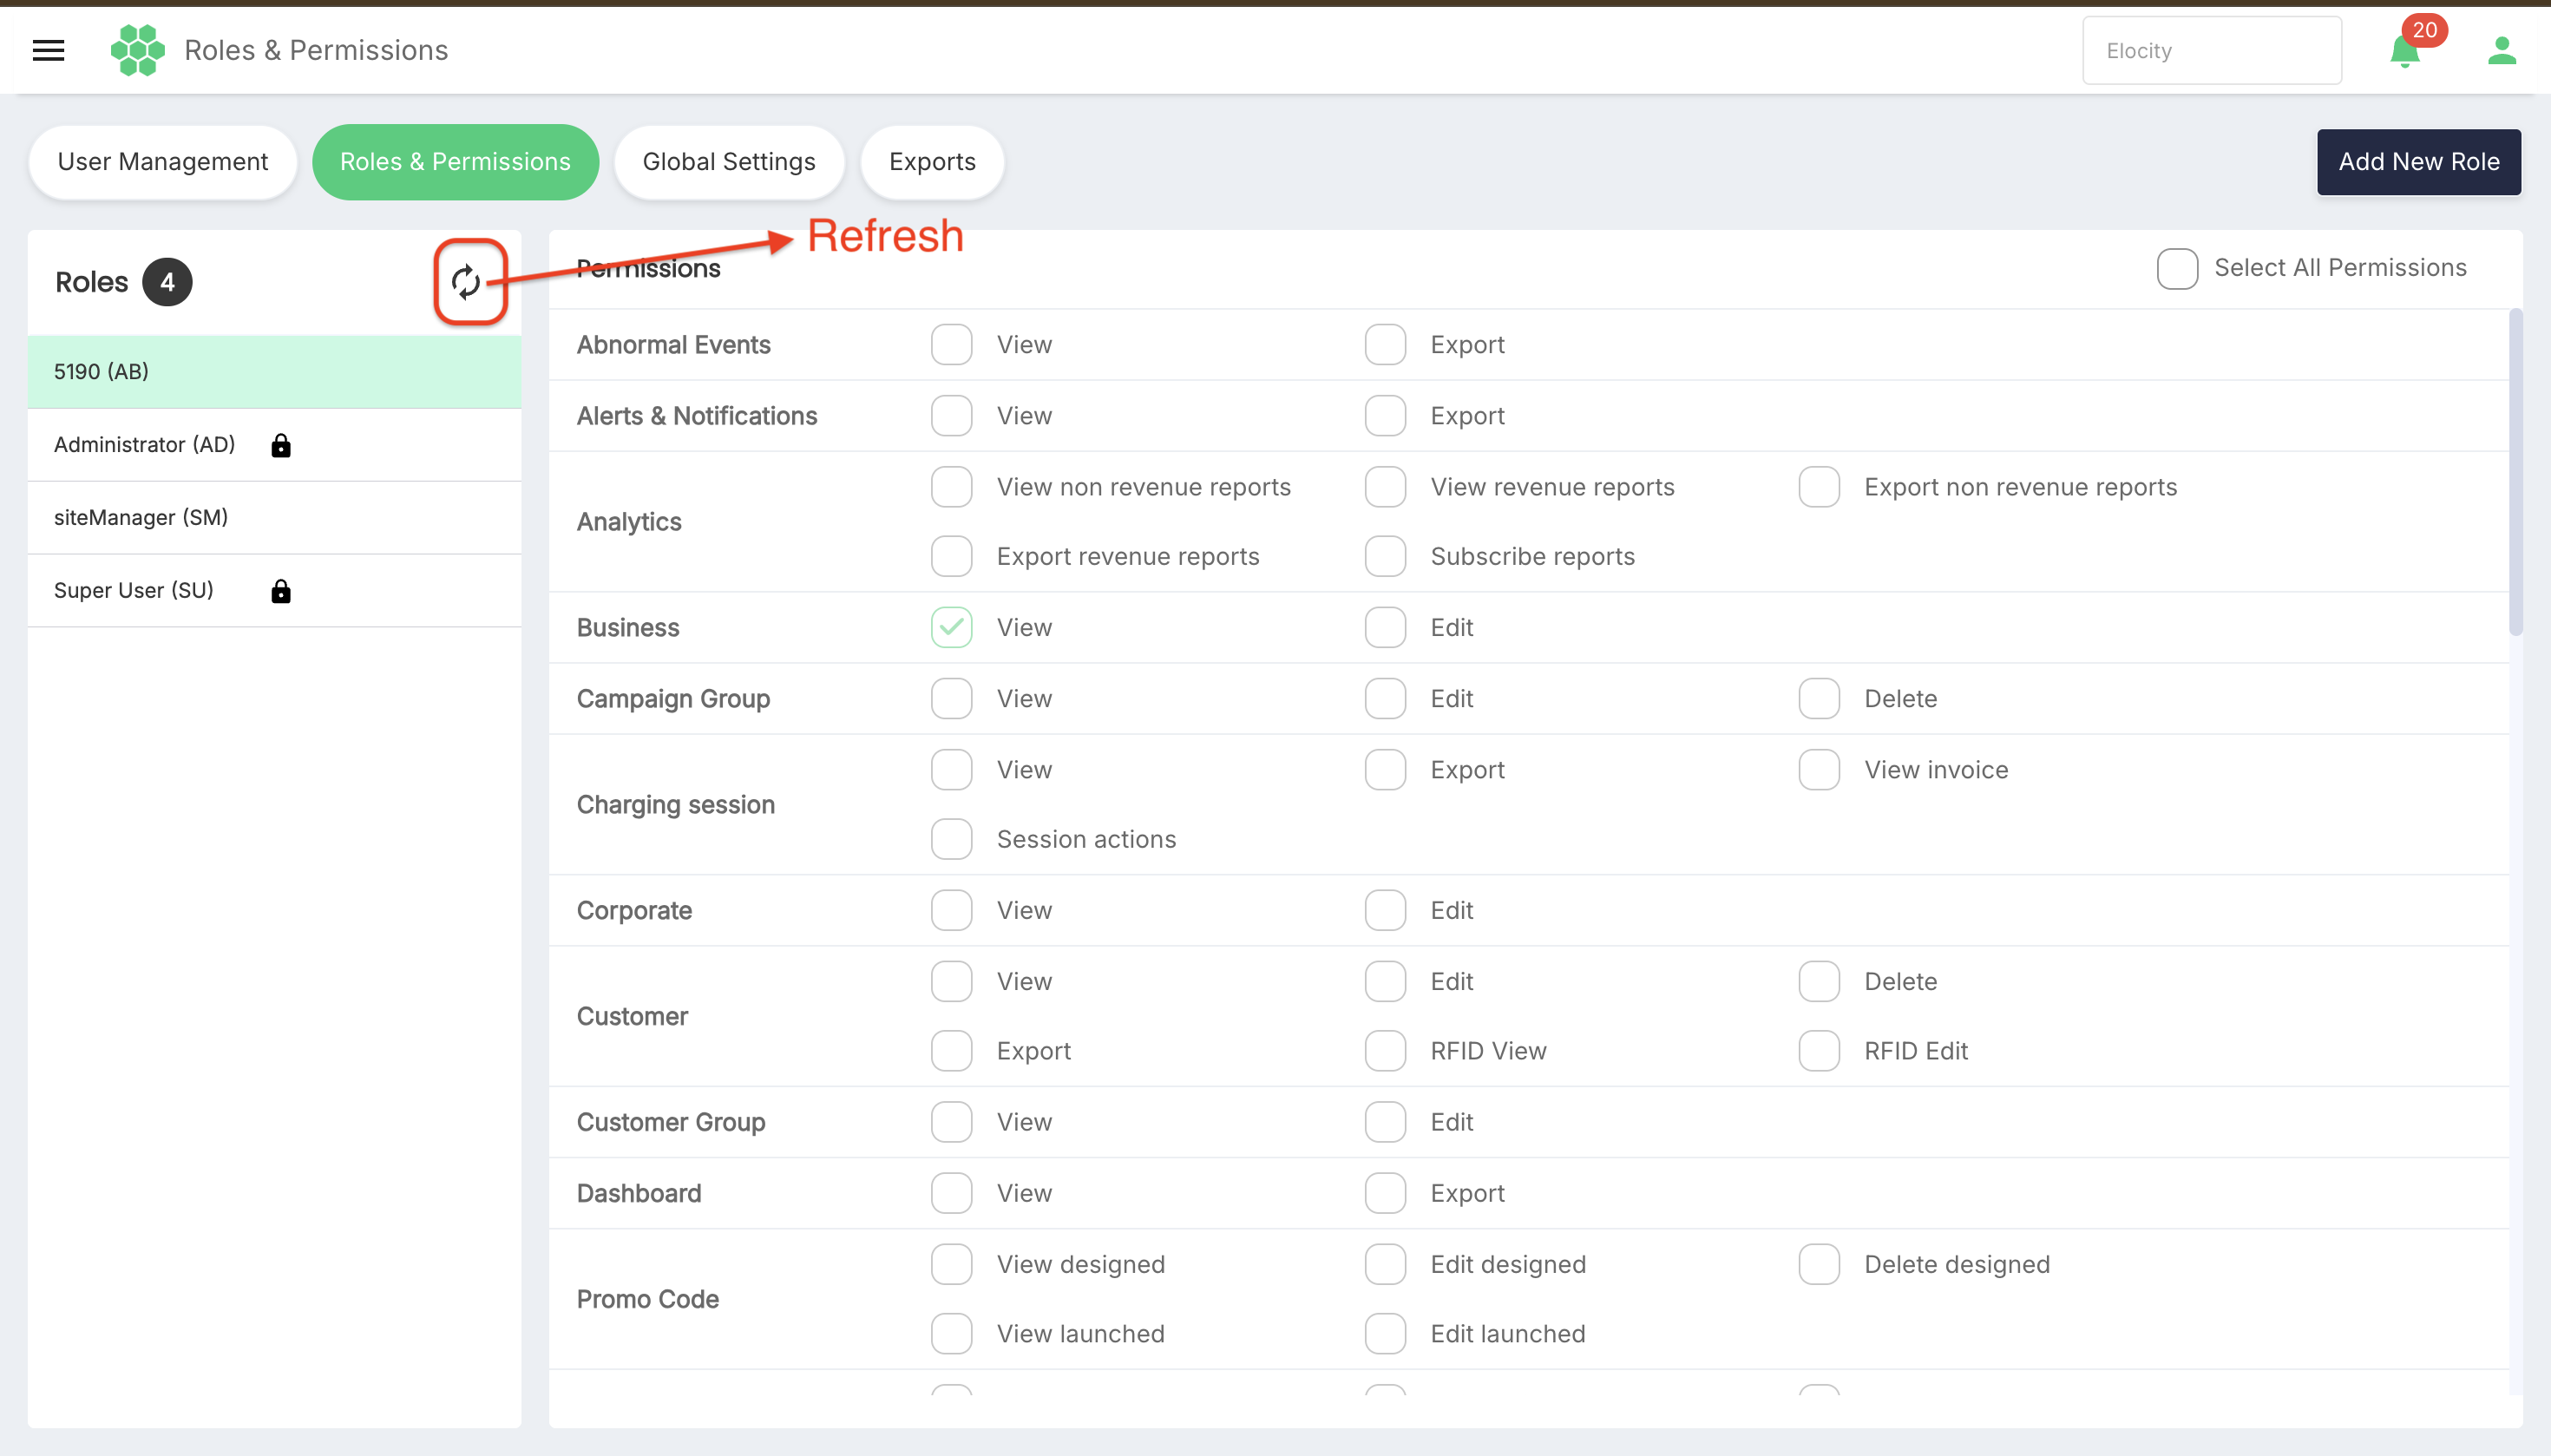
Select Refresh to request the latest roles. During the refresh:
- A loader is displayed.
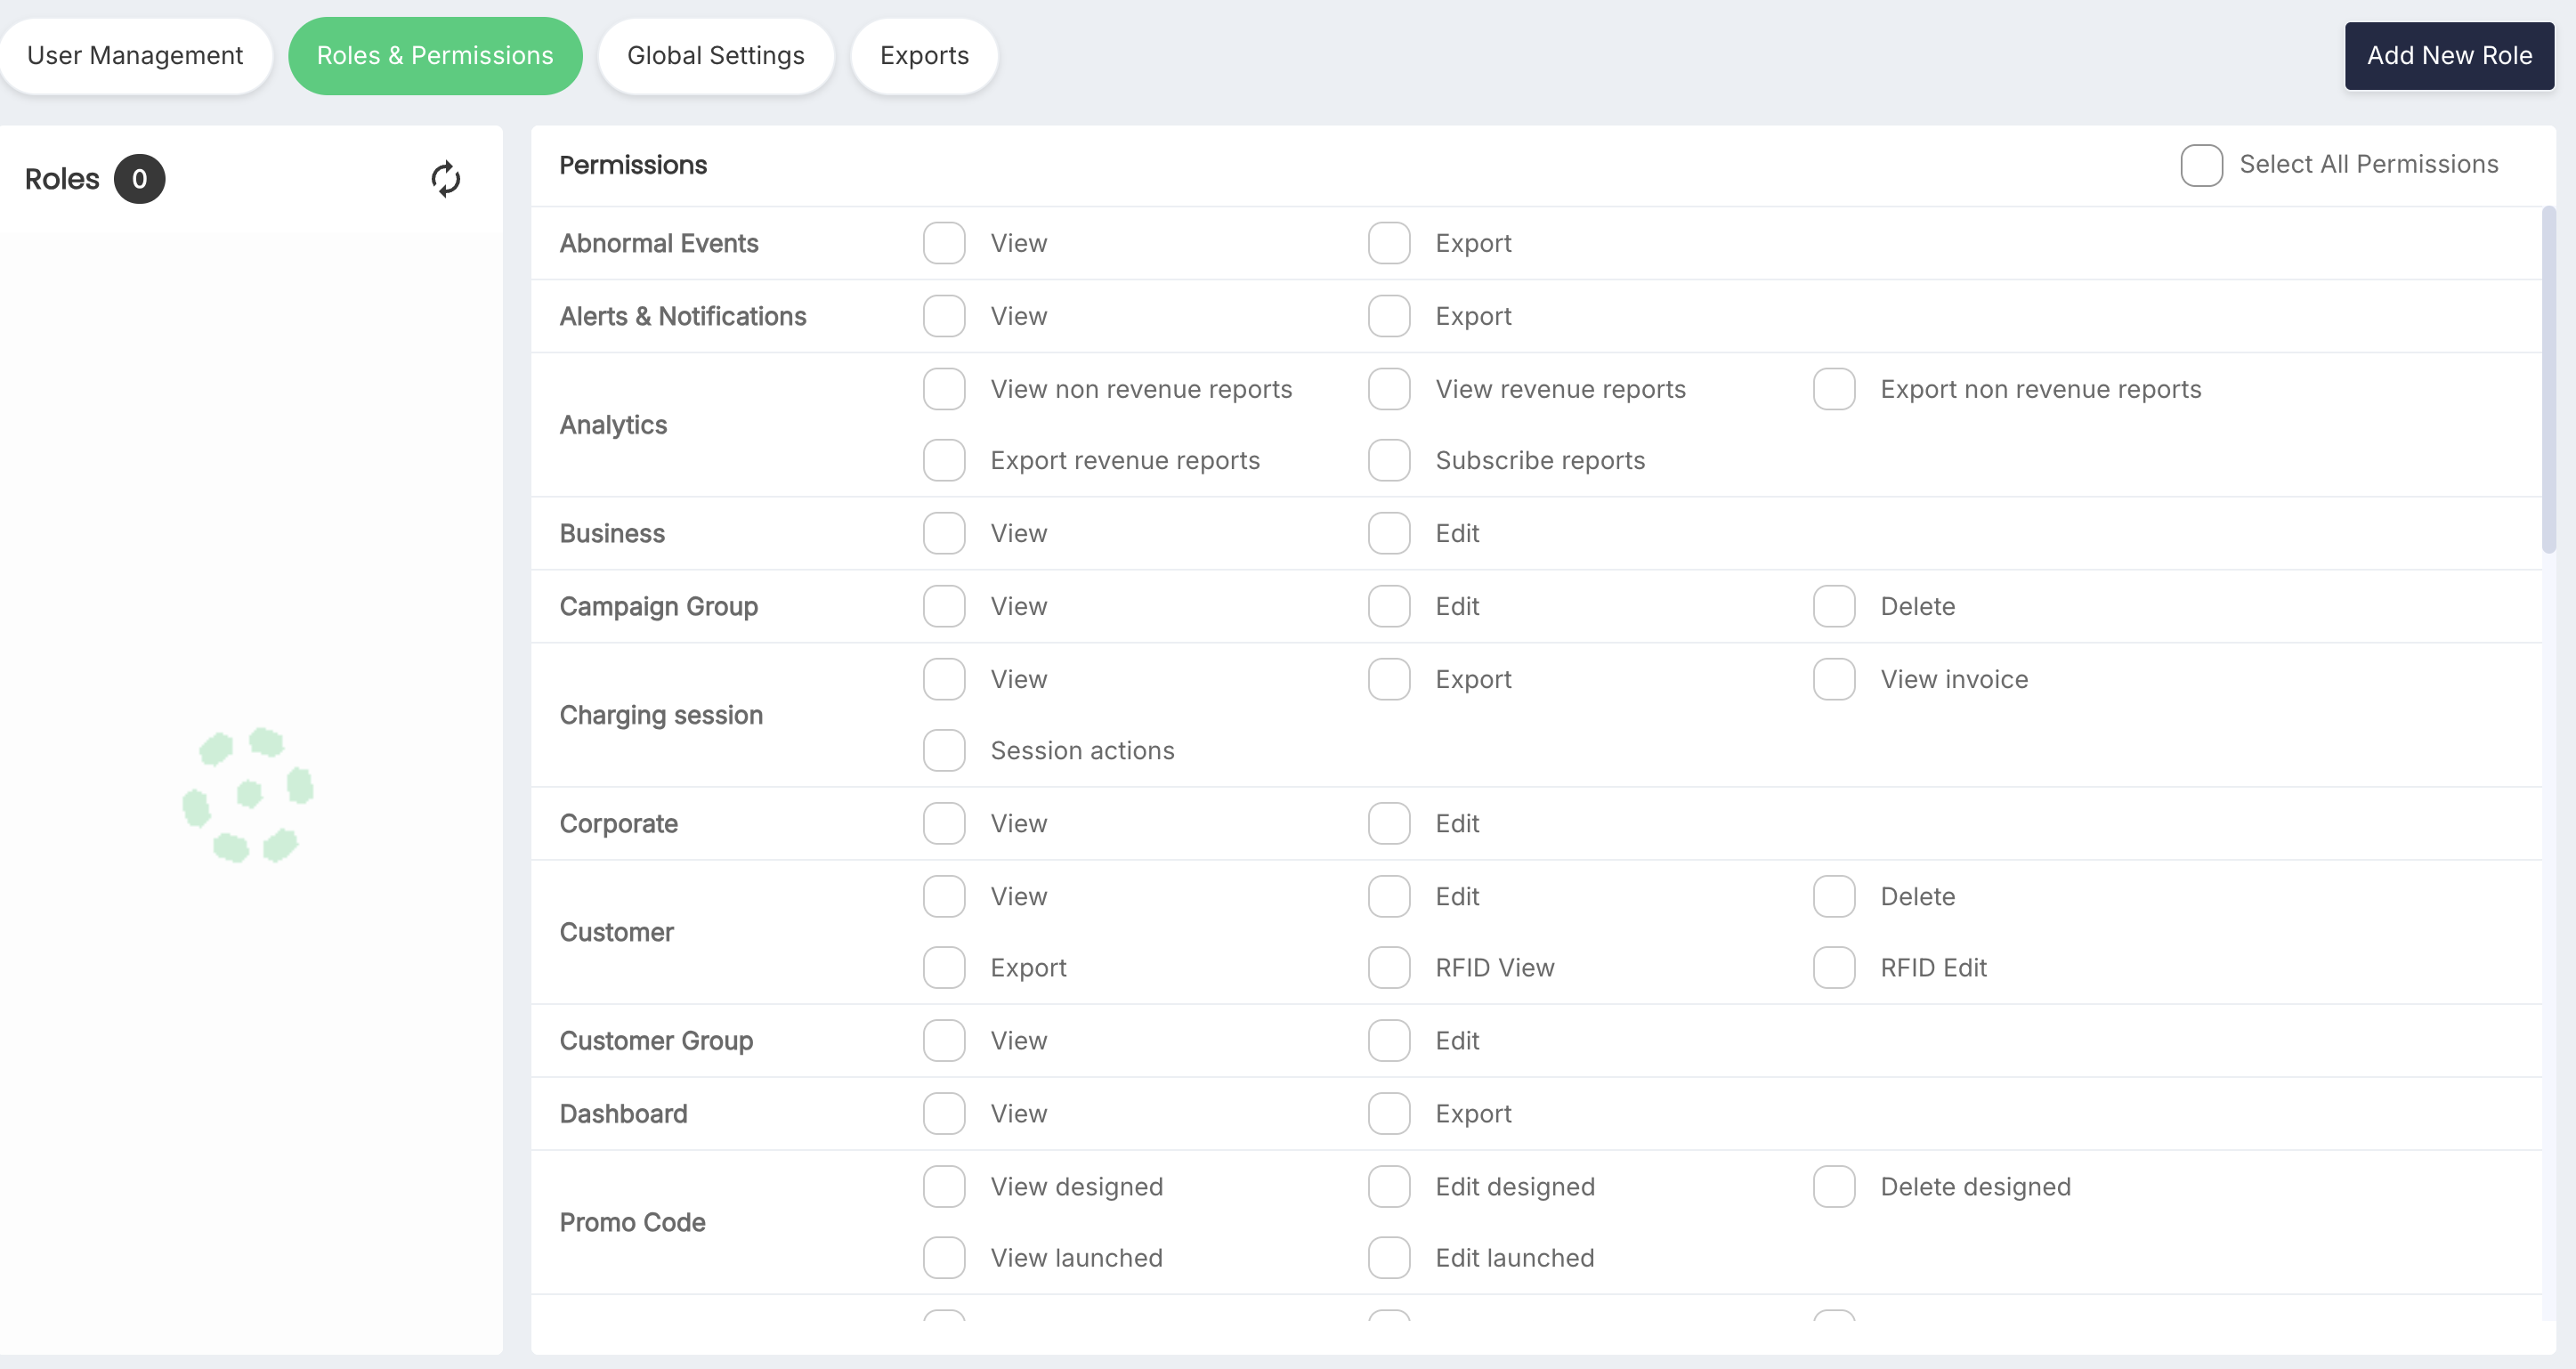
- Refresh is temporarily unavailable.
- The role list is repopulated when loading finishes.
- The selected role remained selected in the reviewed session.
9. Role Lifecycle and Access Effects
- Roles apply across all businesses.
- Role Name must be globally unique.
- Code is a two-character identifier and cannot be changed after creation.
- The portal does not impose a confirmed maximum number of roles.
- Roles cannot currently be deleted, archived, or deactivated.
- Super User and Administrator are system-defined roles protected from modification.
- Each user can have only one role.
- Permission changes take effect immediately for users assigned to the role, including users with an active session.
- If a user attempts to open a page without the required permission, the portal displays an access-denied message.
The reviewed page did not expose labelled controls for searching, filtering, sorting, or exporting roles; viewing users assigned to a role; or viewing role-change history.
10. Security Guidance
- Apply least-privilege principles when assigning permissions.
- Review high-impact permissions such as Edit, Delete, Export, Refund, Session actions, Station actions, Bulk station actions, Access edit, Access delete, Schedule job, and report downloads before saving.
- Confirm that at least one authorized administrator will retain role-management access after a change.
- Review the interaction between a user's role permissions and the user's assigned network or charger scope.
- Avoid changing a production role until the affected users and operational impact have been identified.
- Because changes take effect immediately, review every selected permission before saving.
11. Verified Limitations of This Draft
The live review did not:
- Create a role.
- Save changes to an existing role.
- Test Select All Permissions.
- Test duplicate role names or codes.
- Test how the portal enforces permission prerequisites.
- Change the business context.
- Verify notifications, audit records, rollback, or recovery behavior.
The manual therefore states only the interface behavior that was directly observed. Product rules that could not be verified are listed below.